This is the long and winding story of how my thread art developed over time…
Proof of concept
July 2019
In the summer of this year, I had the idea for making thread art, and started writing my first ever algorithm.
It was very rough and basic, since I didn't have much experience coding in Python at that point. The core of the algorithm was to generate a large number of random lines going through the image, choose the line which had the highest average darkness, then draw this line and slightly increase the brightness of the image along it. This way, the algorithm would retrace old paths less frequently, and eventually everywhere would be covered in proportion to its darkness.
I started with simple shapes that would be very easy to replicate with straight lines. The first ever working piece was a recognisable letter A - shown below.
As basic as it was, this was one of the most exciting moments for me, because it represented a proof of concept. I knew the method worked, and I could see clearly how it could generalise to more complex images.

Making my first piece
July 2019
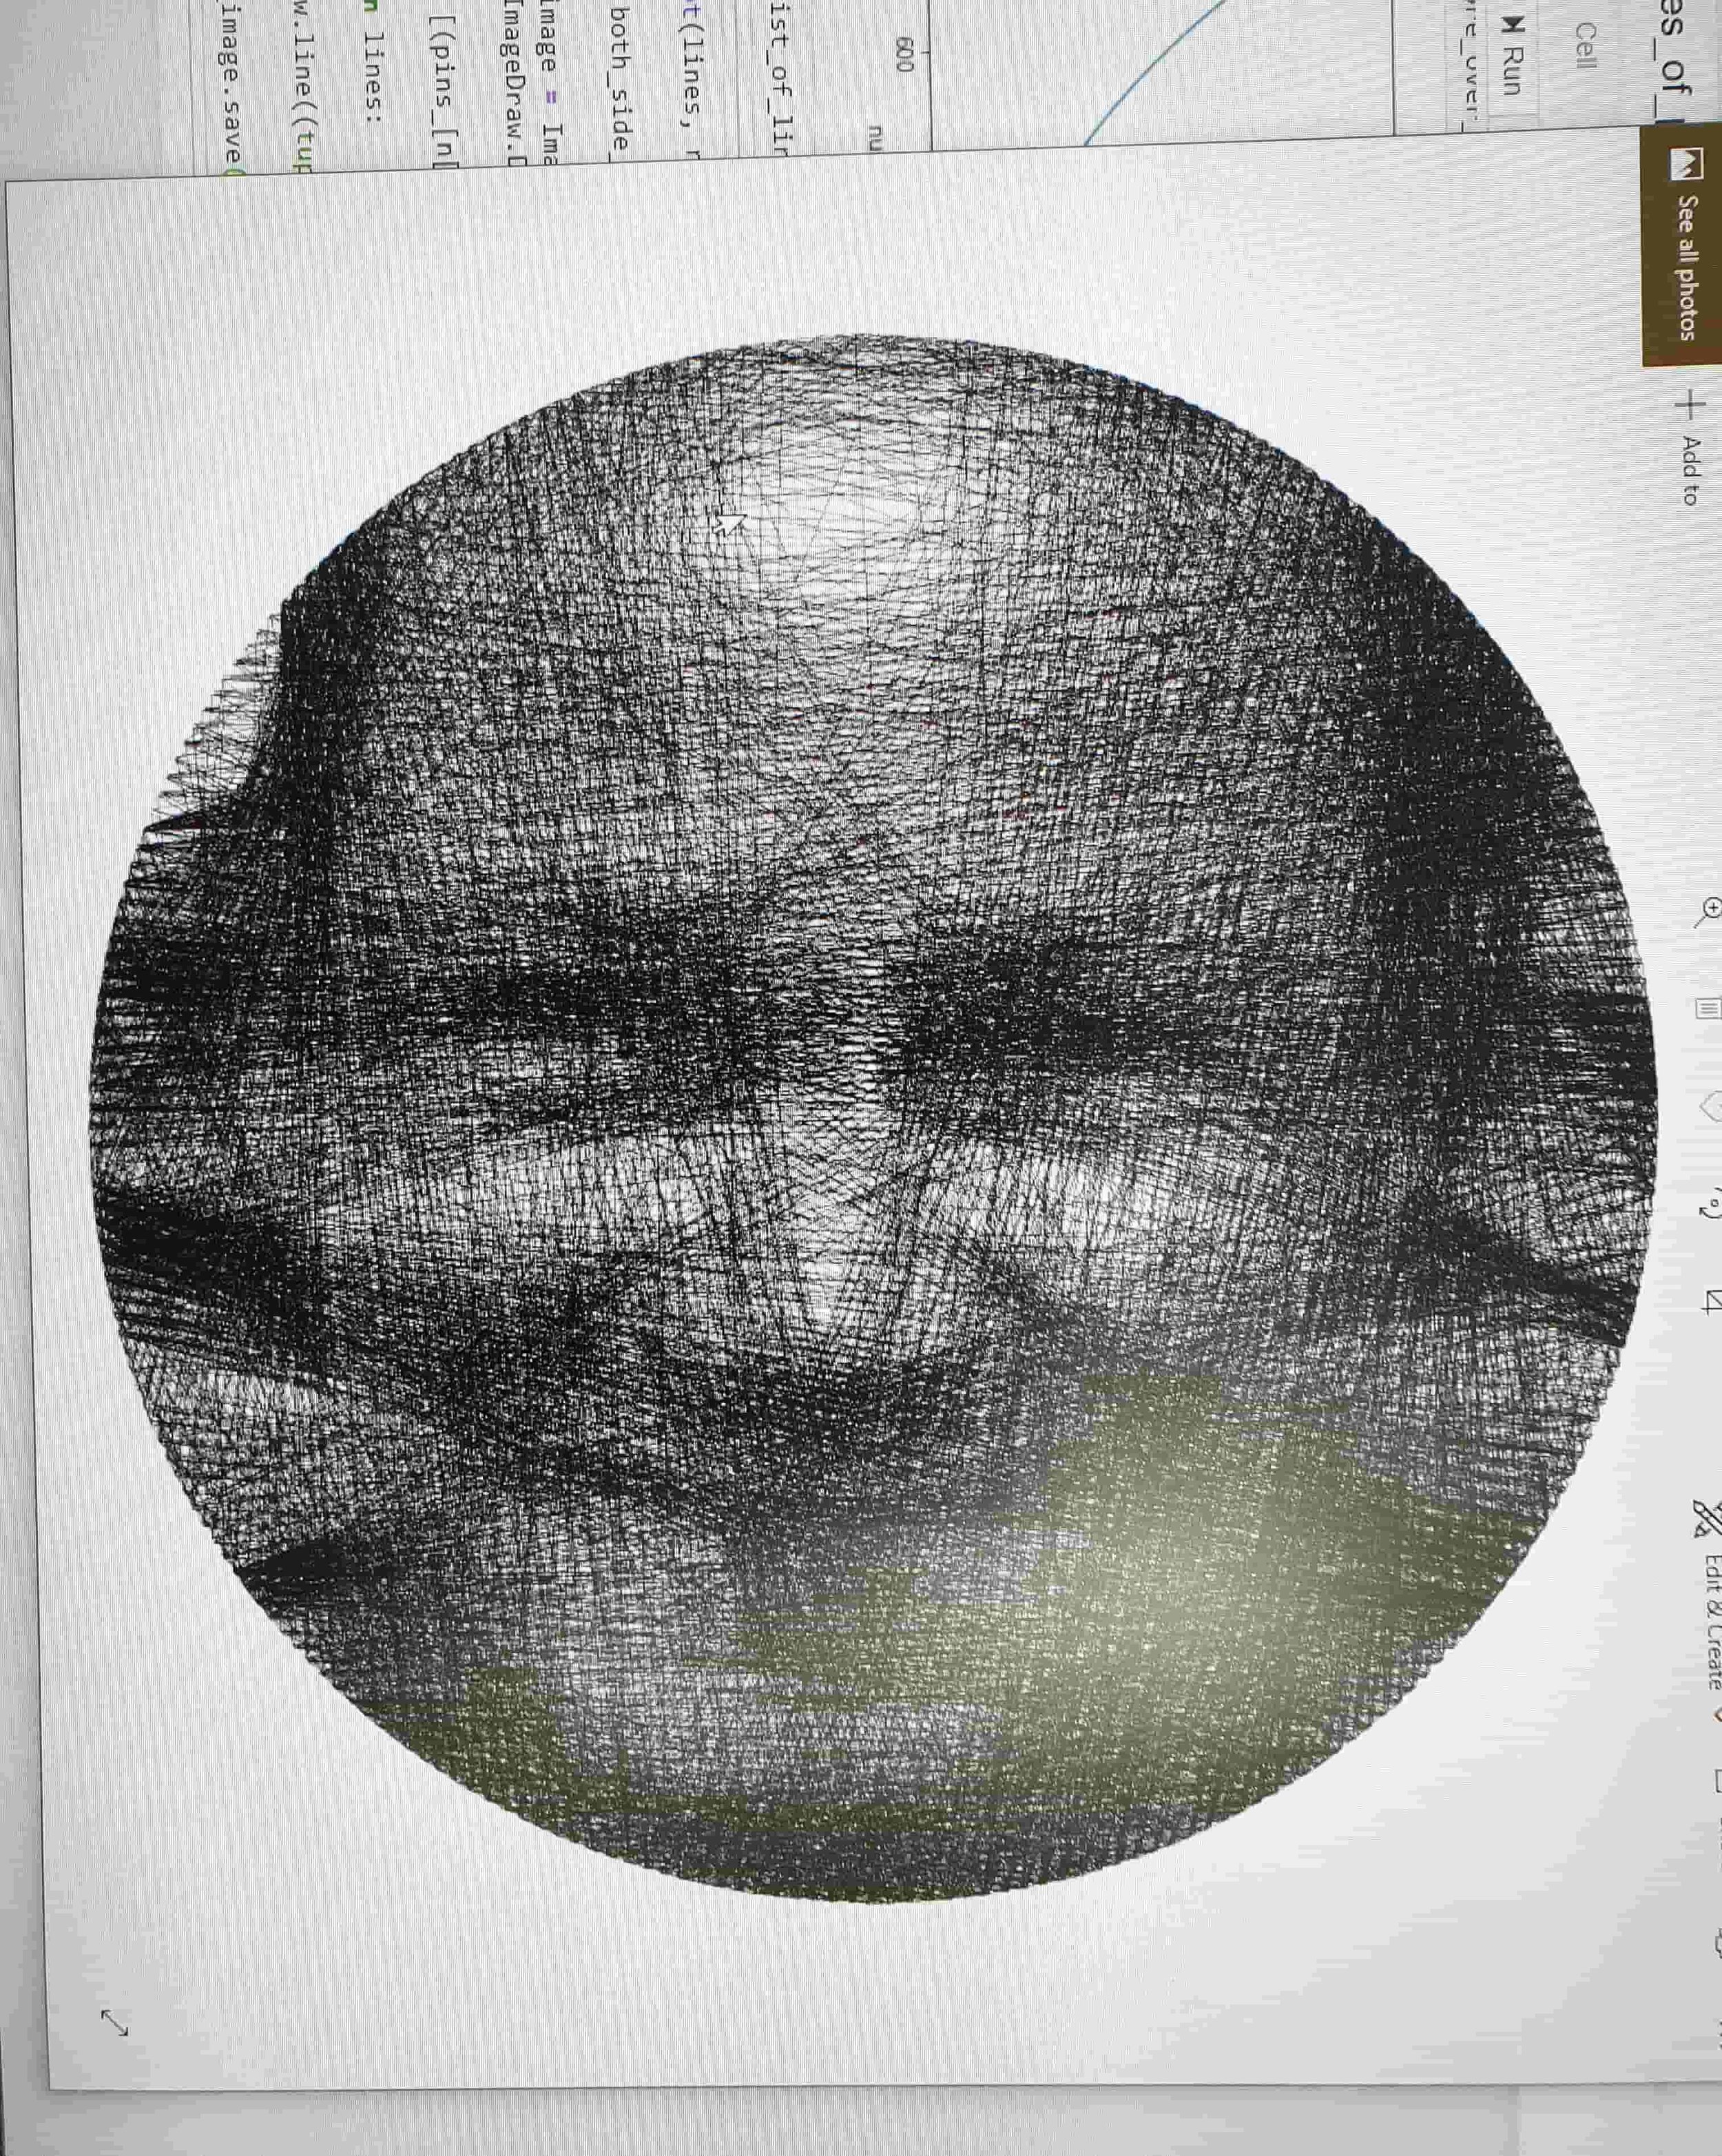
My very first thread art project was a portrait of my mum, for her upcoming 50th birthday.
At this point, my algorithm was still very basic, but it worked surprisingly well - capturing gradients and subtleties much better than I had expected.
Construction Challenges
August 2019
In fact, the physical construction challenges proved to be greater than the algorithmic ones.
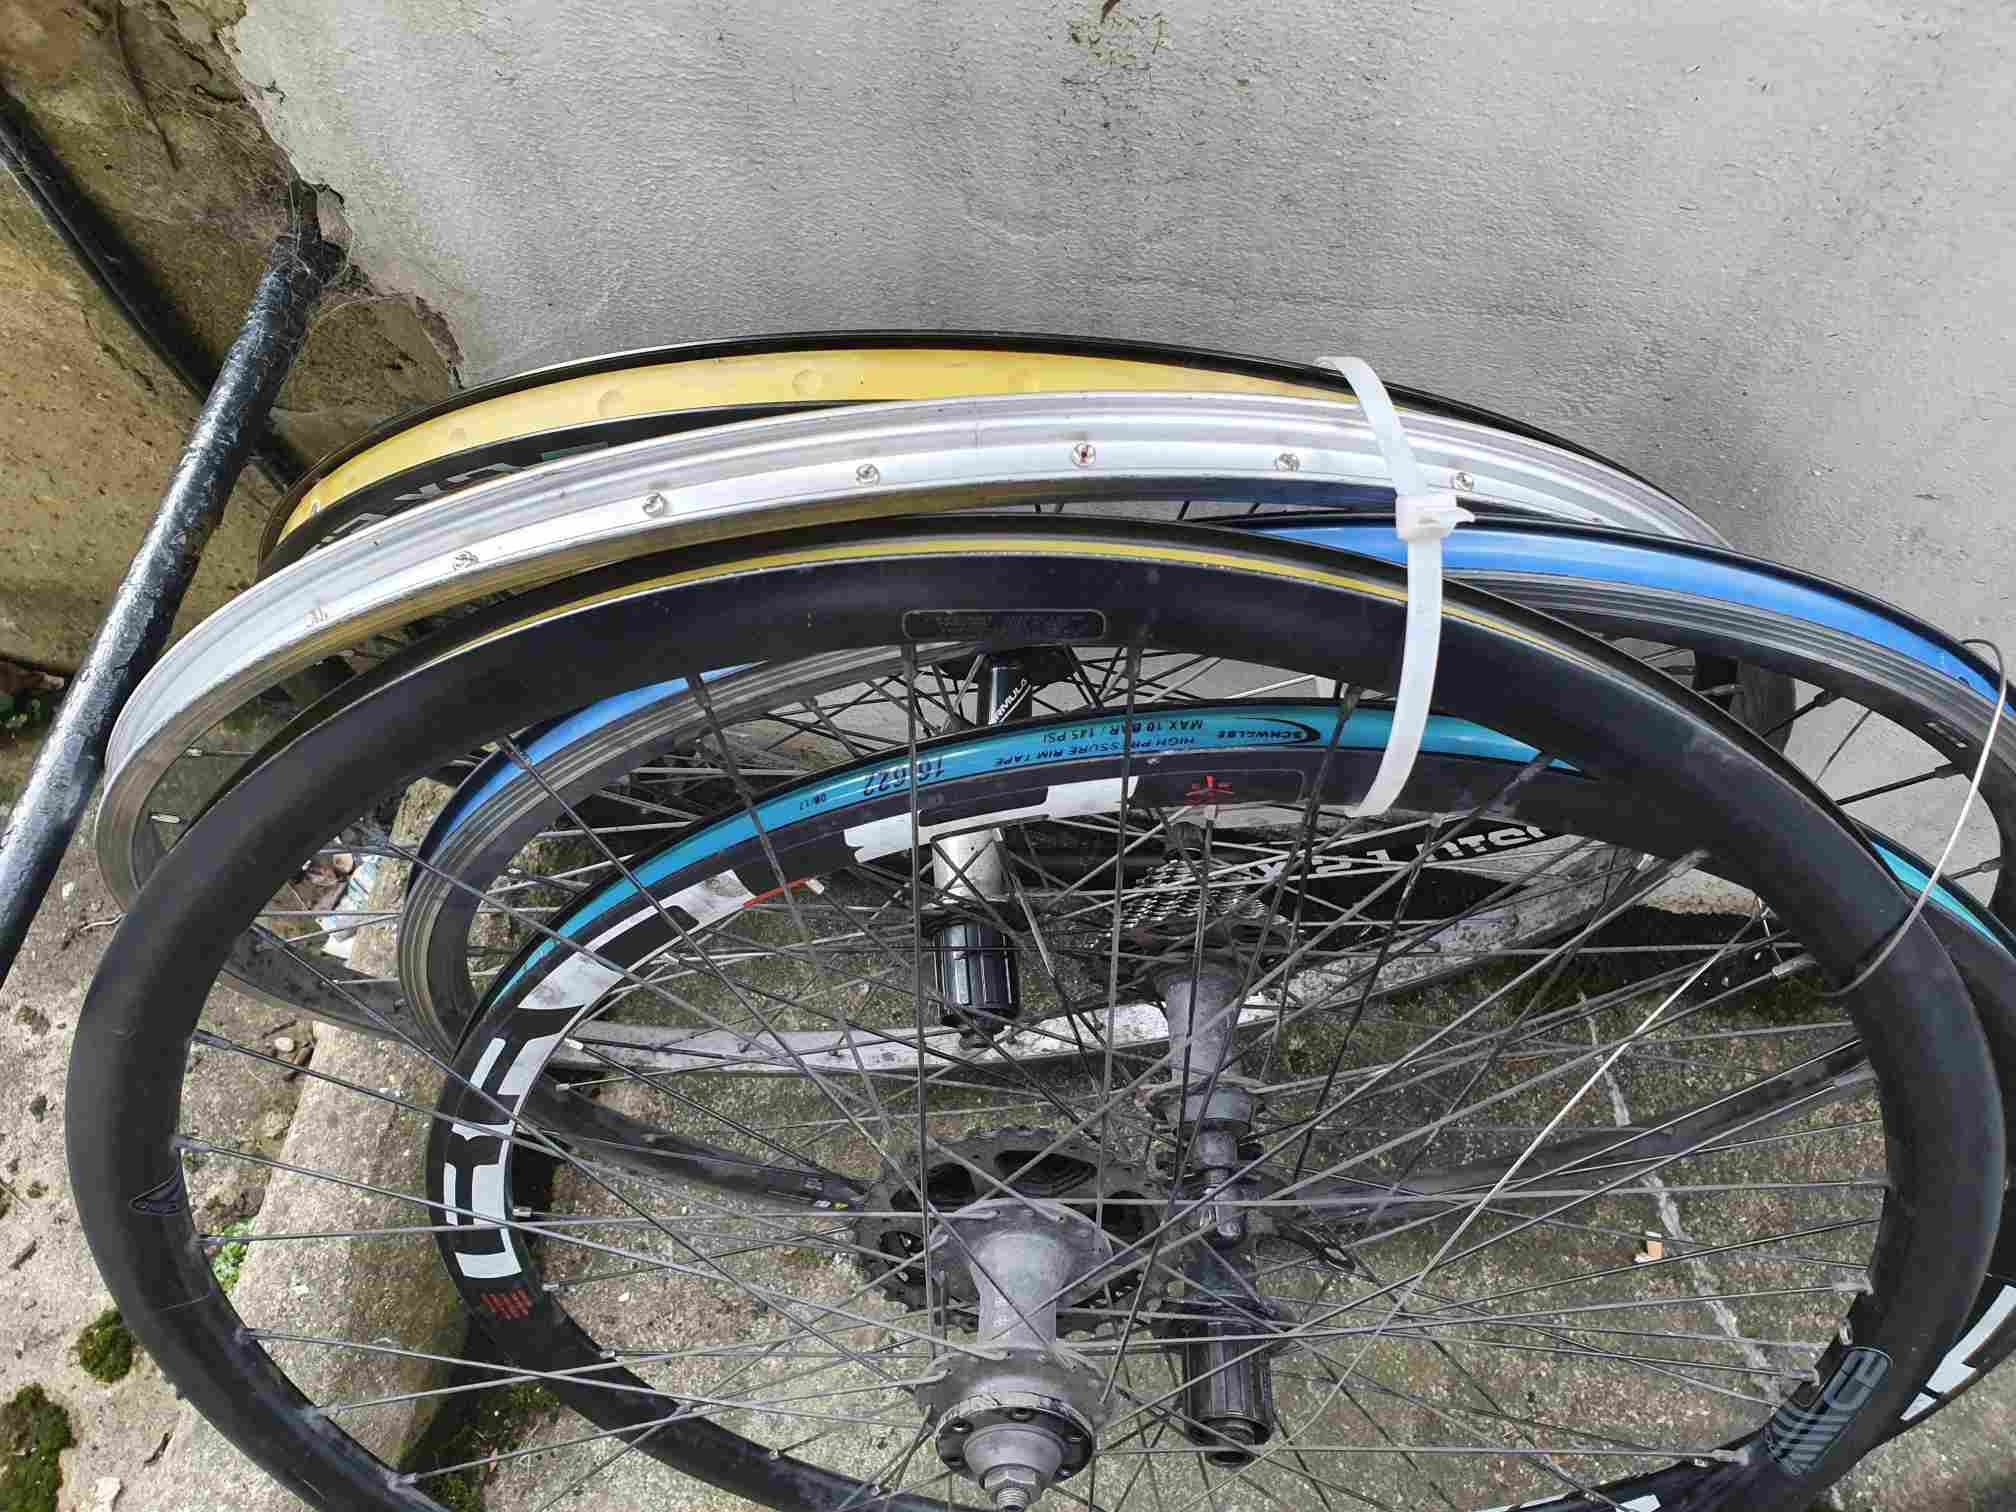
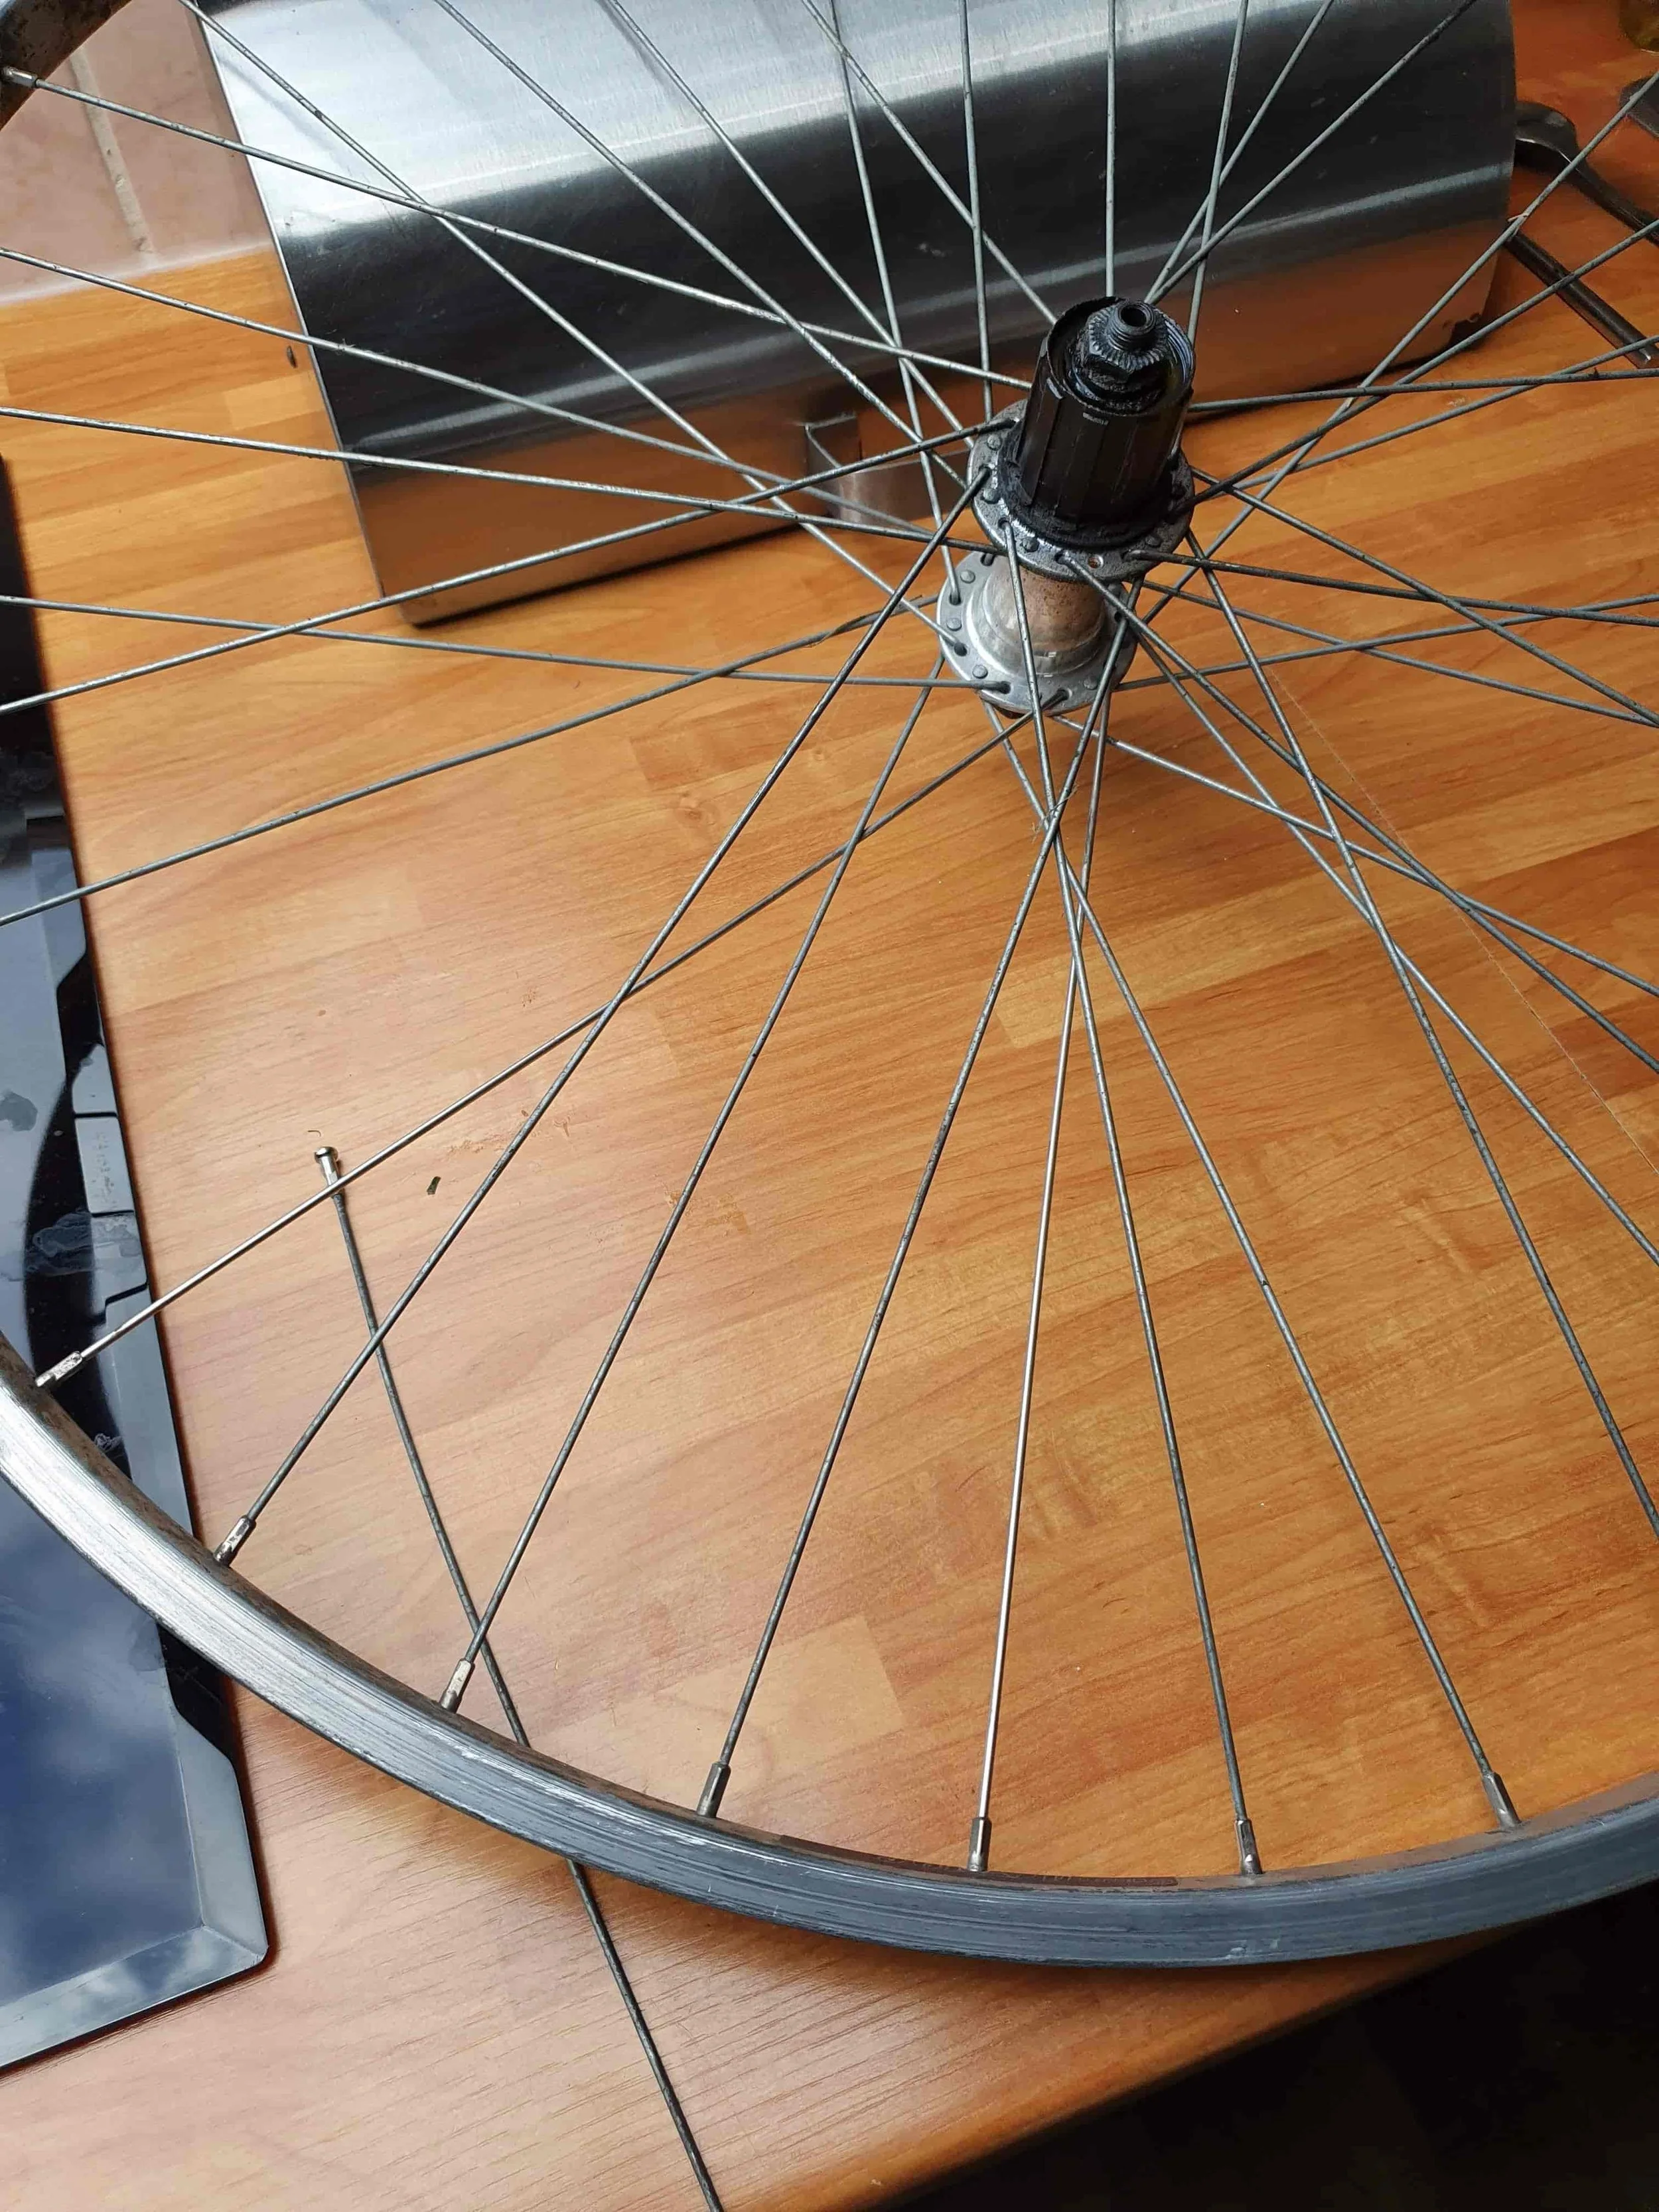
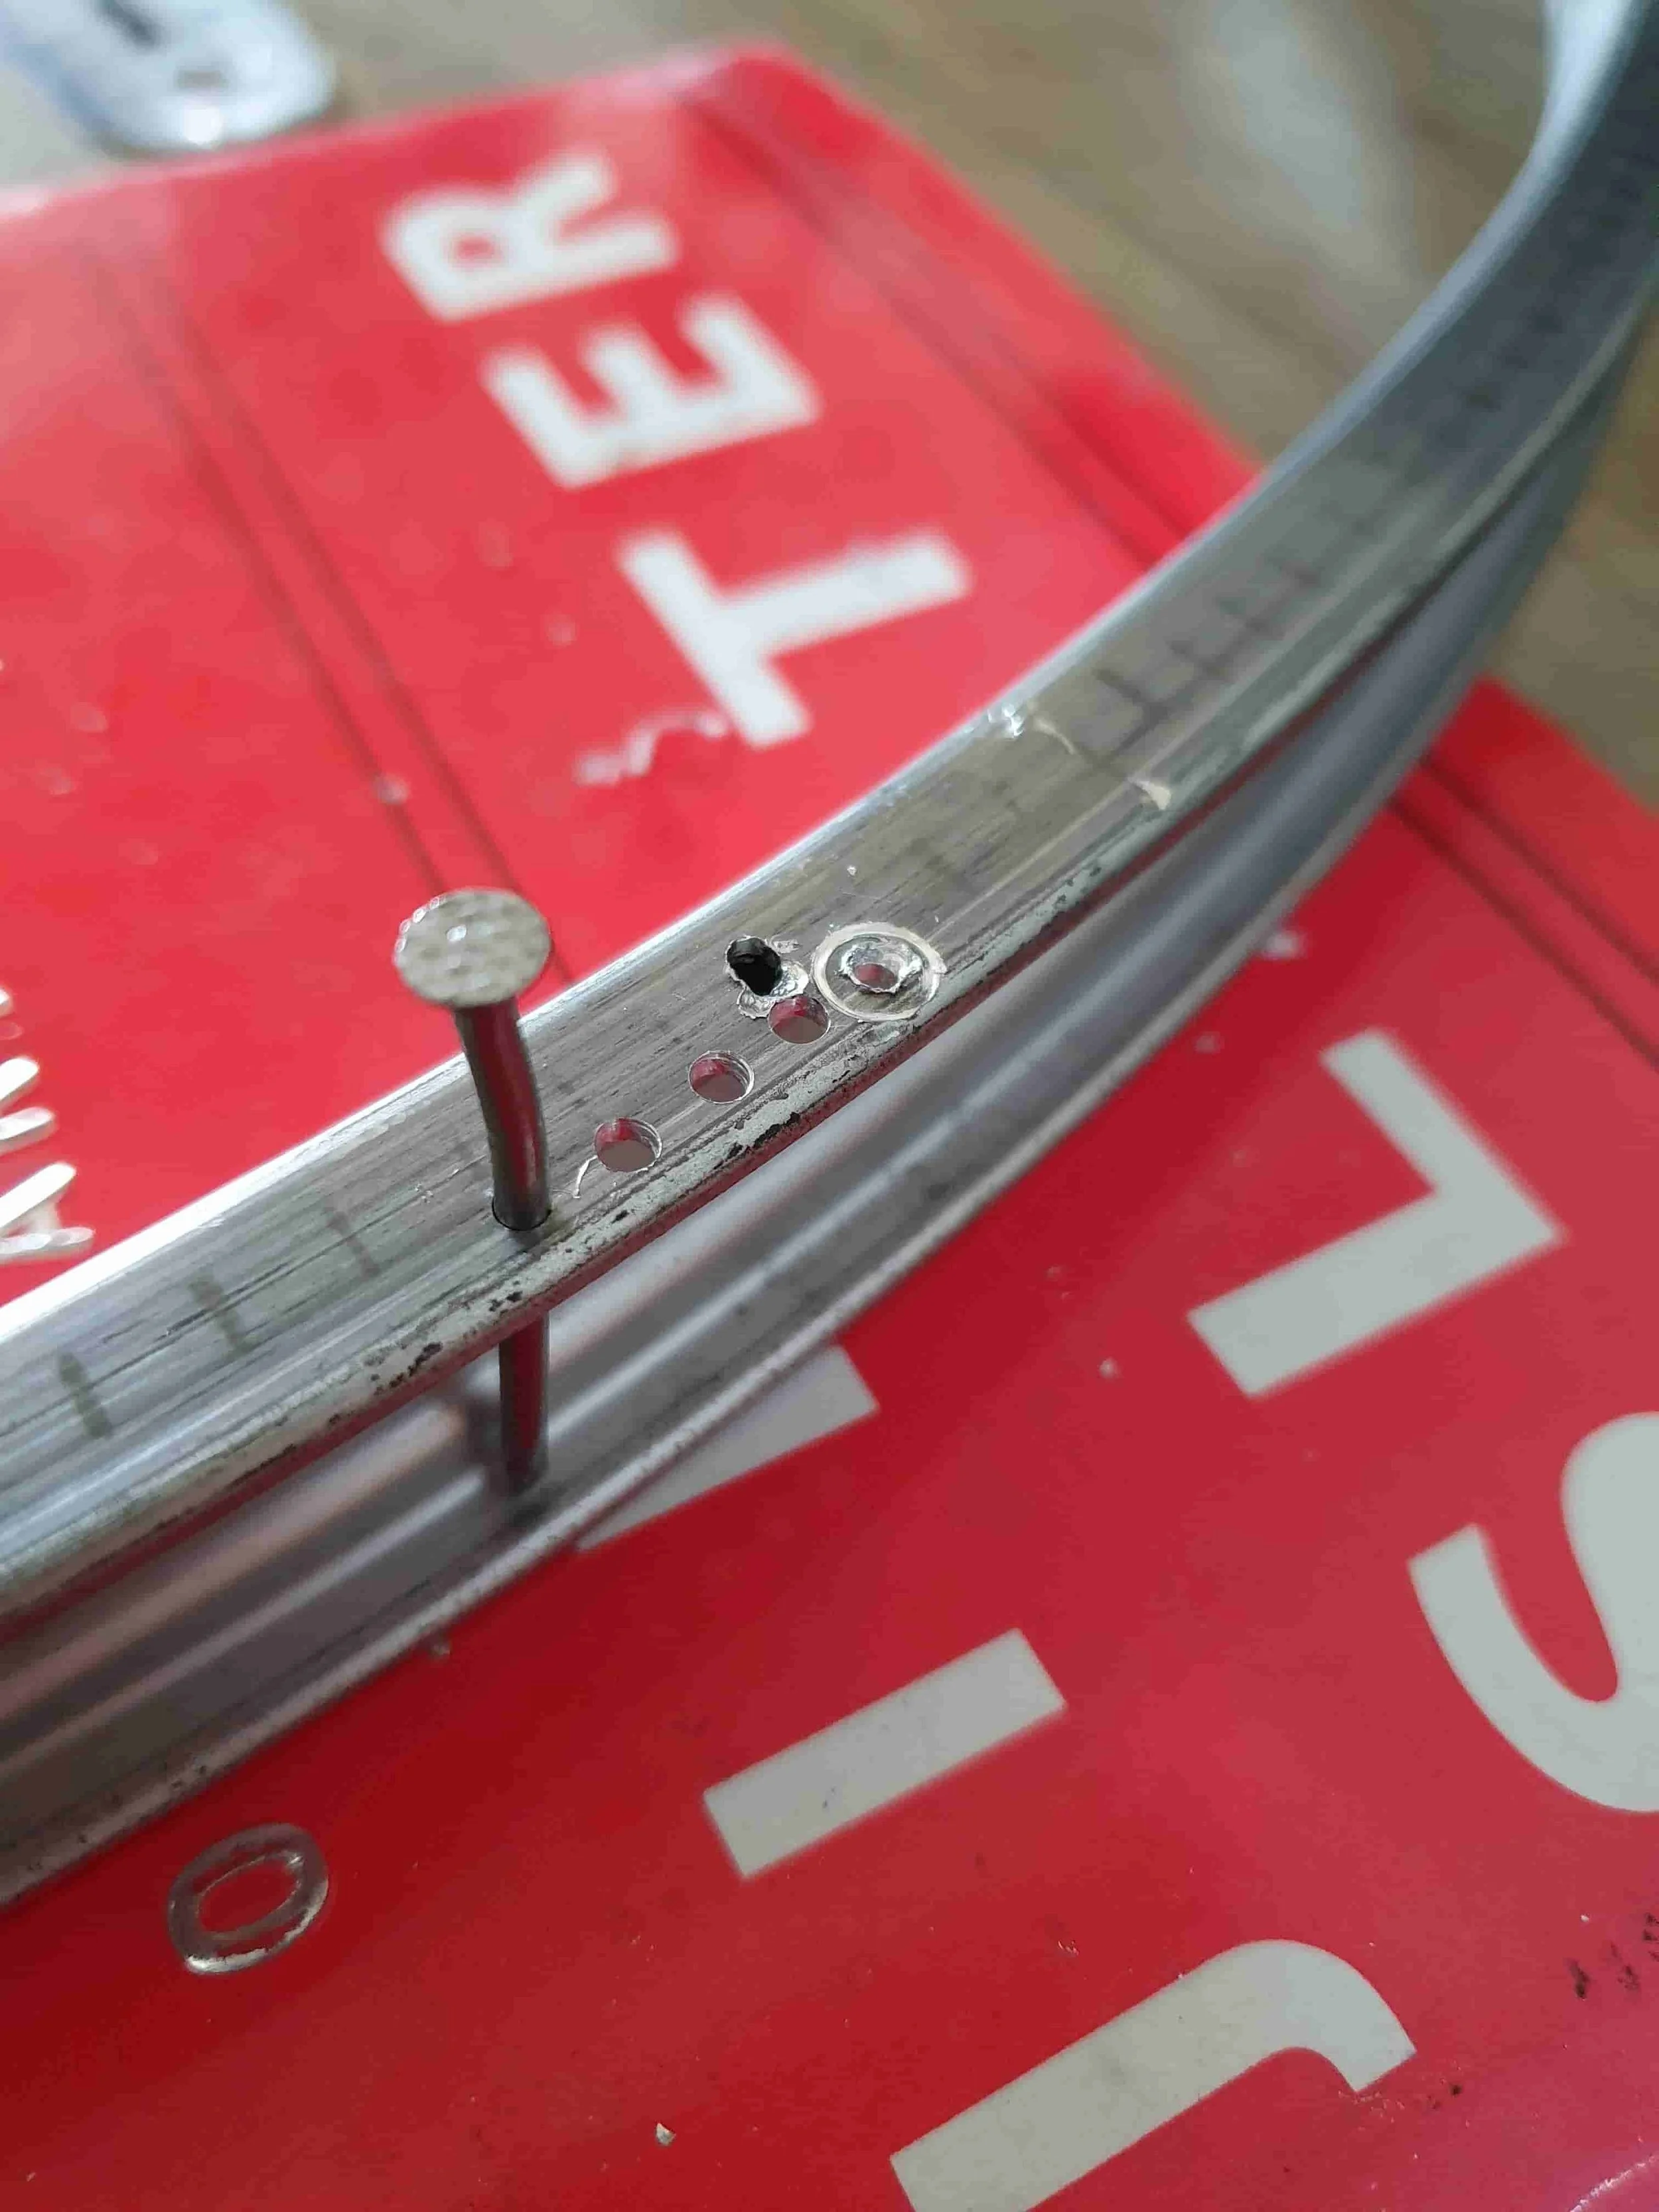
I decided a bike wheel would be a suitable medium for this artwork, so I went to the local bike store and asked if they had any spare wheels that they were planning to throw away - fortunately they had a bunch! I brought them home, used a pair of pliers to cut off all the spokes, then hammered a total of 360 nails through the wheel at regularly spaced intervals.
This process was, as you can probably imagine, pretty time-consuming and painful - not just for me, but also for the copy of The Zulu Principle that I was using as a stand (see right image), which must have had at least five nails through it by the end!
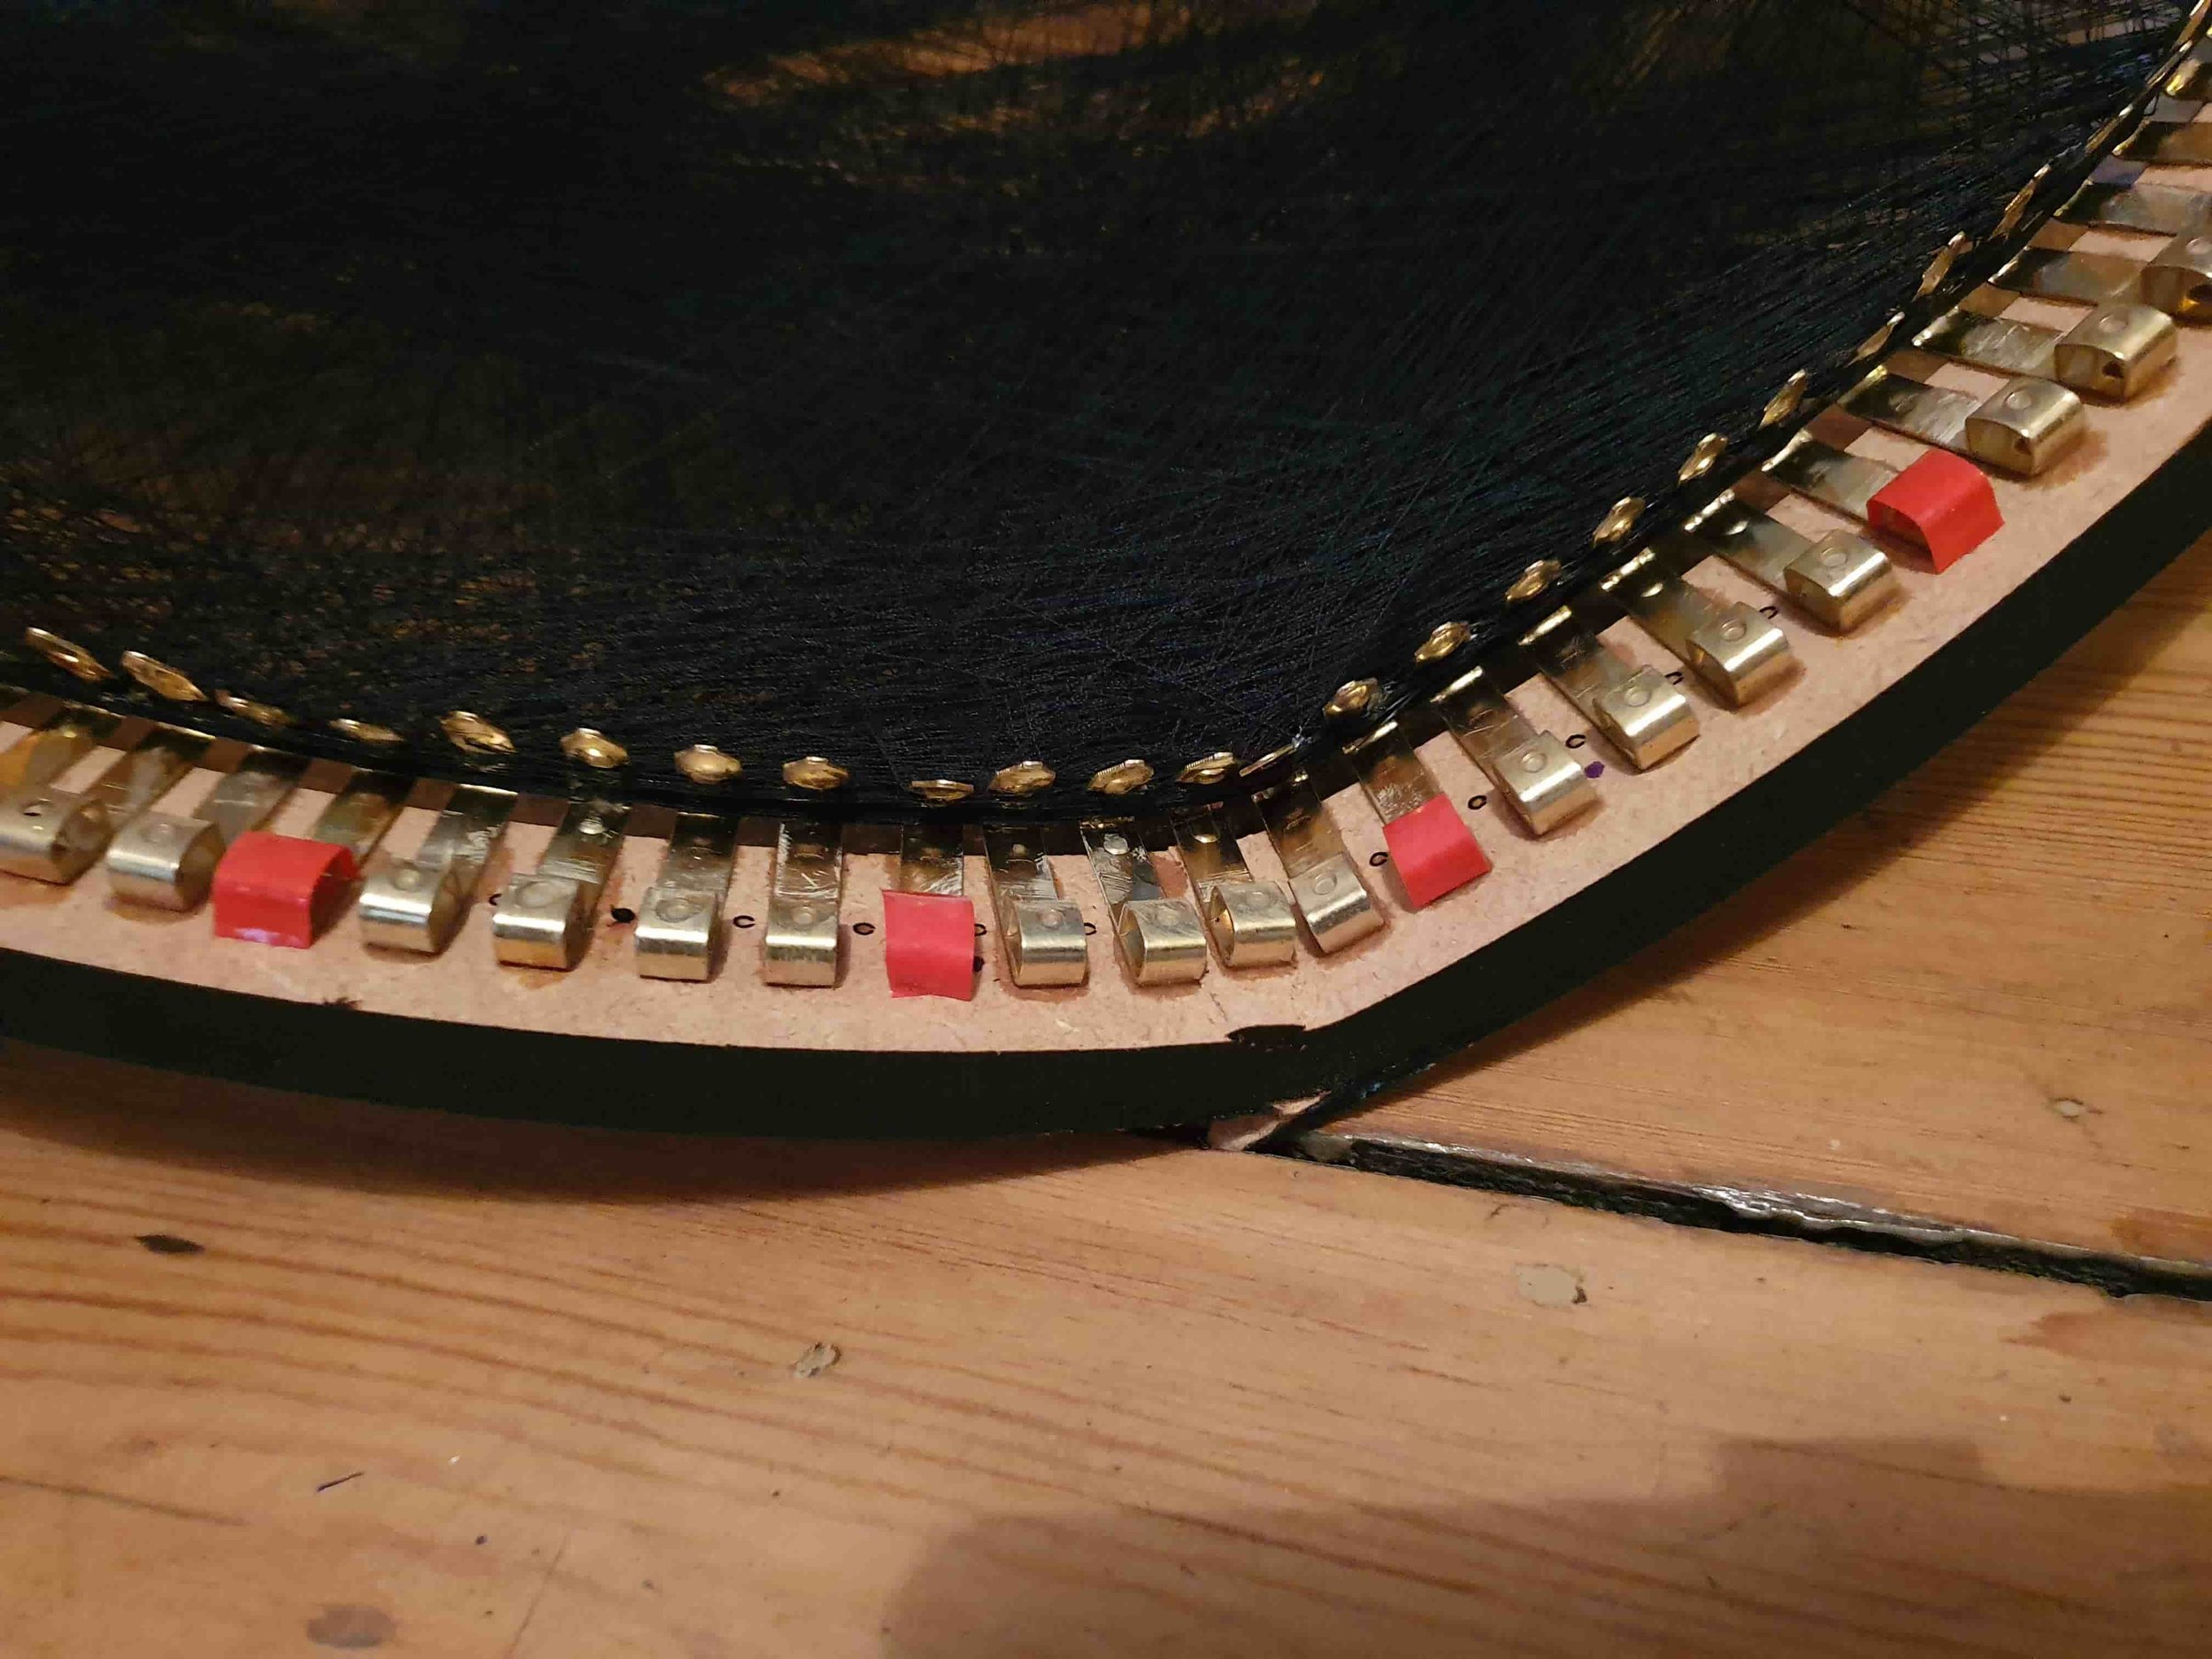
These days, I have moved away from nails and instead use picture hooks. As well as being easier to use, they also allow me to get more resolution, because I can use each side of the picture hook as a separate point on the perimeter (unlike nails, which are too thin to meaningfully be counted as two separate points).
Looking Askance
August 2019
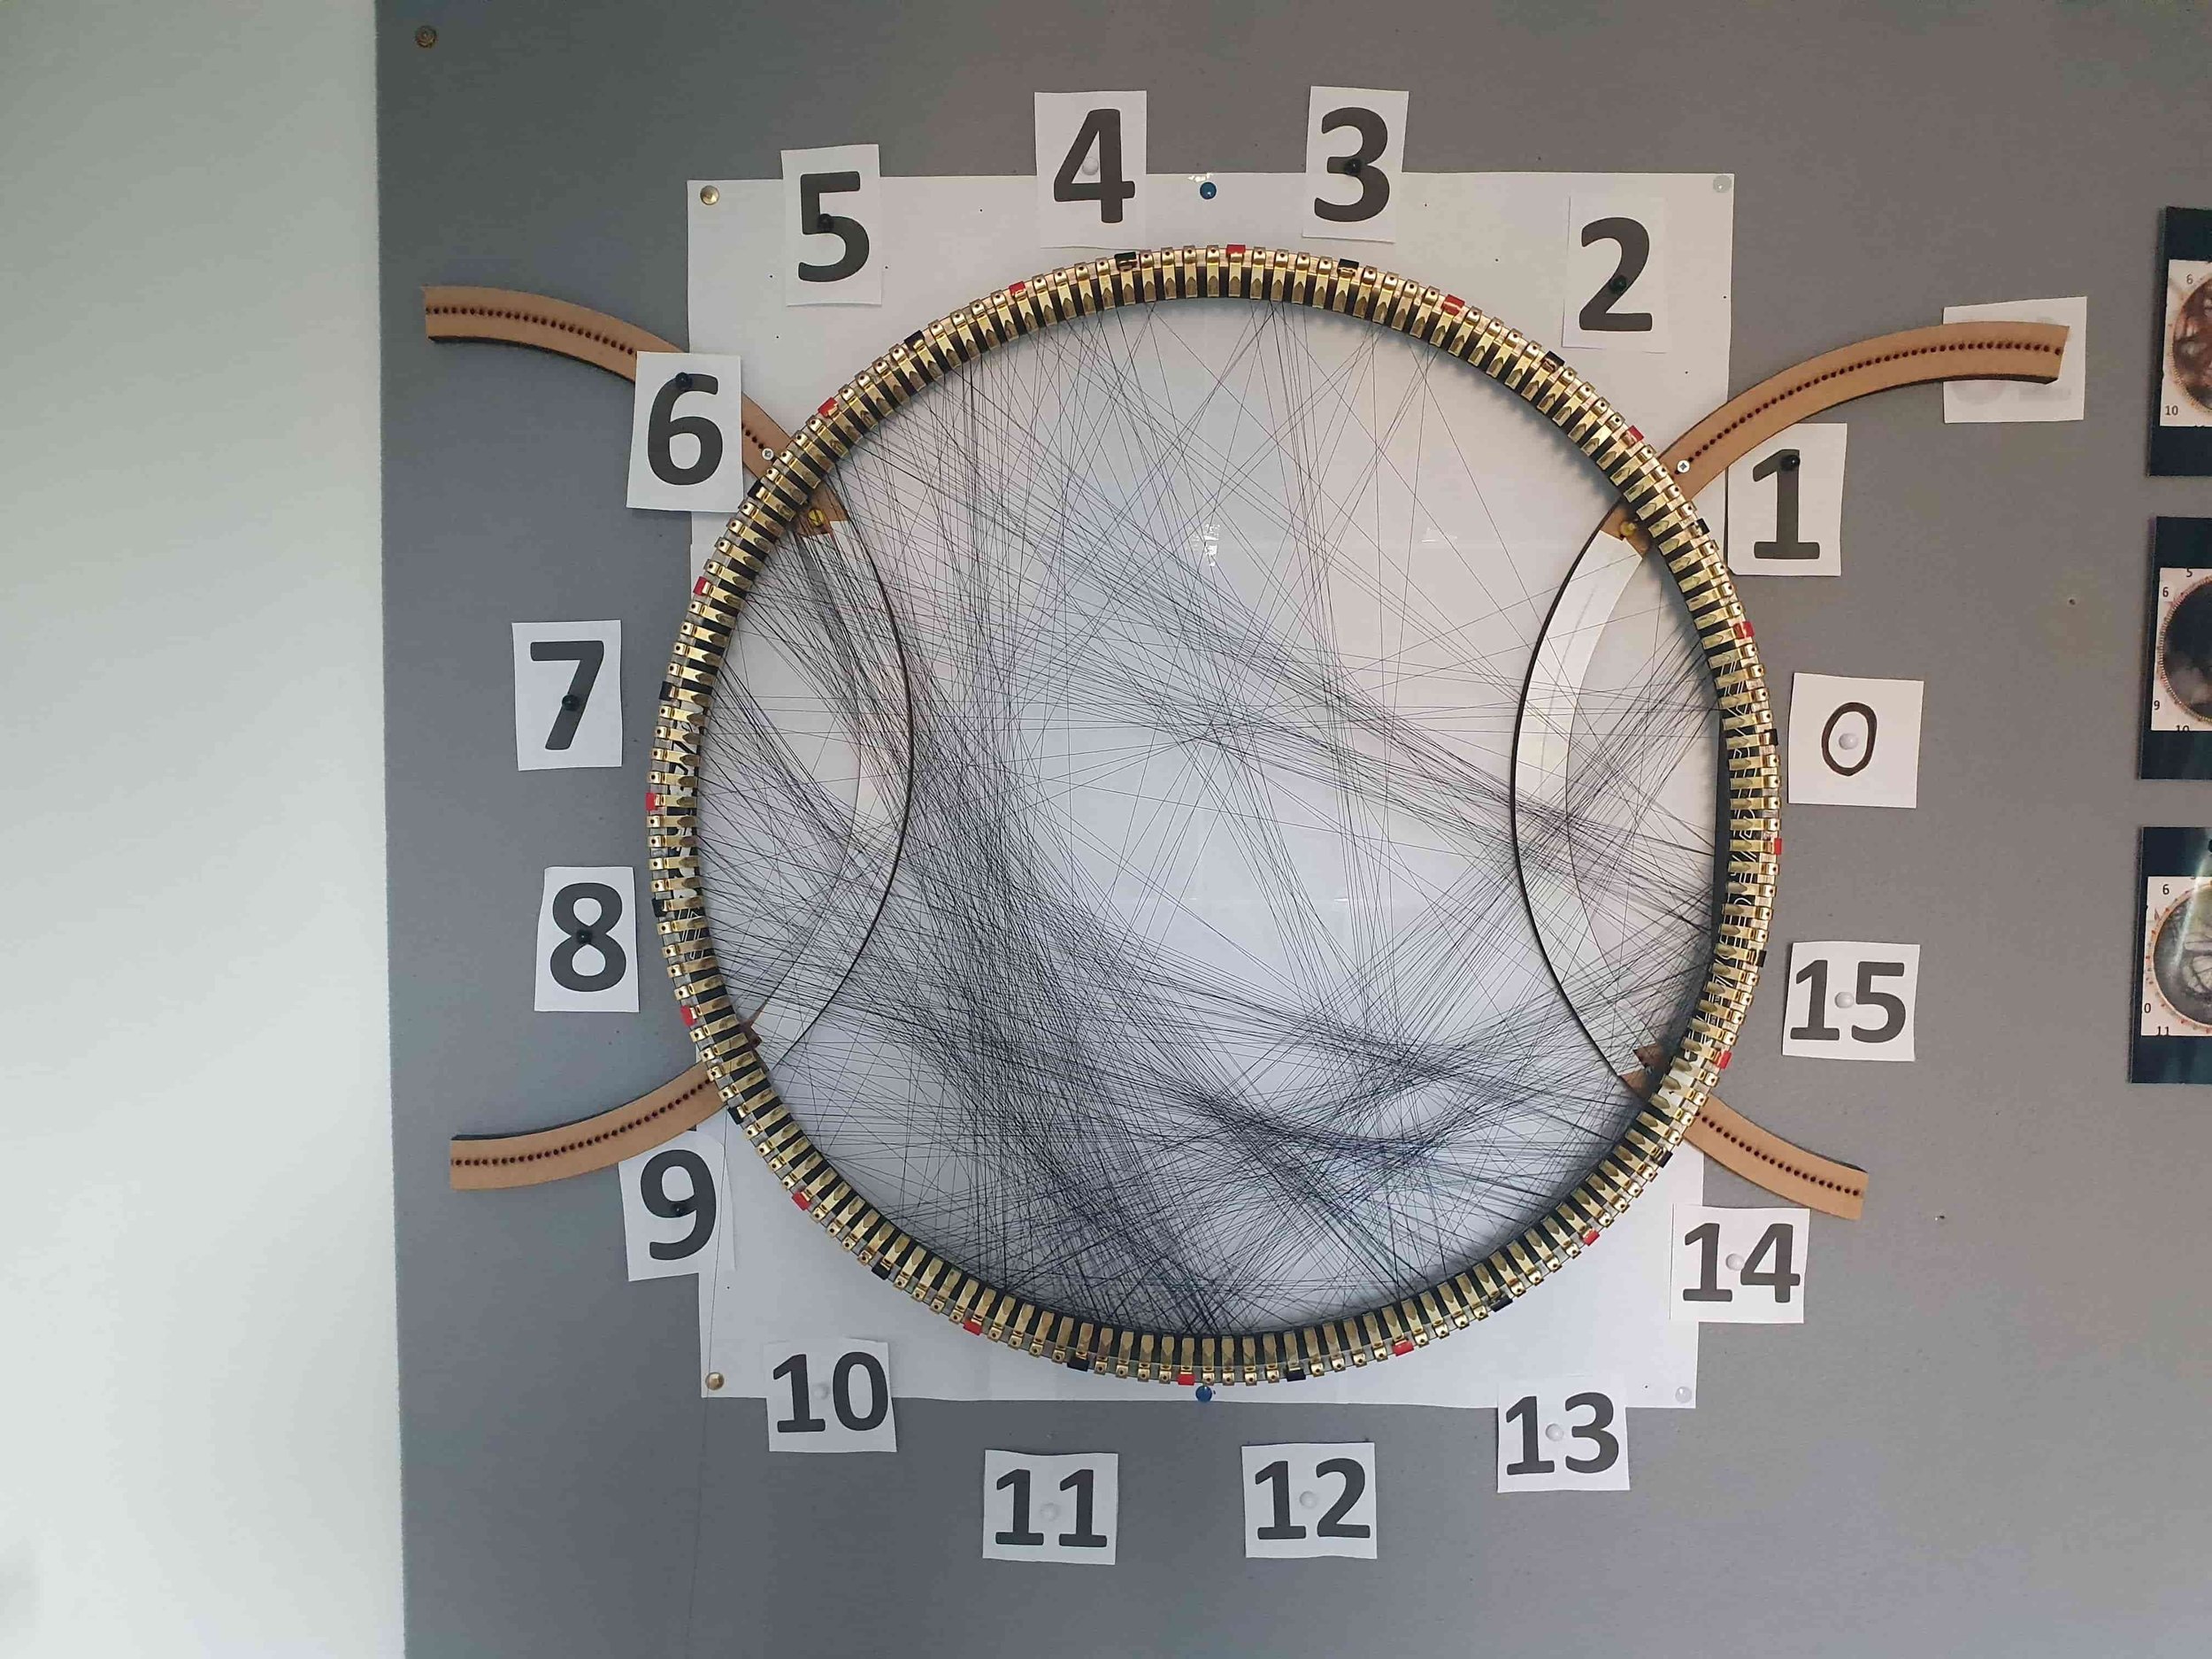
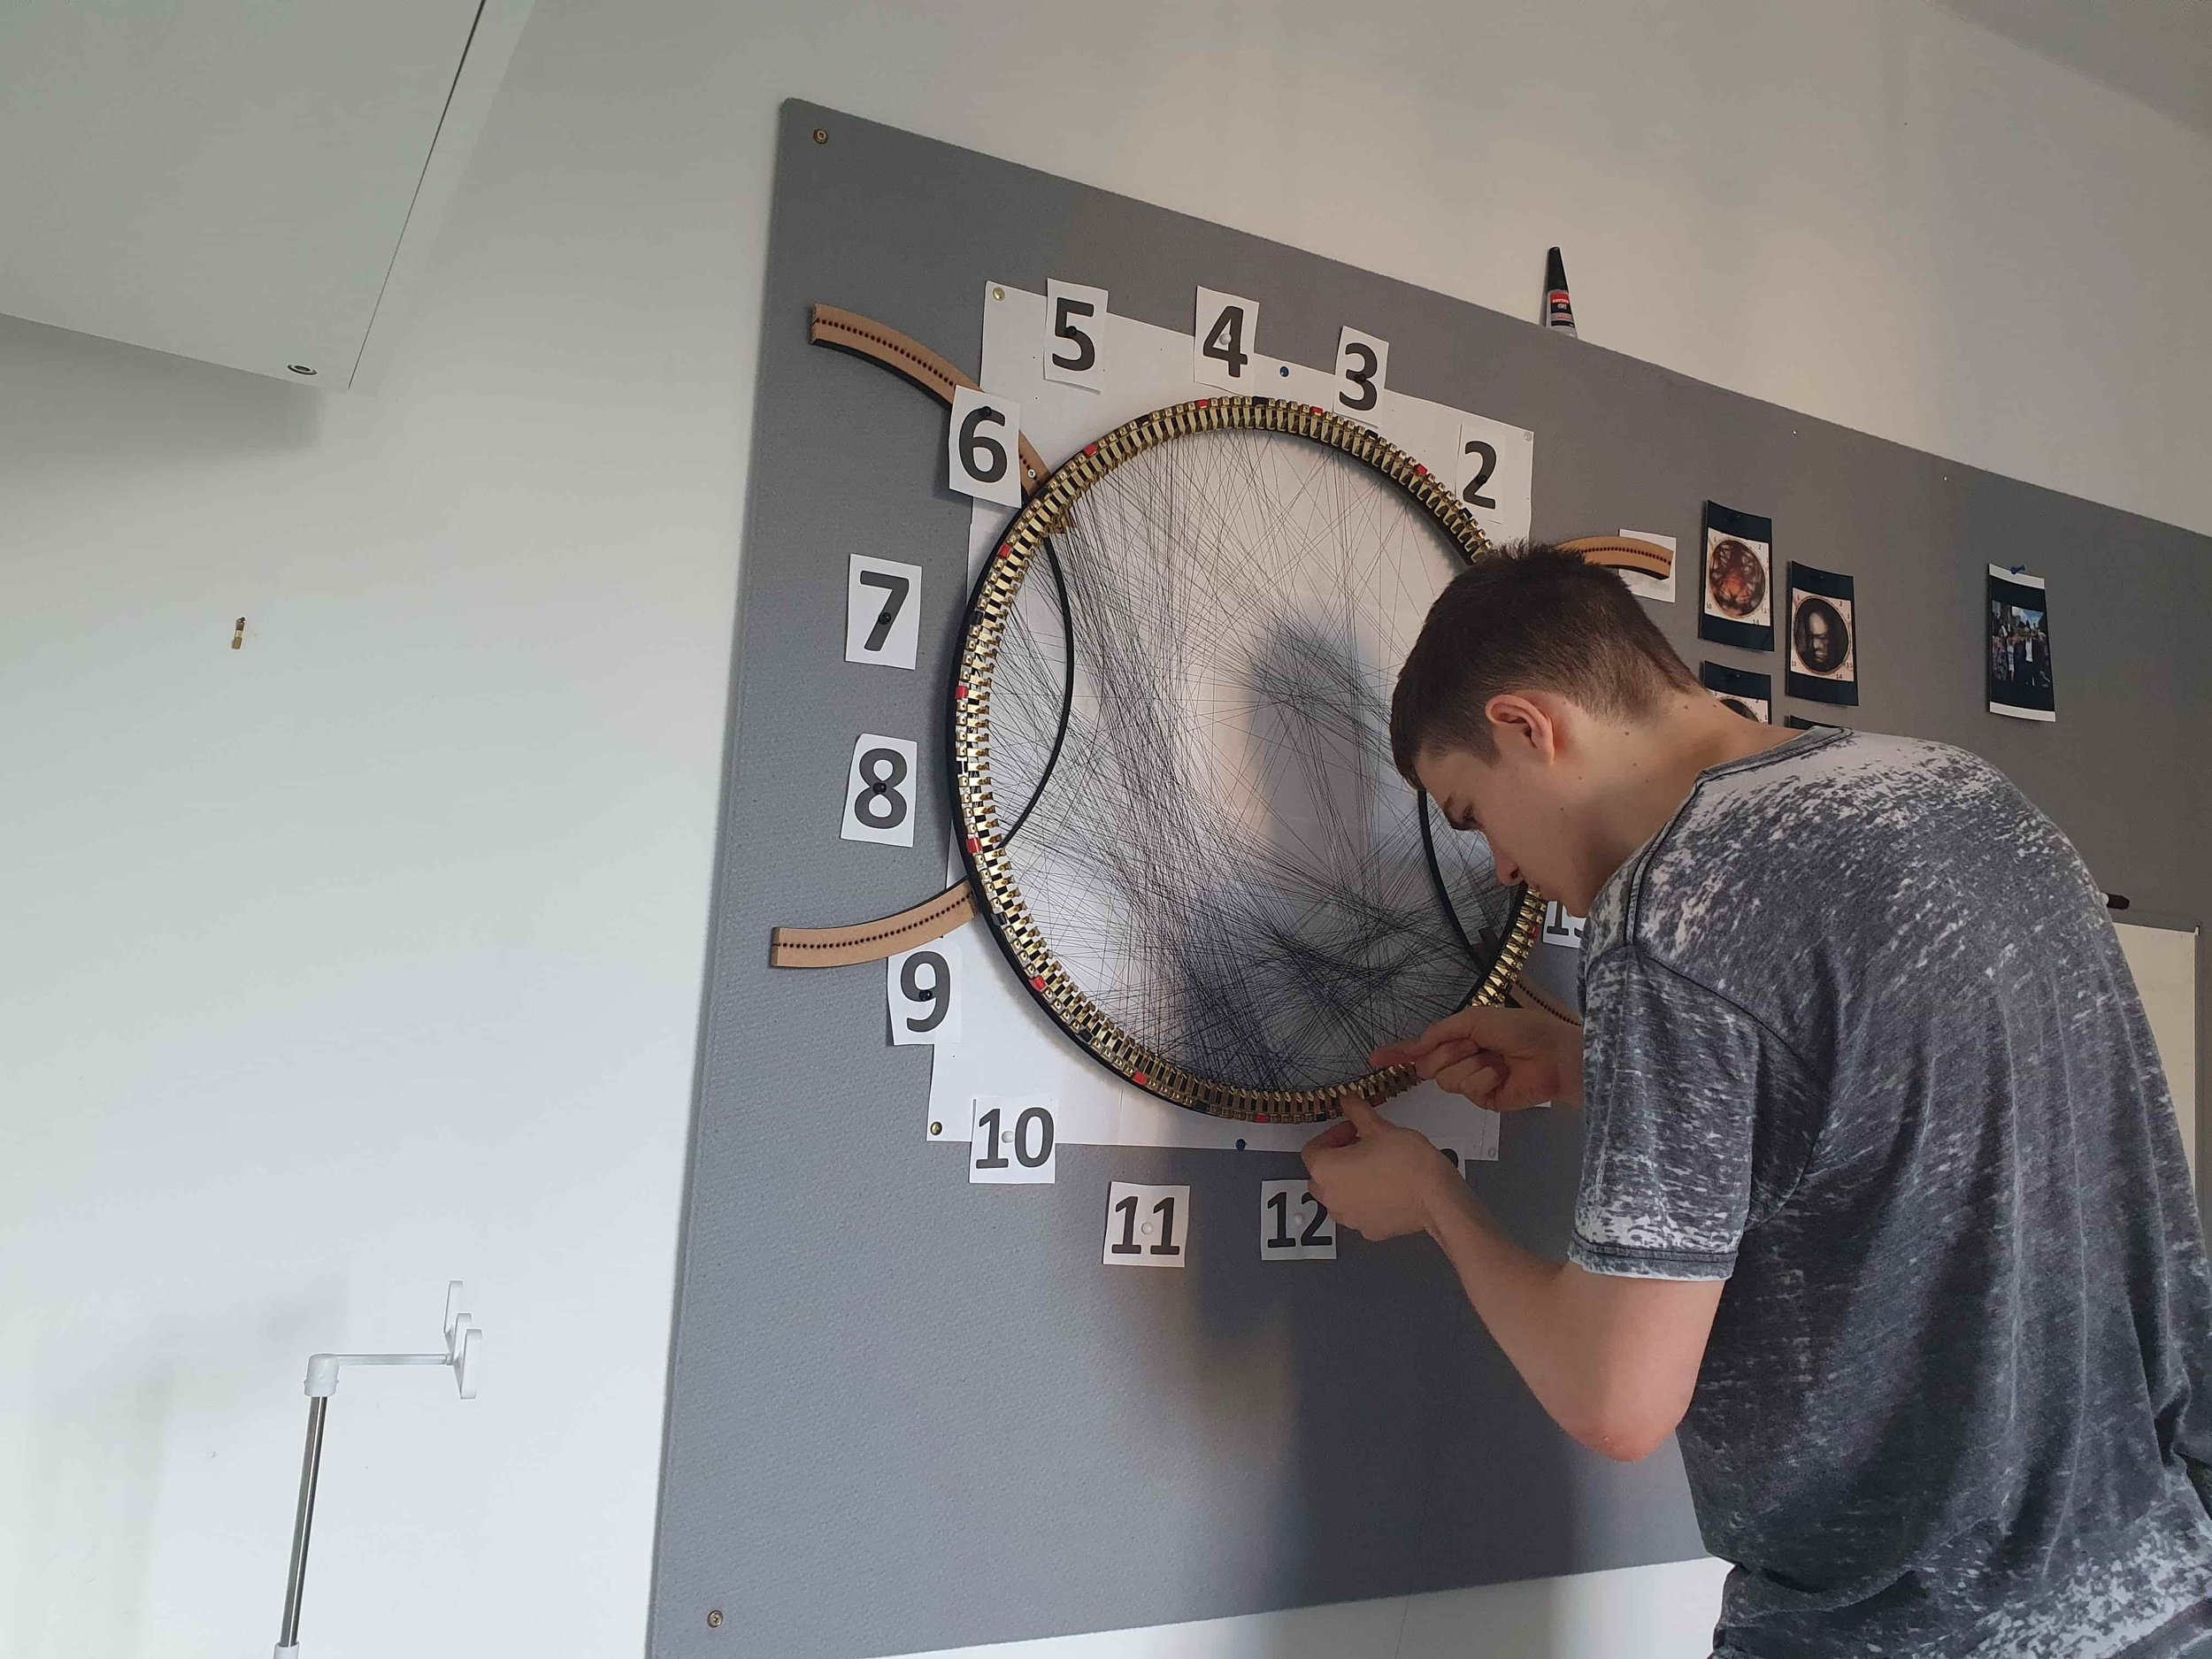
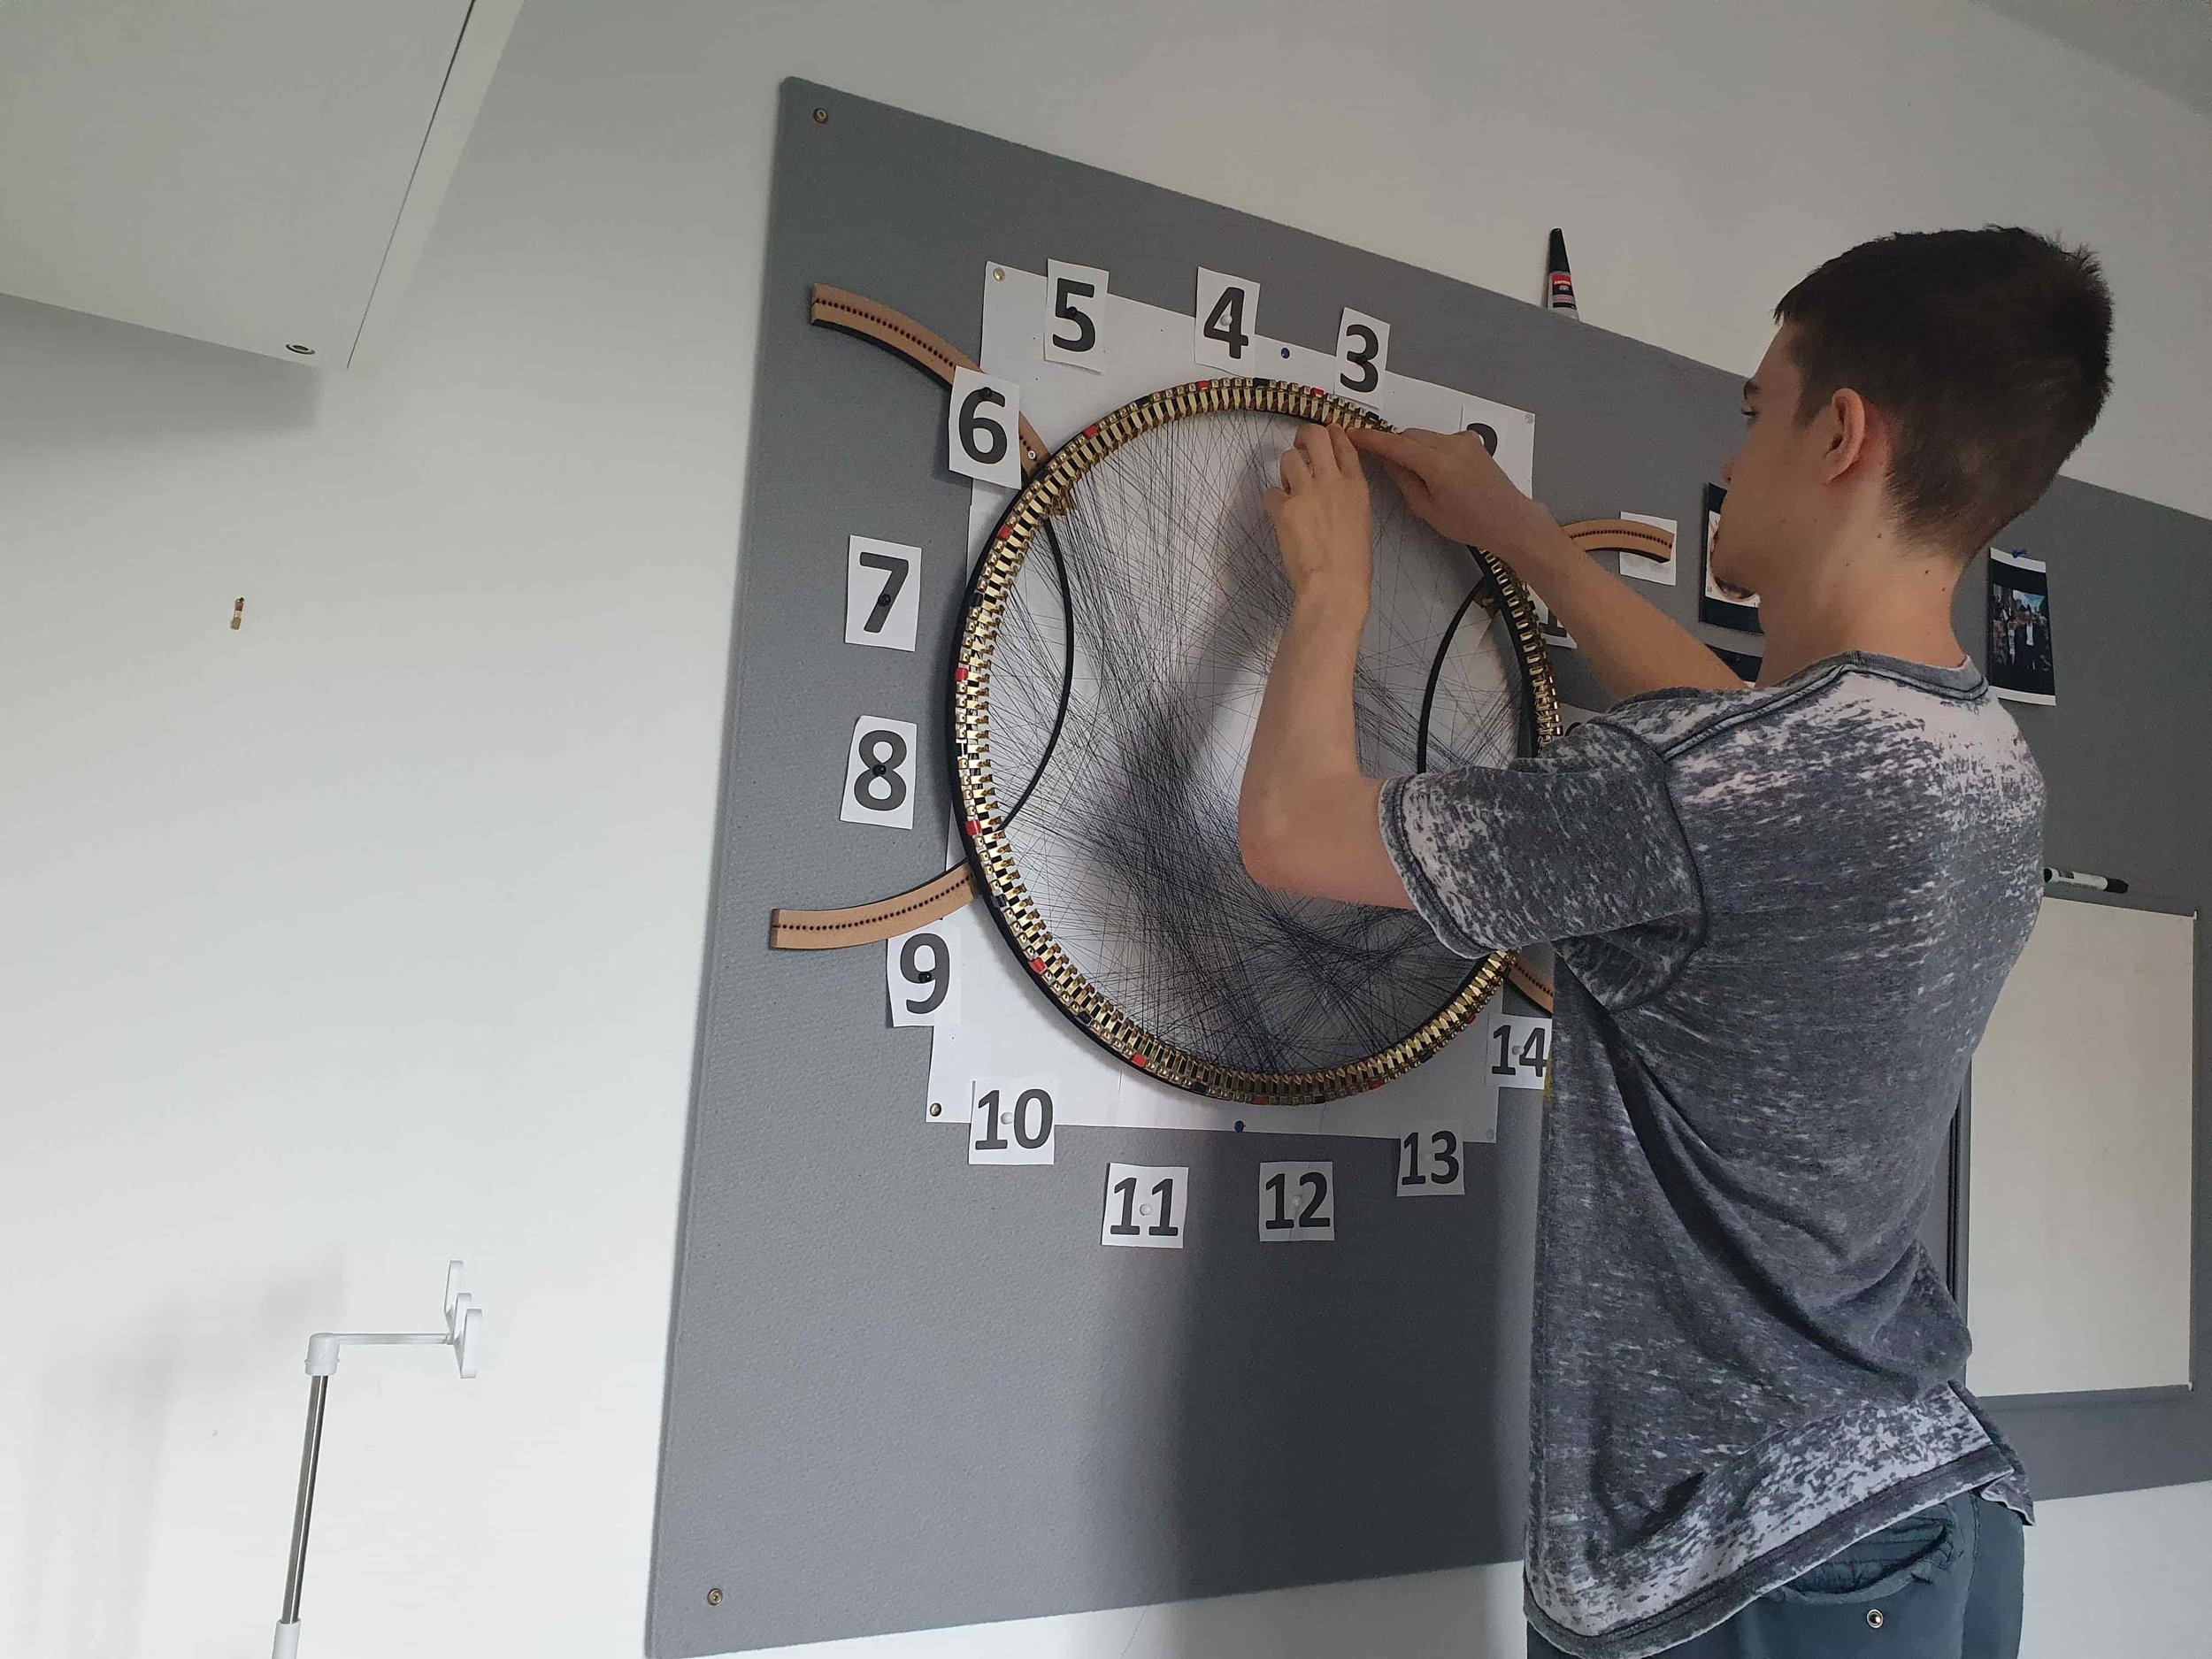
The process of threading got off to a rough start.
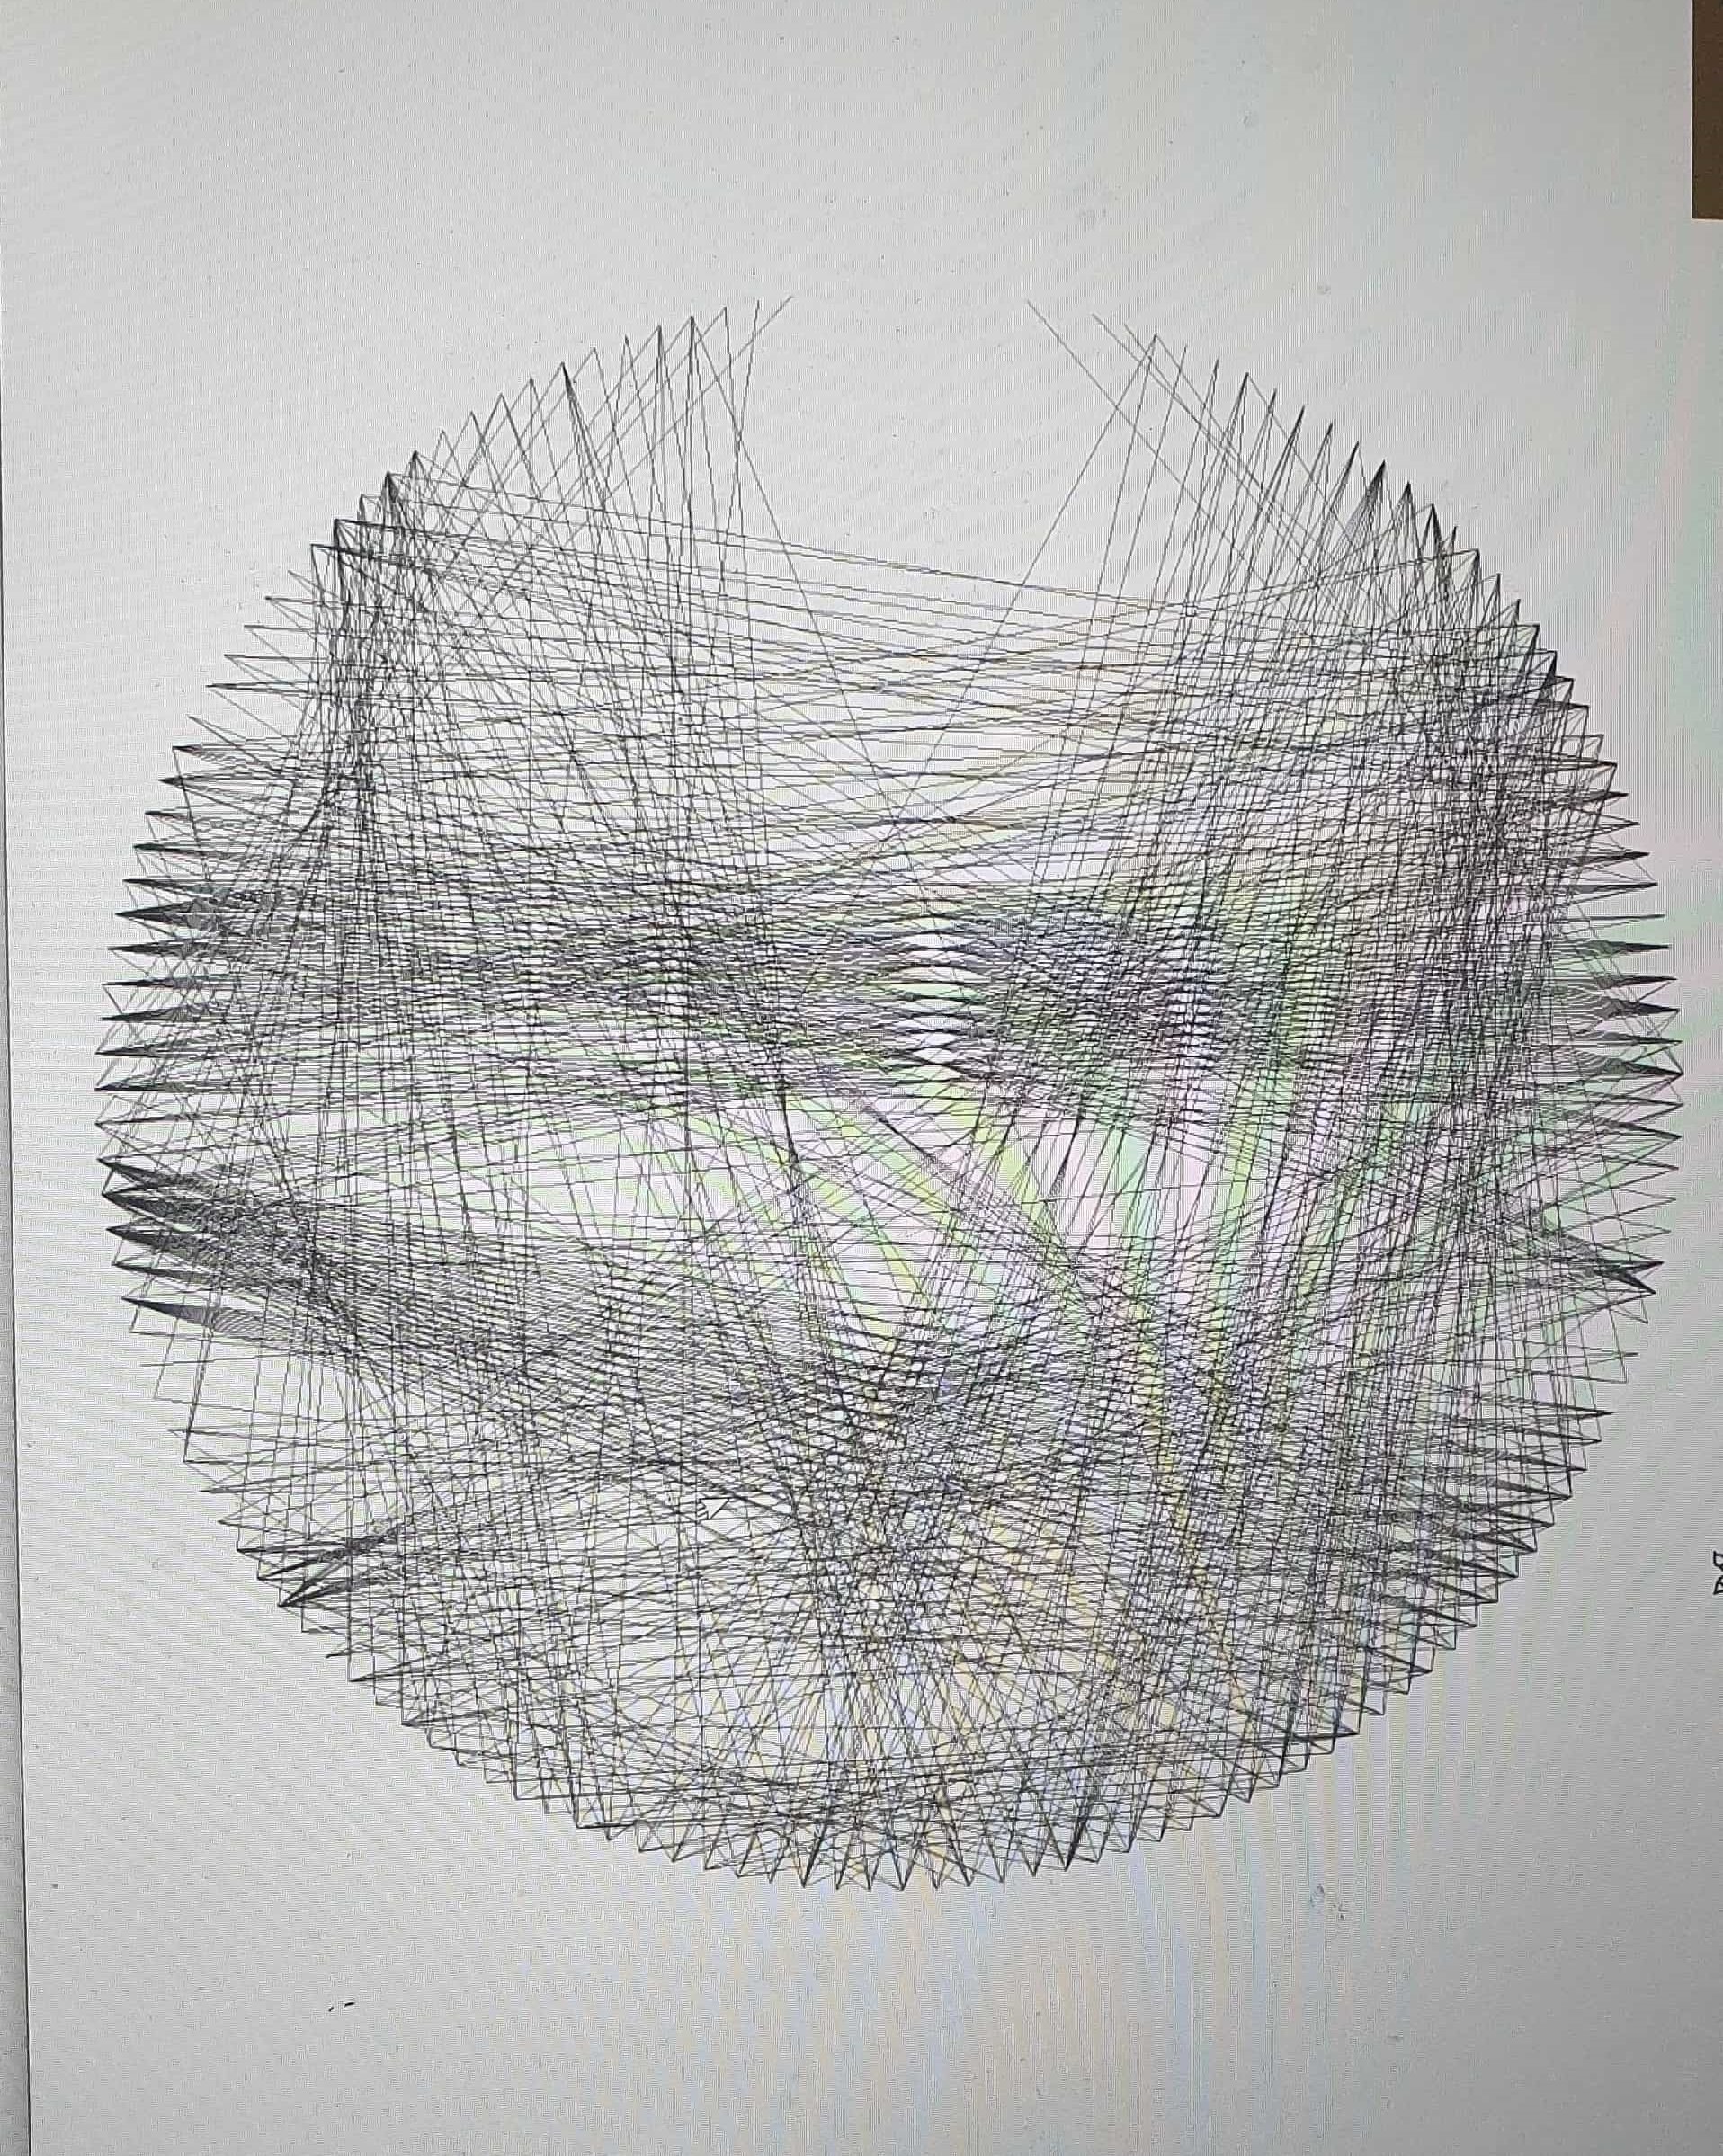
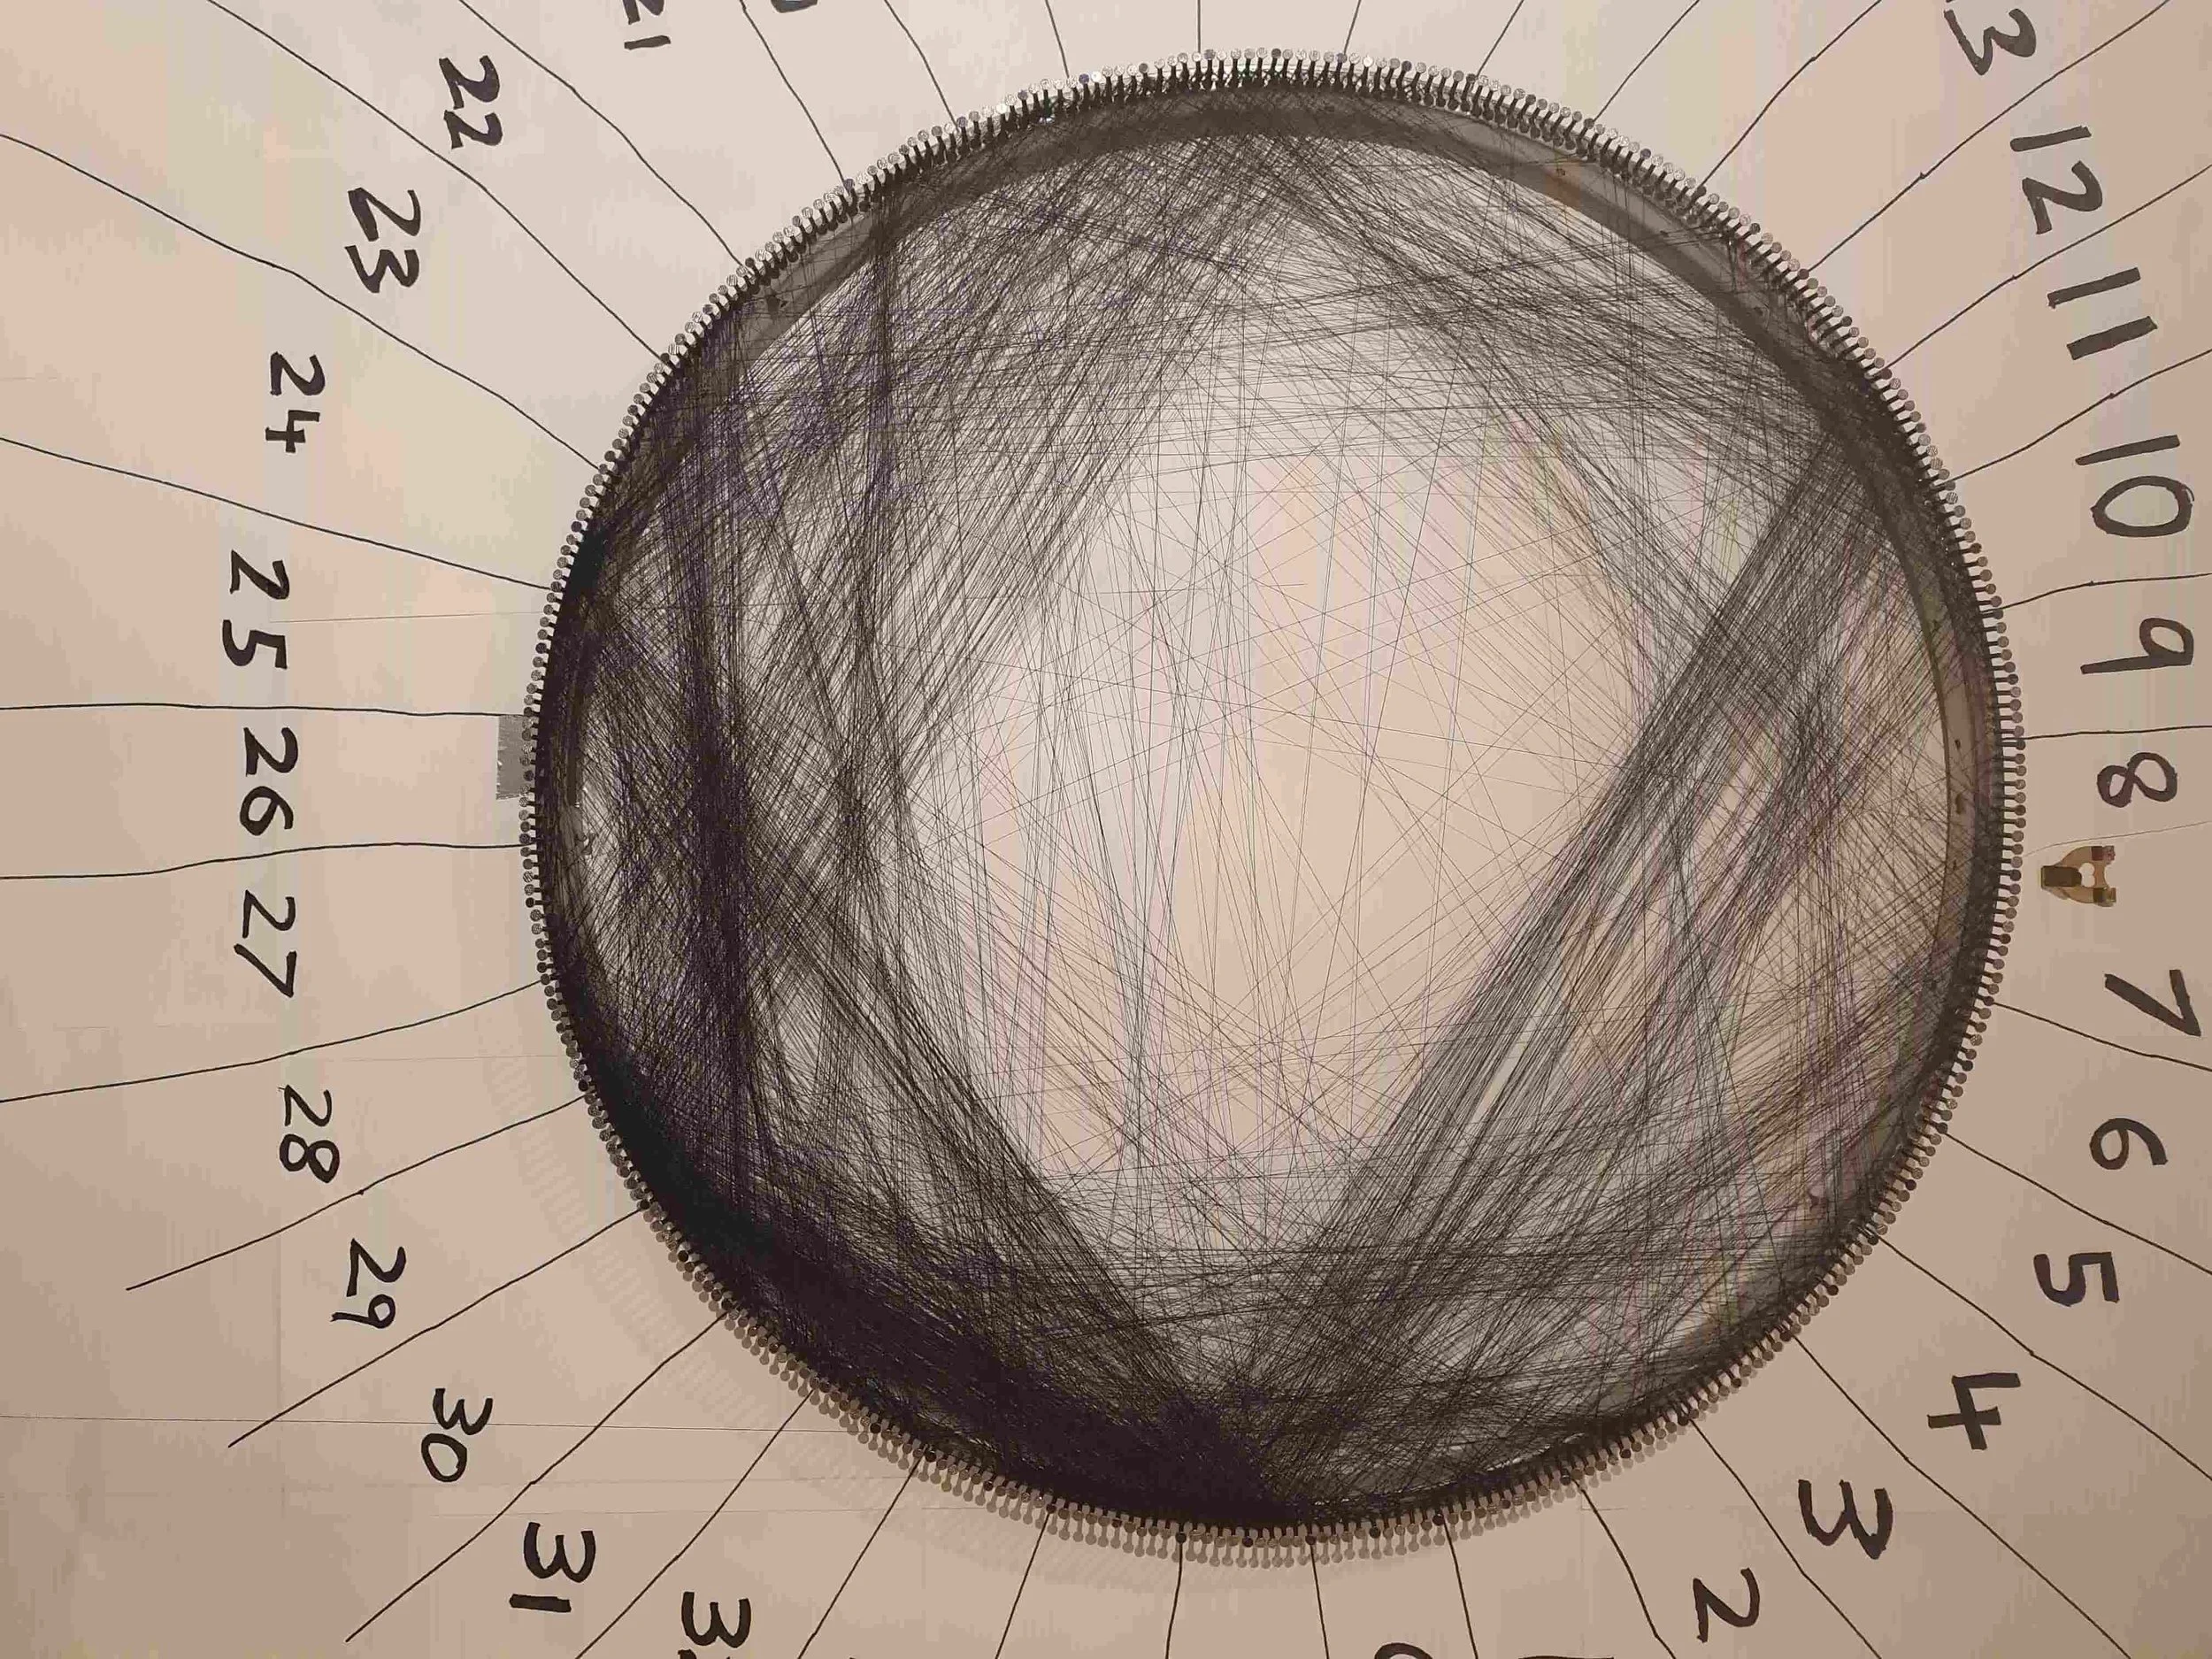
Work was slow, with me constantly having to look at a laptop screen propped next to me for a list of numerical instructions, and matching them up with the numbers scribbled around the perimeter of the image.
1500 threads into my total of 4000, I came to the realisation that I had made a transpositional error - I had been matching up the instructions in the wrong way, and would have to start again (see the first image below). I'd be lying if I said I didn't think about quitting at that point! Luckily, after re-generating my lines (which back in those days took me several hours, thanks to the inefficiency of my code), I started again, and finally I was successful!

Mounting Tension
September 2019
As I continued making thread art, there were several other challenging moments. One of the most memorable was a brief experimentation with using thin rings of mdf (a relatively cheap type of wood, which can be laser-cut to a precise specification).
One thing I hadn't counted on was the radial pressure the threads would exert on the wood - even though each one individually applied very little force, in their thousands the force added up fast! I tried to save this piece, but in the end the pressure was too much, and it splintered in half.
First Colours
September 2019
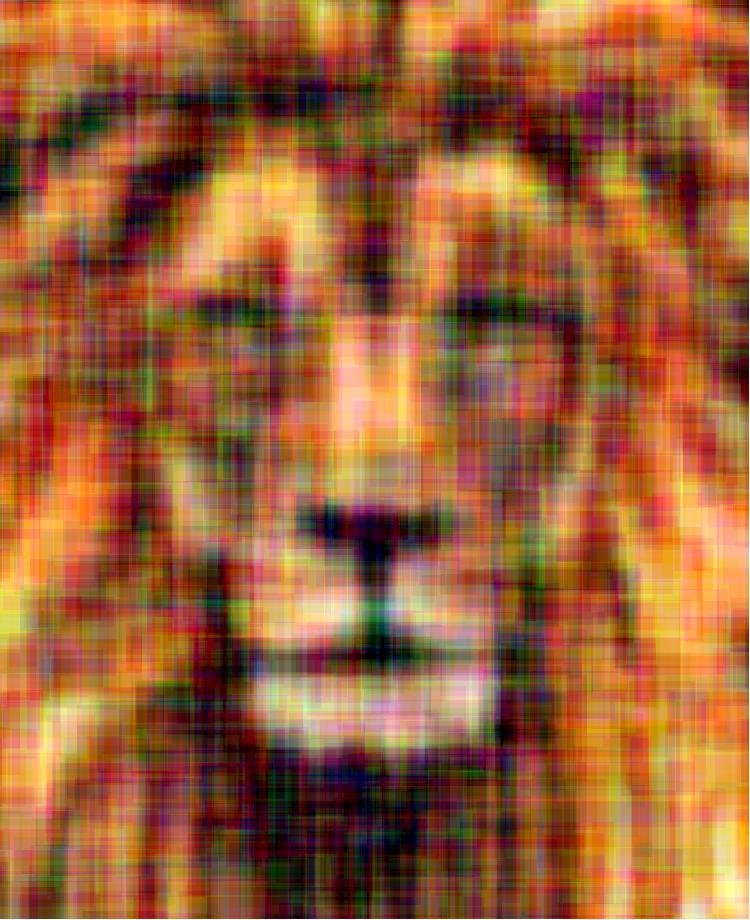
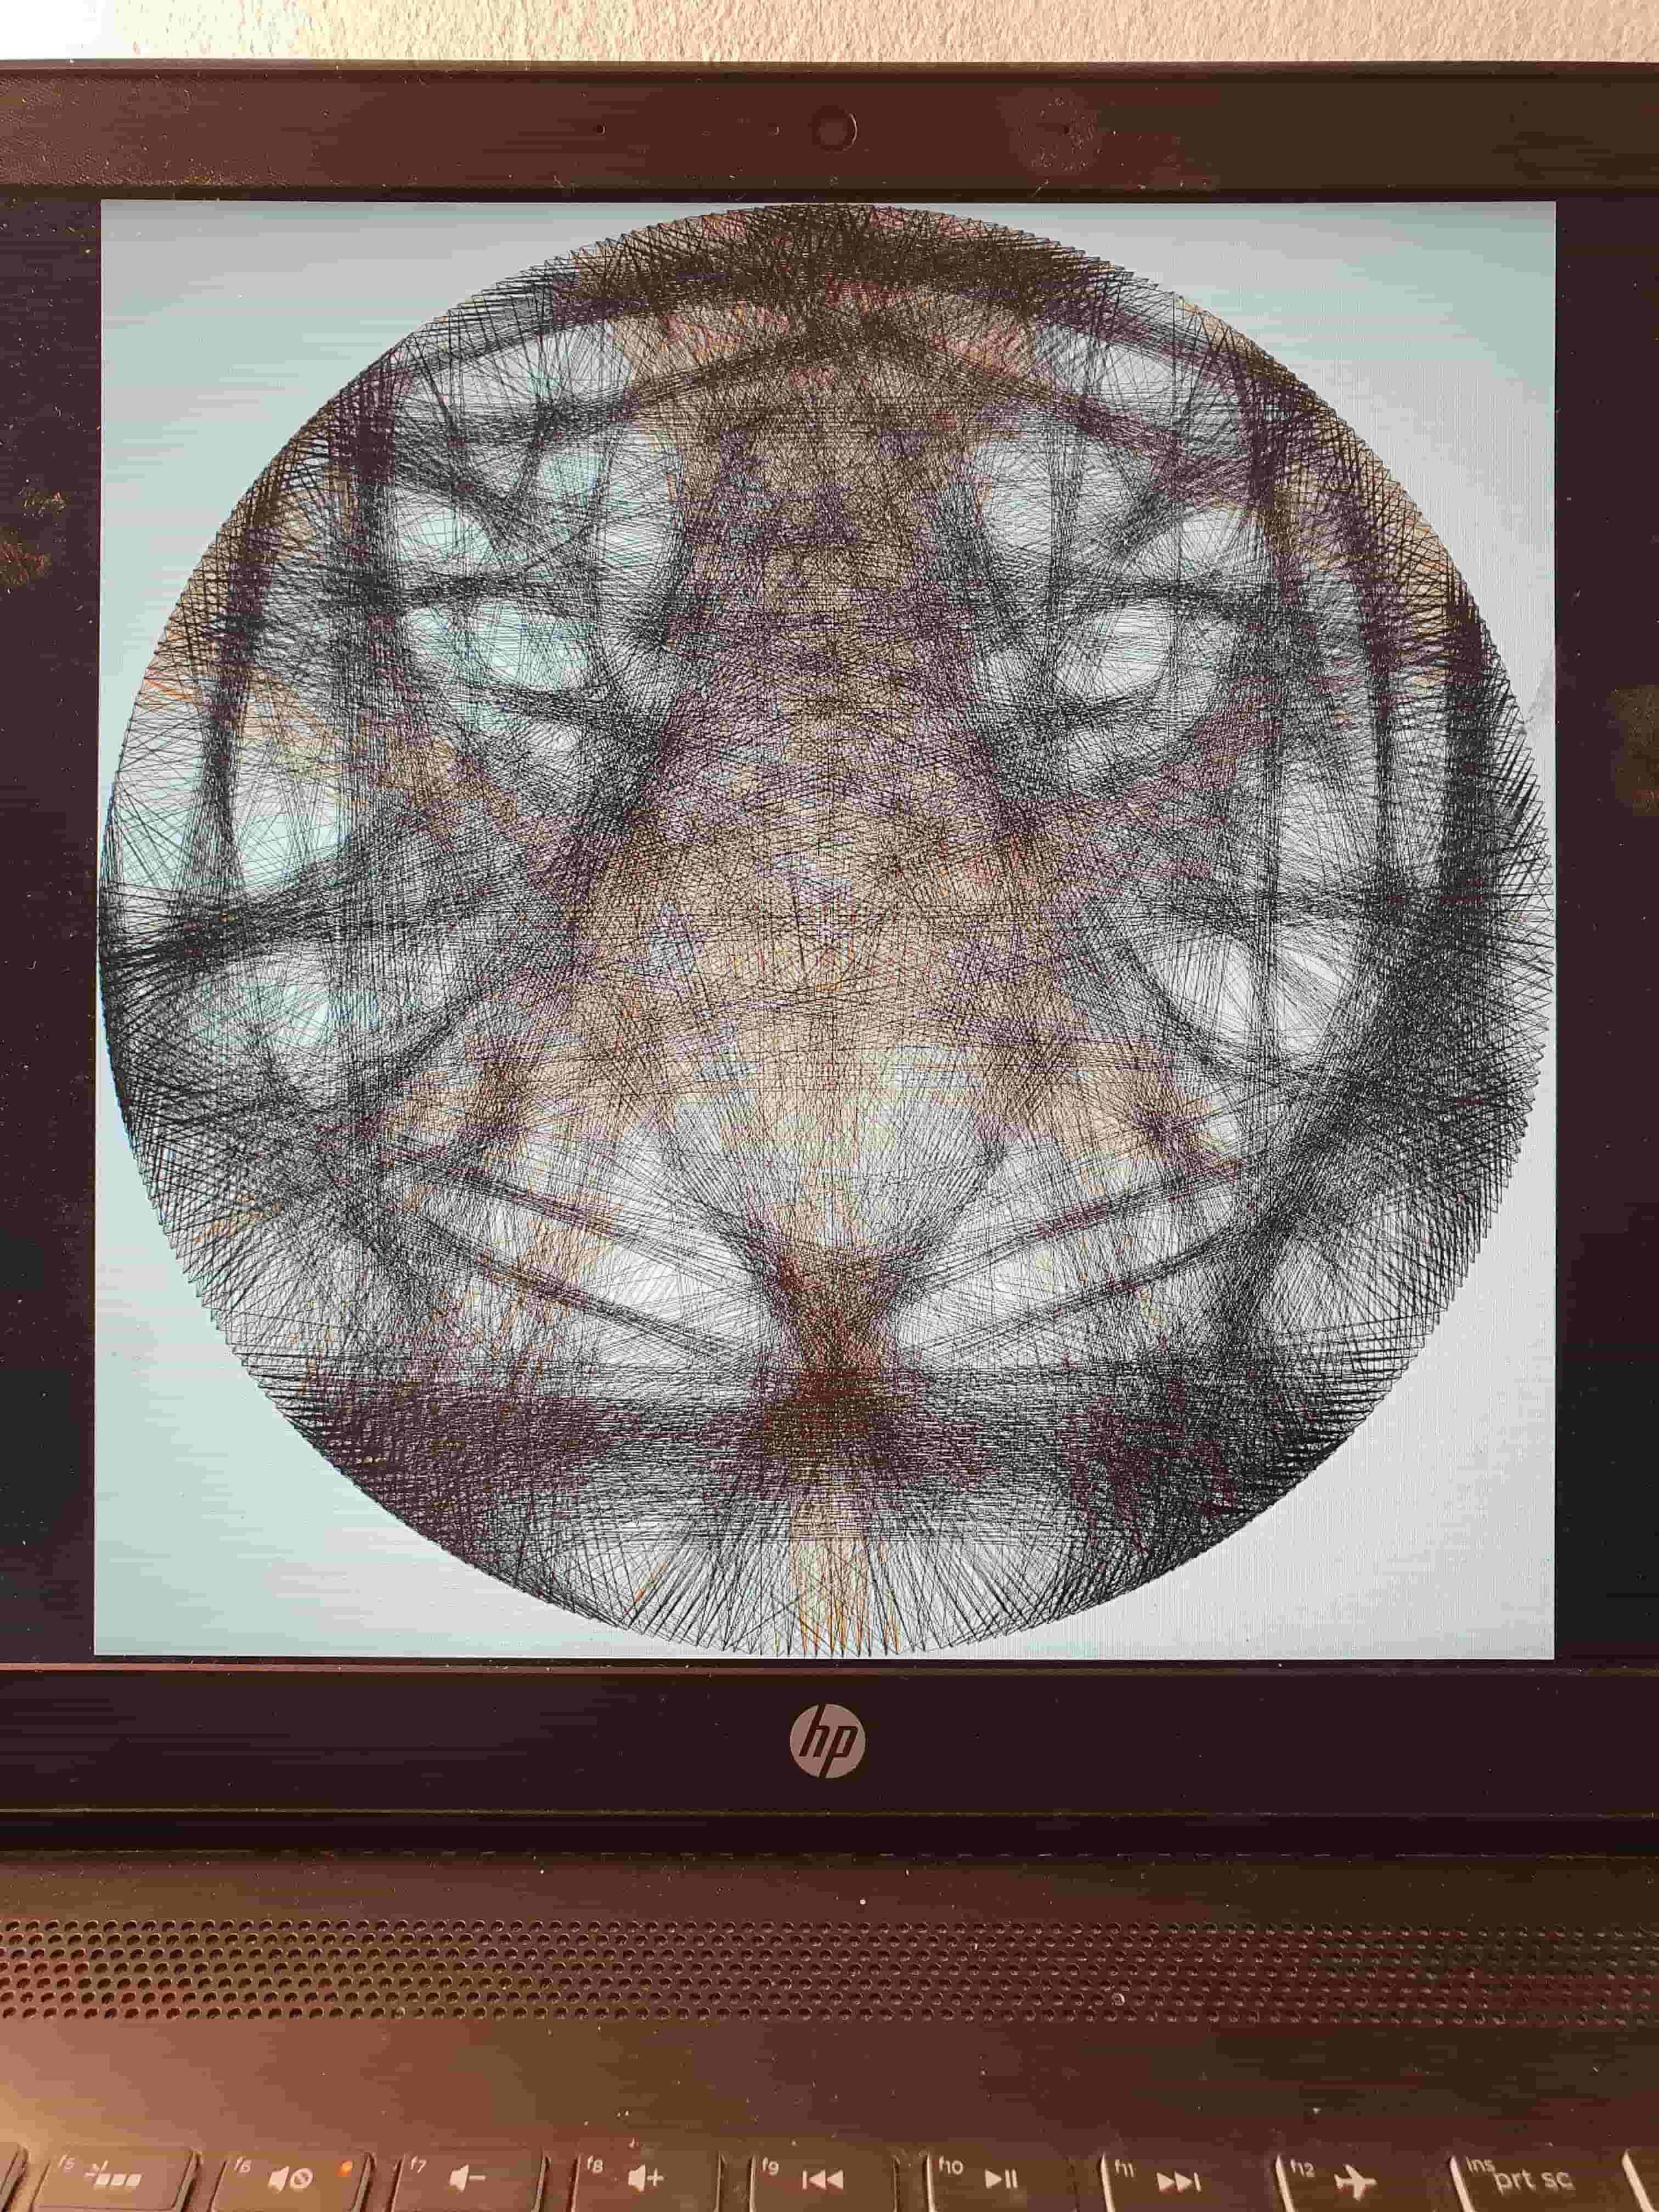
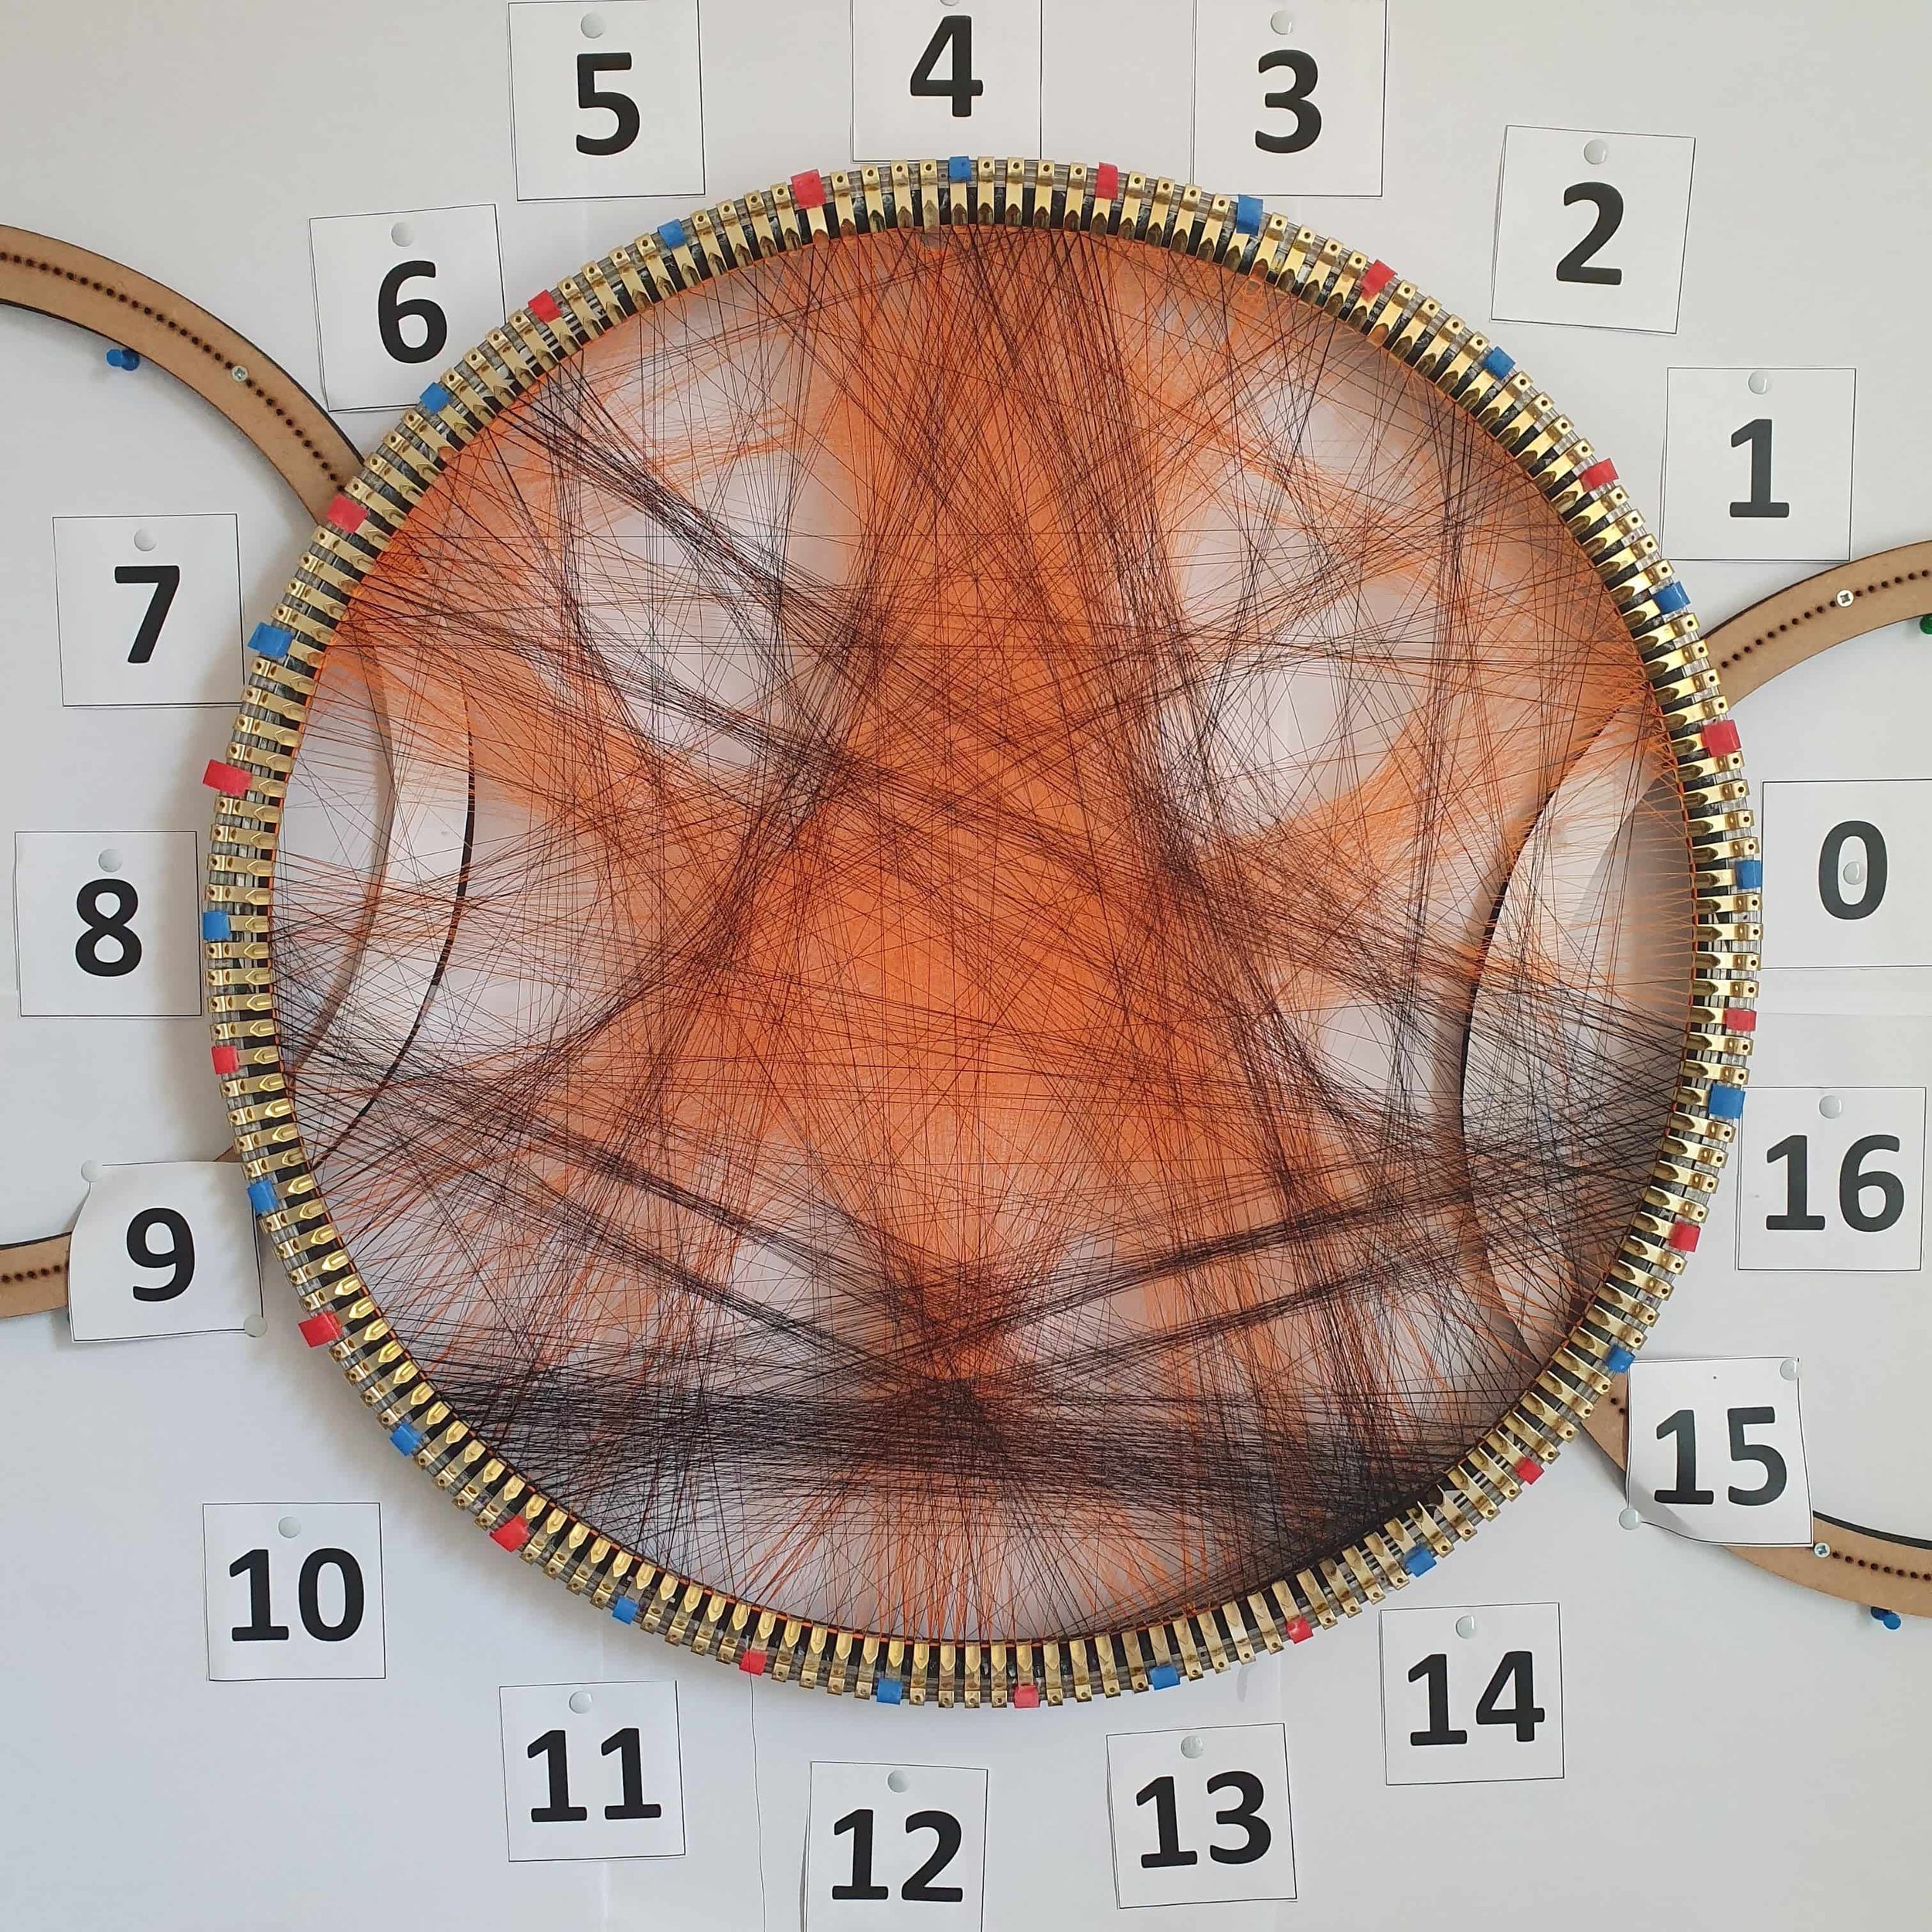
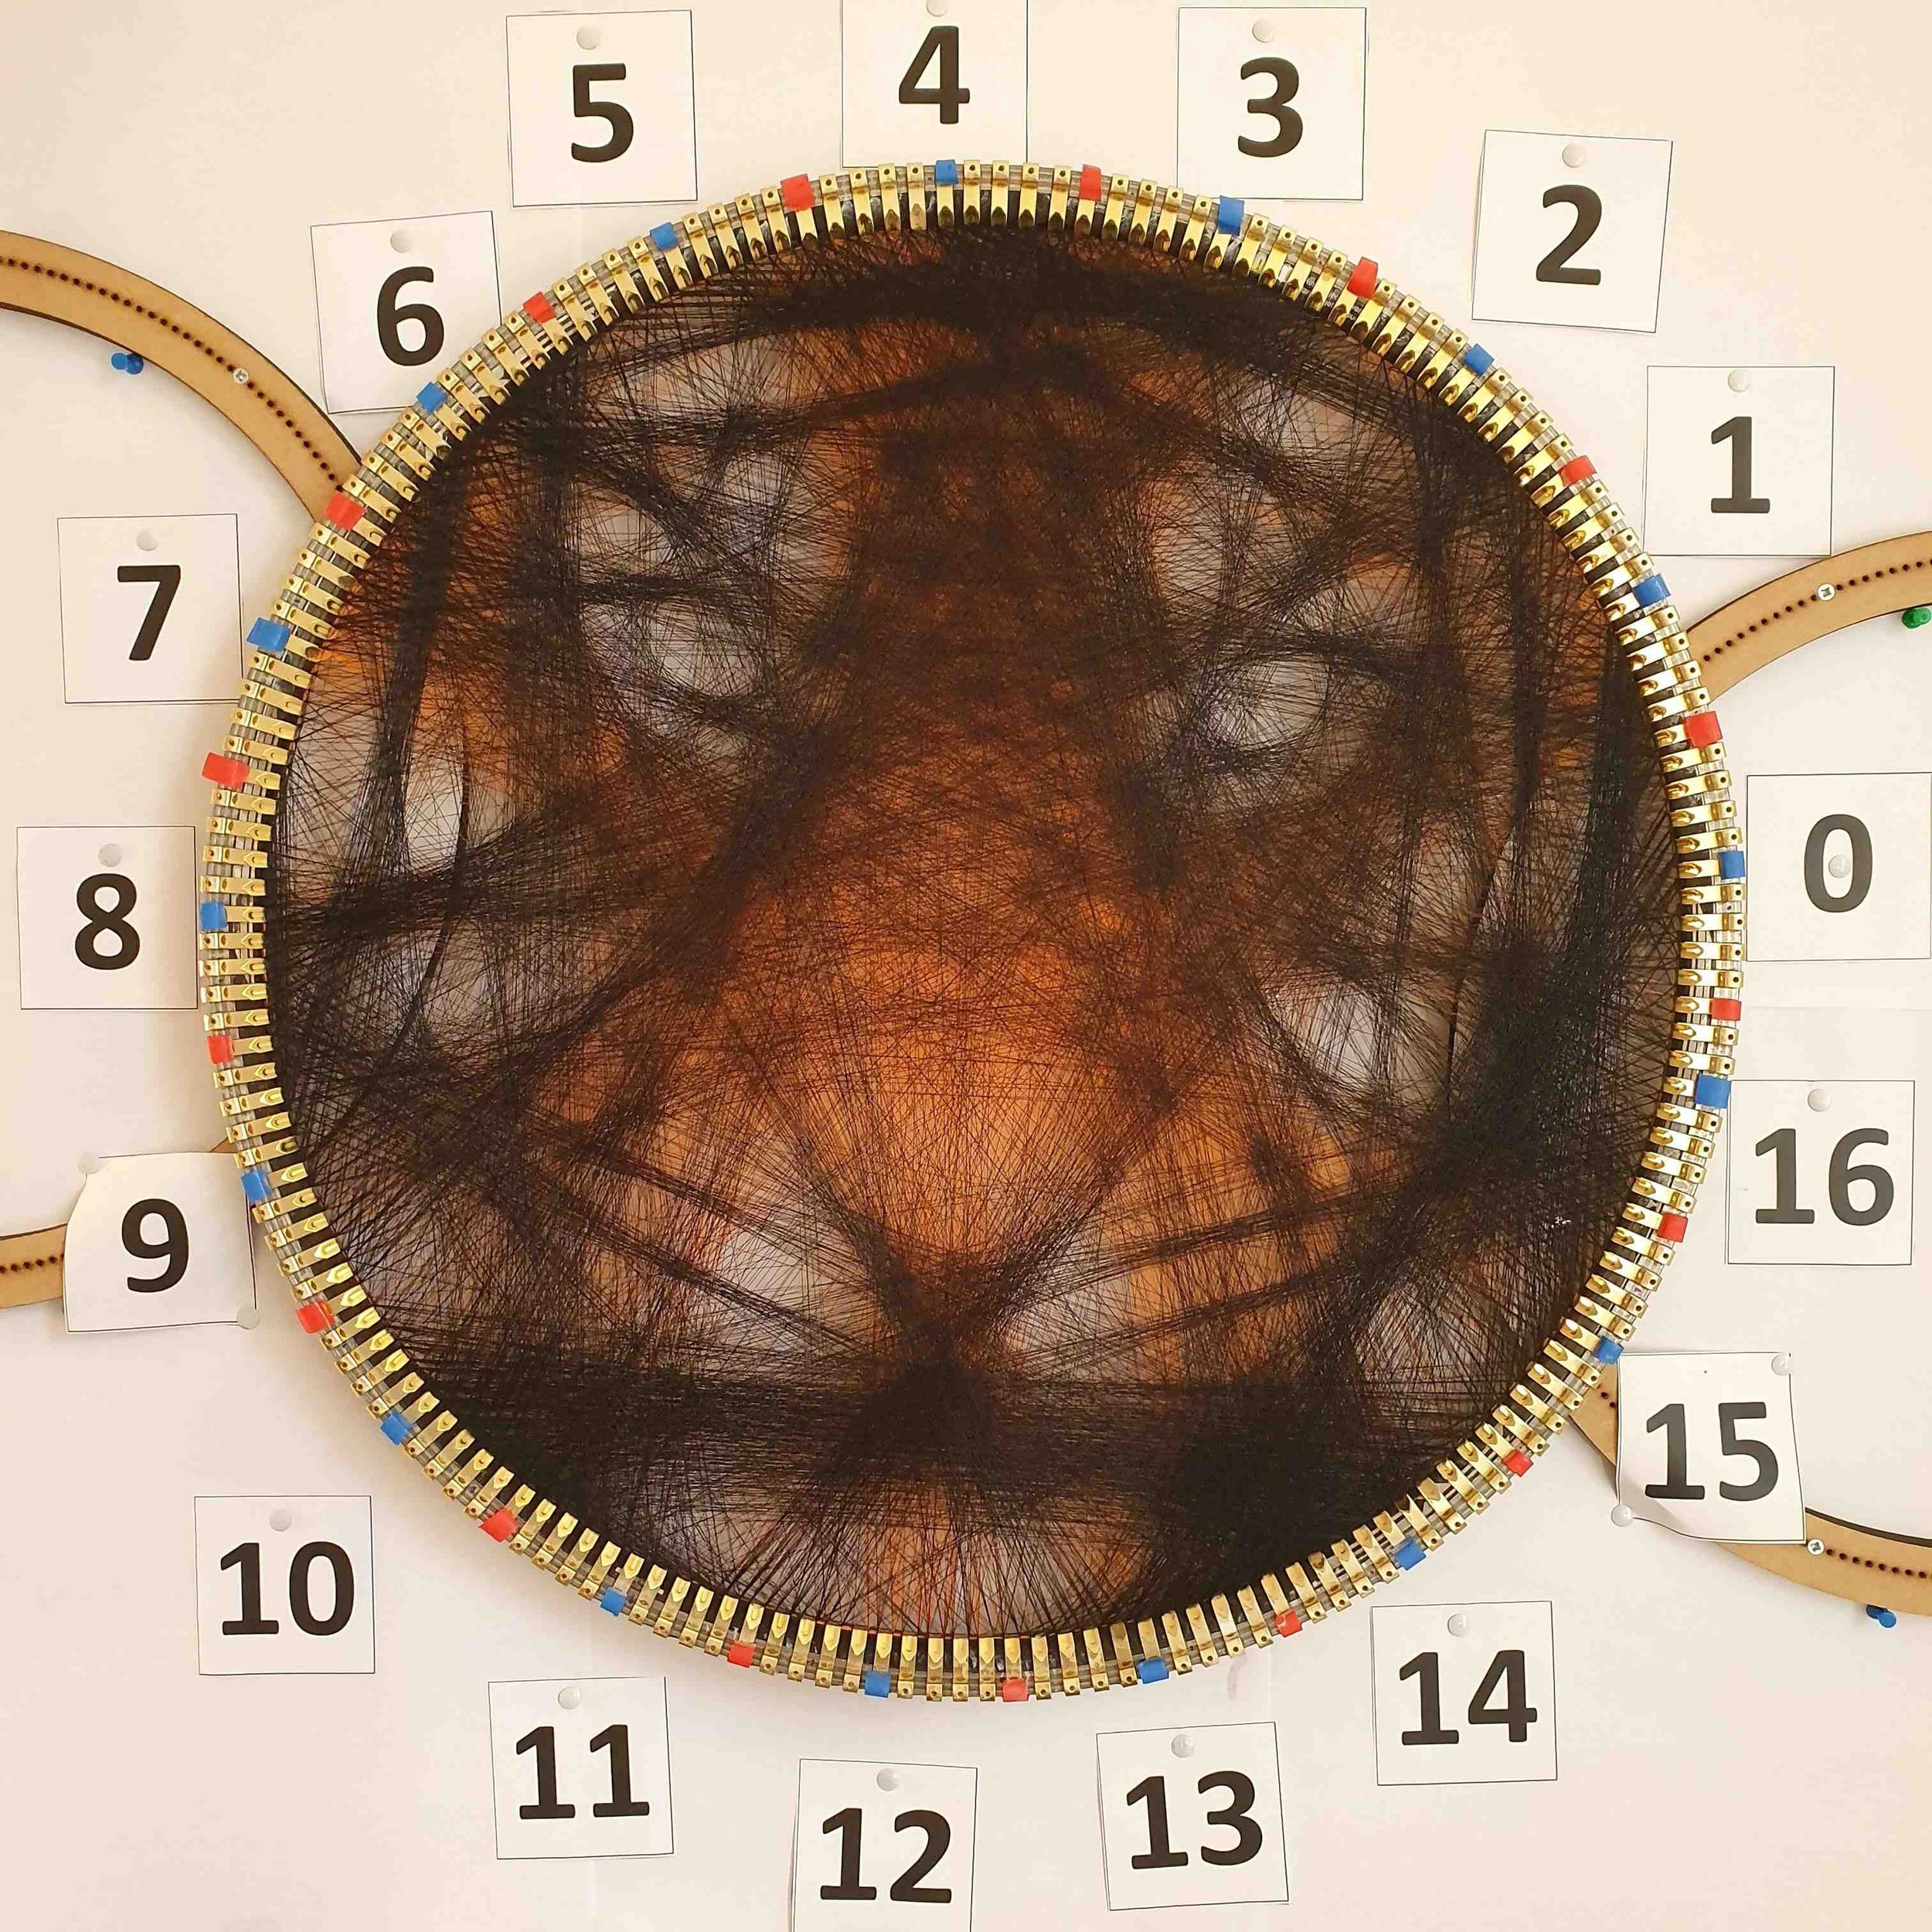
After my monochrome tiger splintered, my next attempted project was a coloured tiger. I wanted to put orange threads behind the black, so the colour would seep through, making the piece more interesting.
Note that, although this technically uses colour, I still categorise it with the black and white images. That's because it used a very similar simple methodology. I took the image of the tiger, isolated the "saturation" component in the HSV decomposition, generated threads for that image just like for a normal monochrome one, then turned those threads orange post-production.
In the studio
August 2020
For a long time after these first few images, I continued in a similar way. I made tweaks and improvements to the algorithm over the next few months - most notably introducing an "importance weighting" that let me prioritise accuracy in certain important areas like facial features, at the expense of accuracy in less important areas like the background.
It was modifications like these that allowed me to make progressively more detailed pieces, such as the one I'm working on in the images below (Audrey Hepburn).
However, I remained preoccupied with the problem of colour. I felt that, if there was a way to create black and white thread art pieces, then there should be a way to make ones in full colour. The difficult lay in how to separate out the different coloured components of the image.
The Challenge
December 2020
This piece illustrates the challenge of rendering full-colour images. The problem is that recognising subtle shifts in gradient and knowing how to treat them is a much harder problem than the one-dimensional light/dark variation that was sufficient for generating black and white images.
I tried many different methods, but most of them ended up like the image on the right— able to recognise blocks of colour, but not even coming close to integrating those colours with each other in a realistic way.
Hopes of success…
January 2021
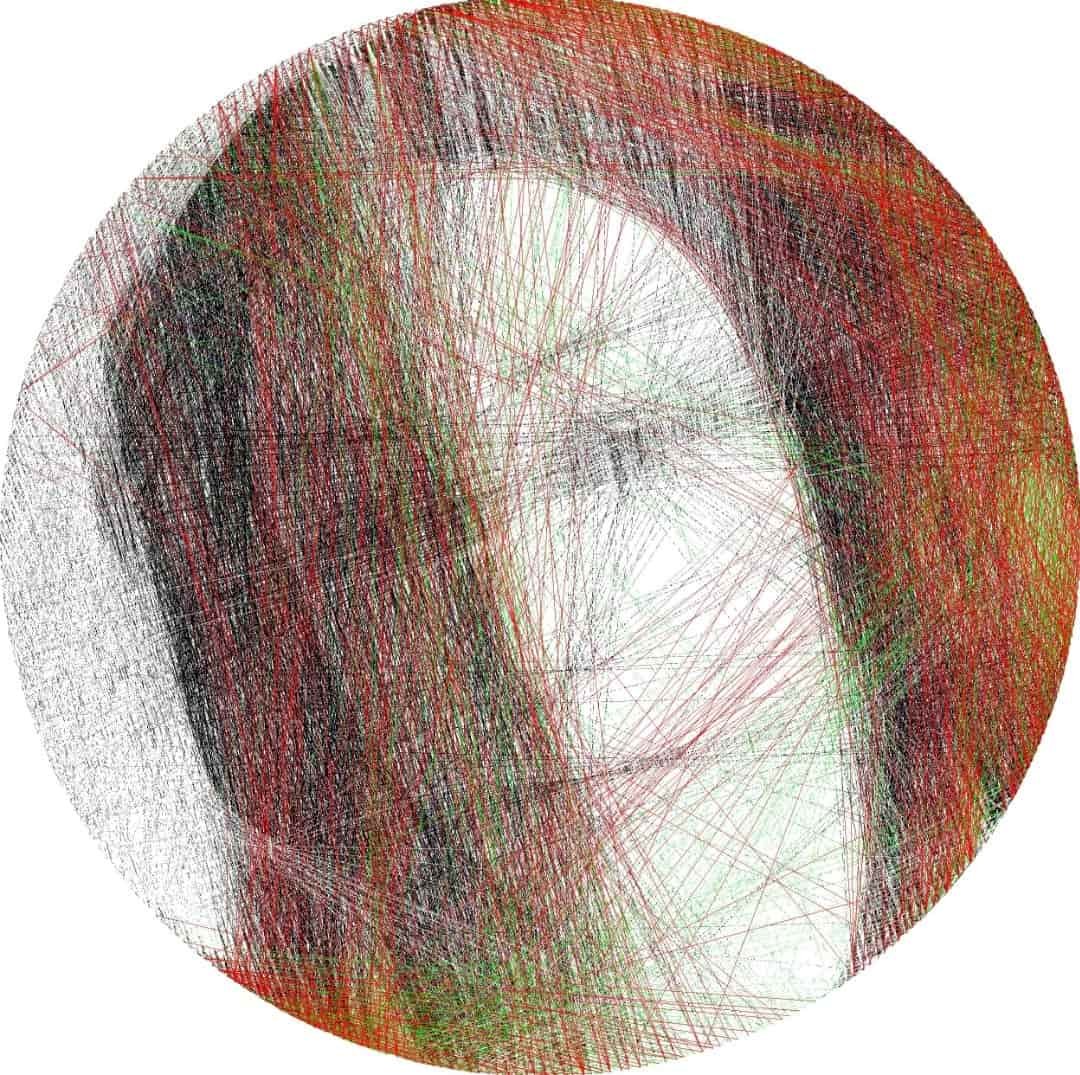
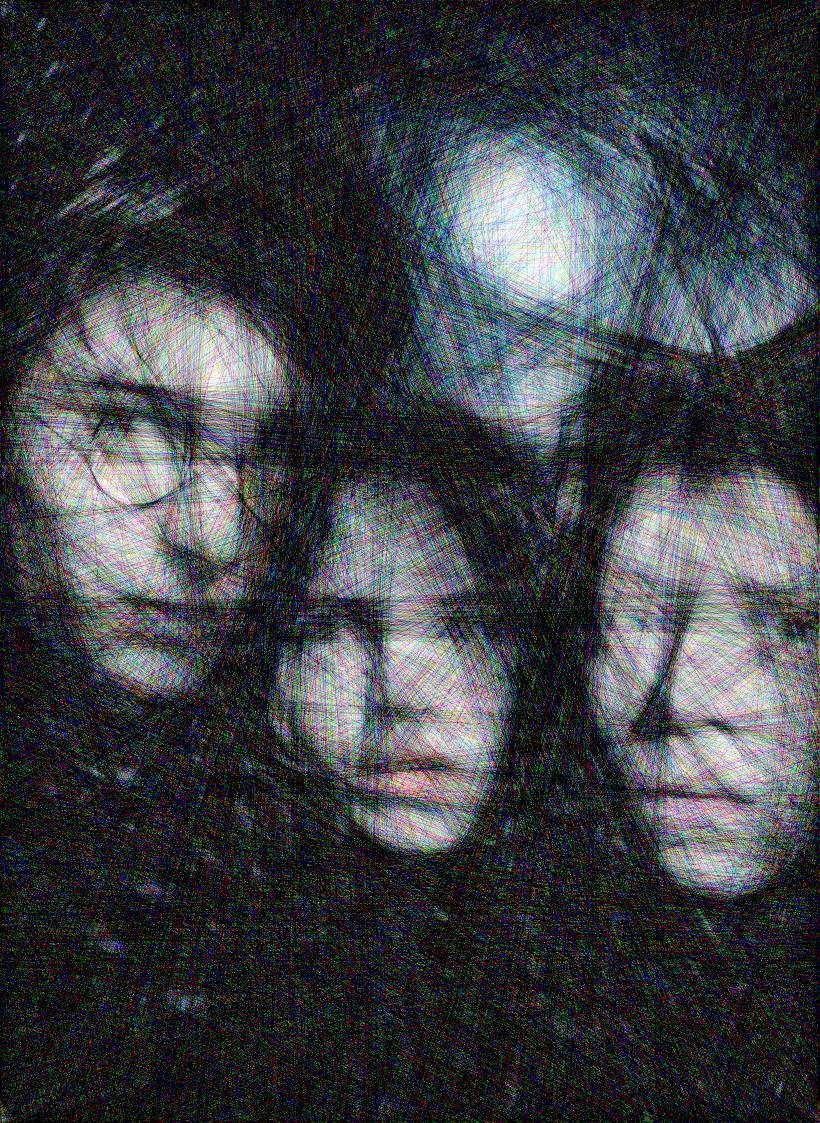
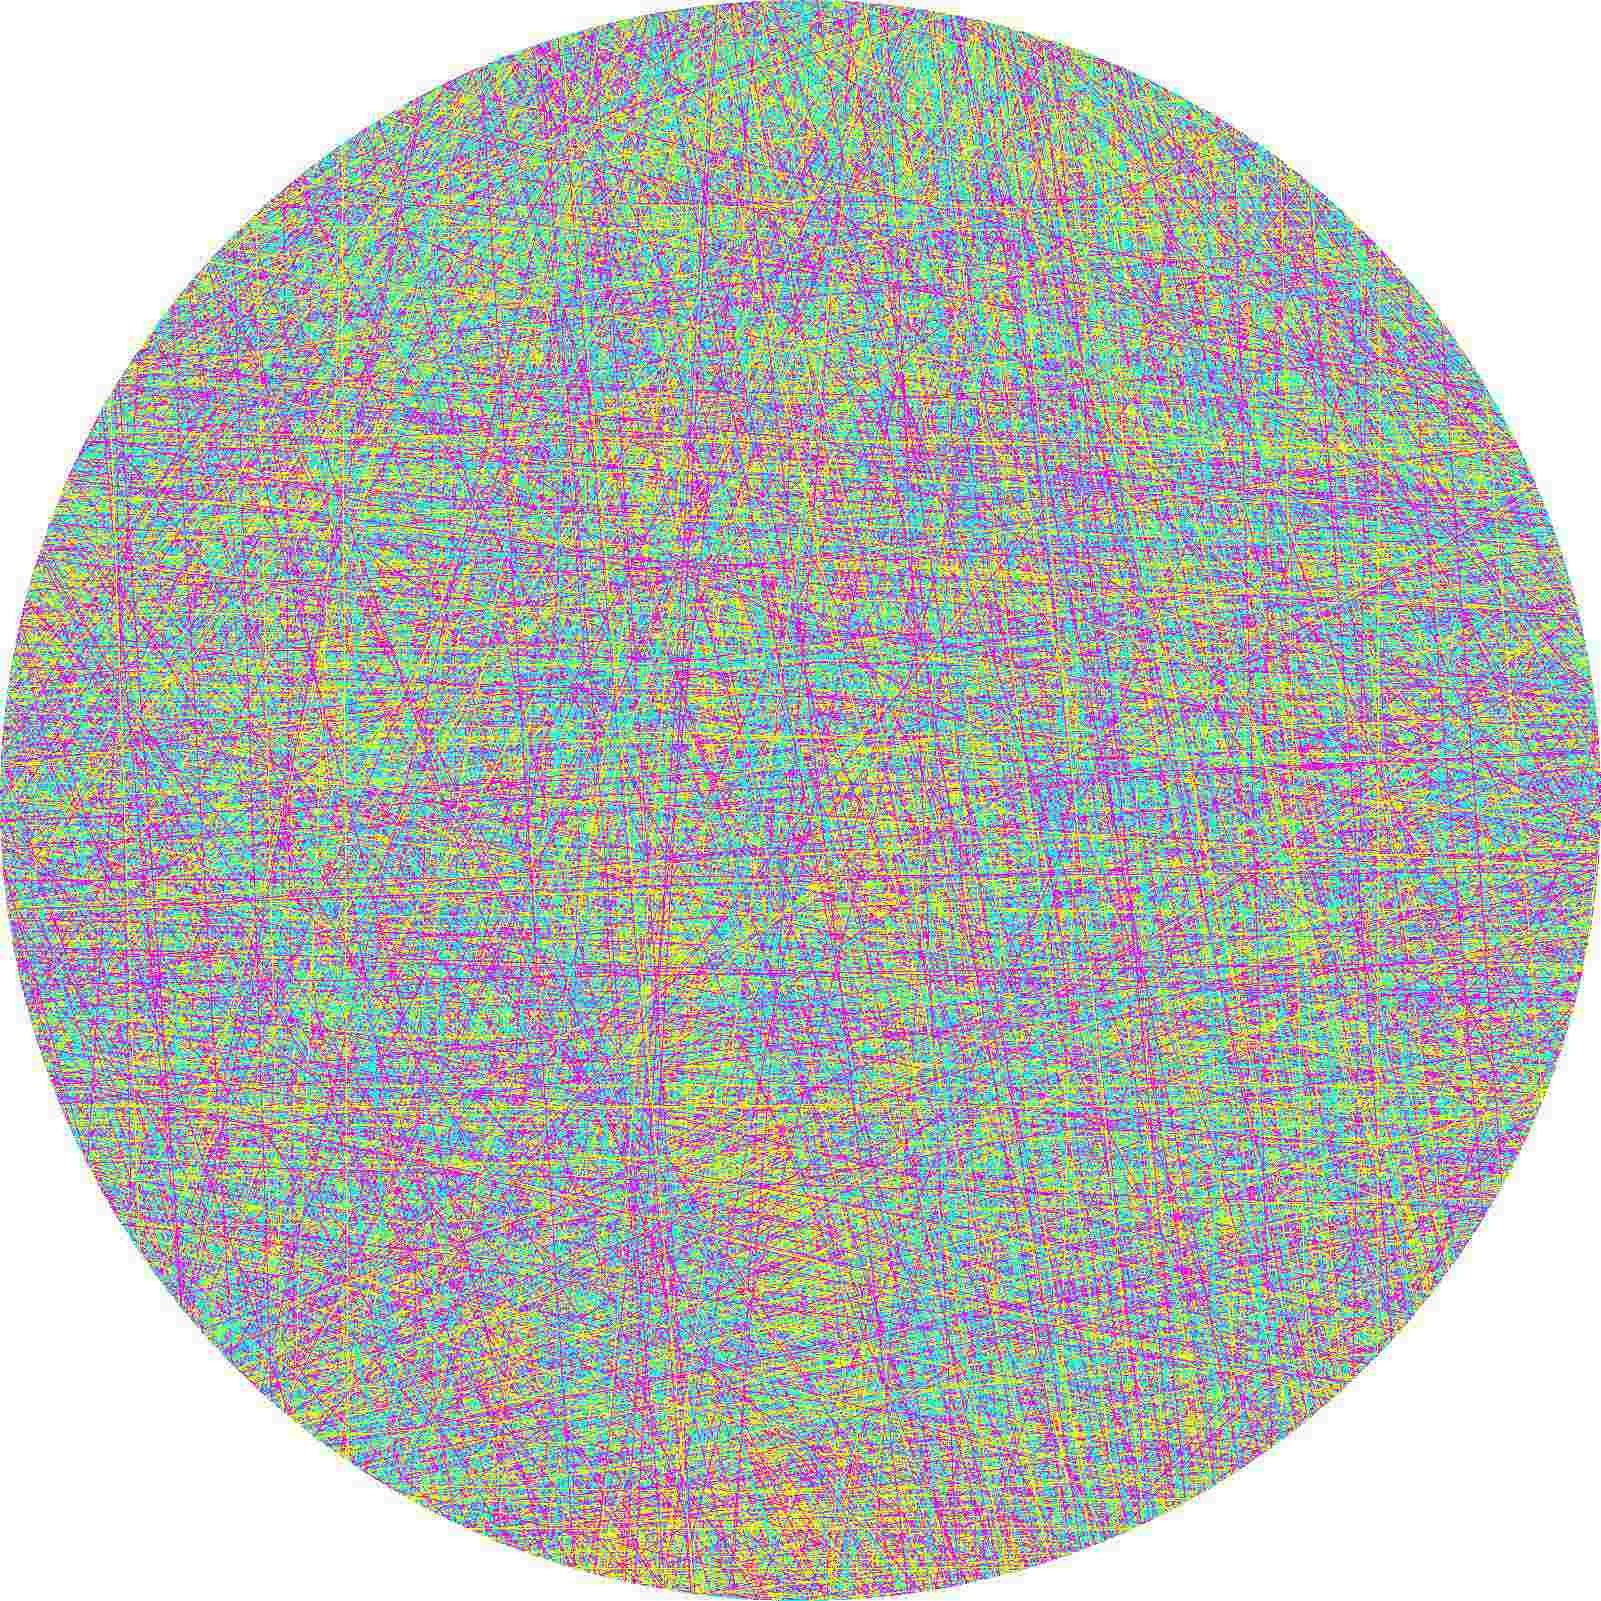
At the start of 2021, I believed that I'd cracked the secret of how to make coloured thread art. The algorithm was based on the one I used for black and white images; instead of measuring the fit of a line to an area by taking the average darkness of the pixels it would be crossing over, it took the average dot product of the colour of the proposed line (in RGB space) with the pixels. Since this would always choose darker lines over lighter lines, I added a normalisation factor.
I found that even with a very limited palette (usually the four printing colours of cyan, magenta, yellow and black), I was able to produce some very nice-looking artwork. Below are two examples, both scenes from the Harry Potter films (if you couldn't tell from my website already, I'm quite a big fan!).
…dashed.
January 2021
Of all the tough moments when making thread art, this might have been the hardest one to face.
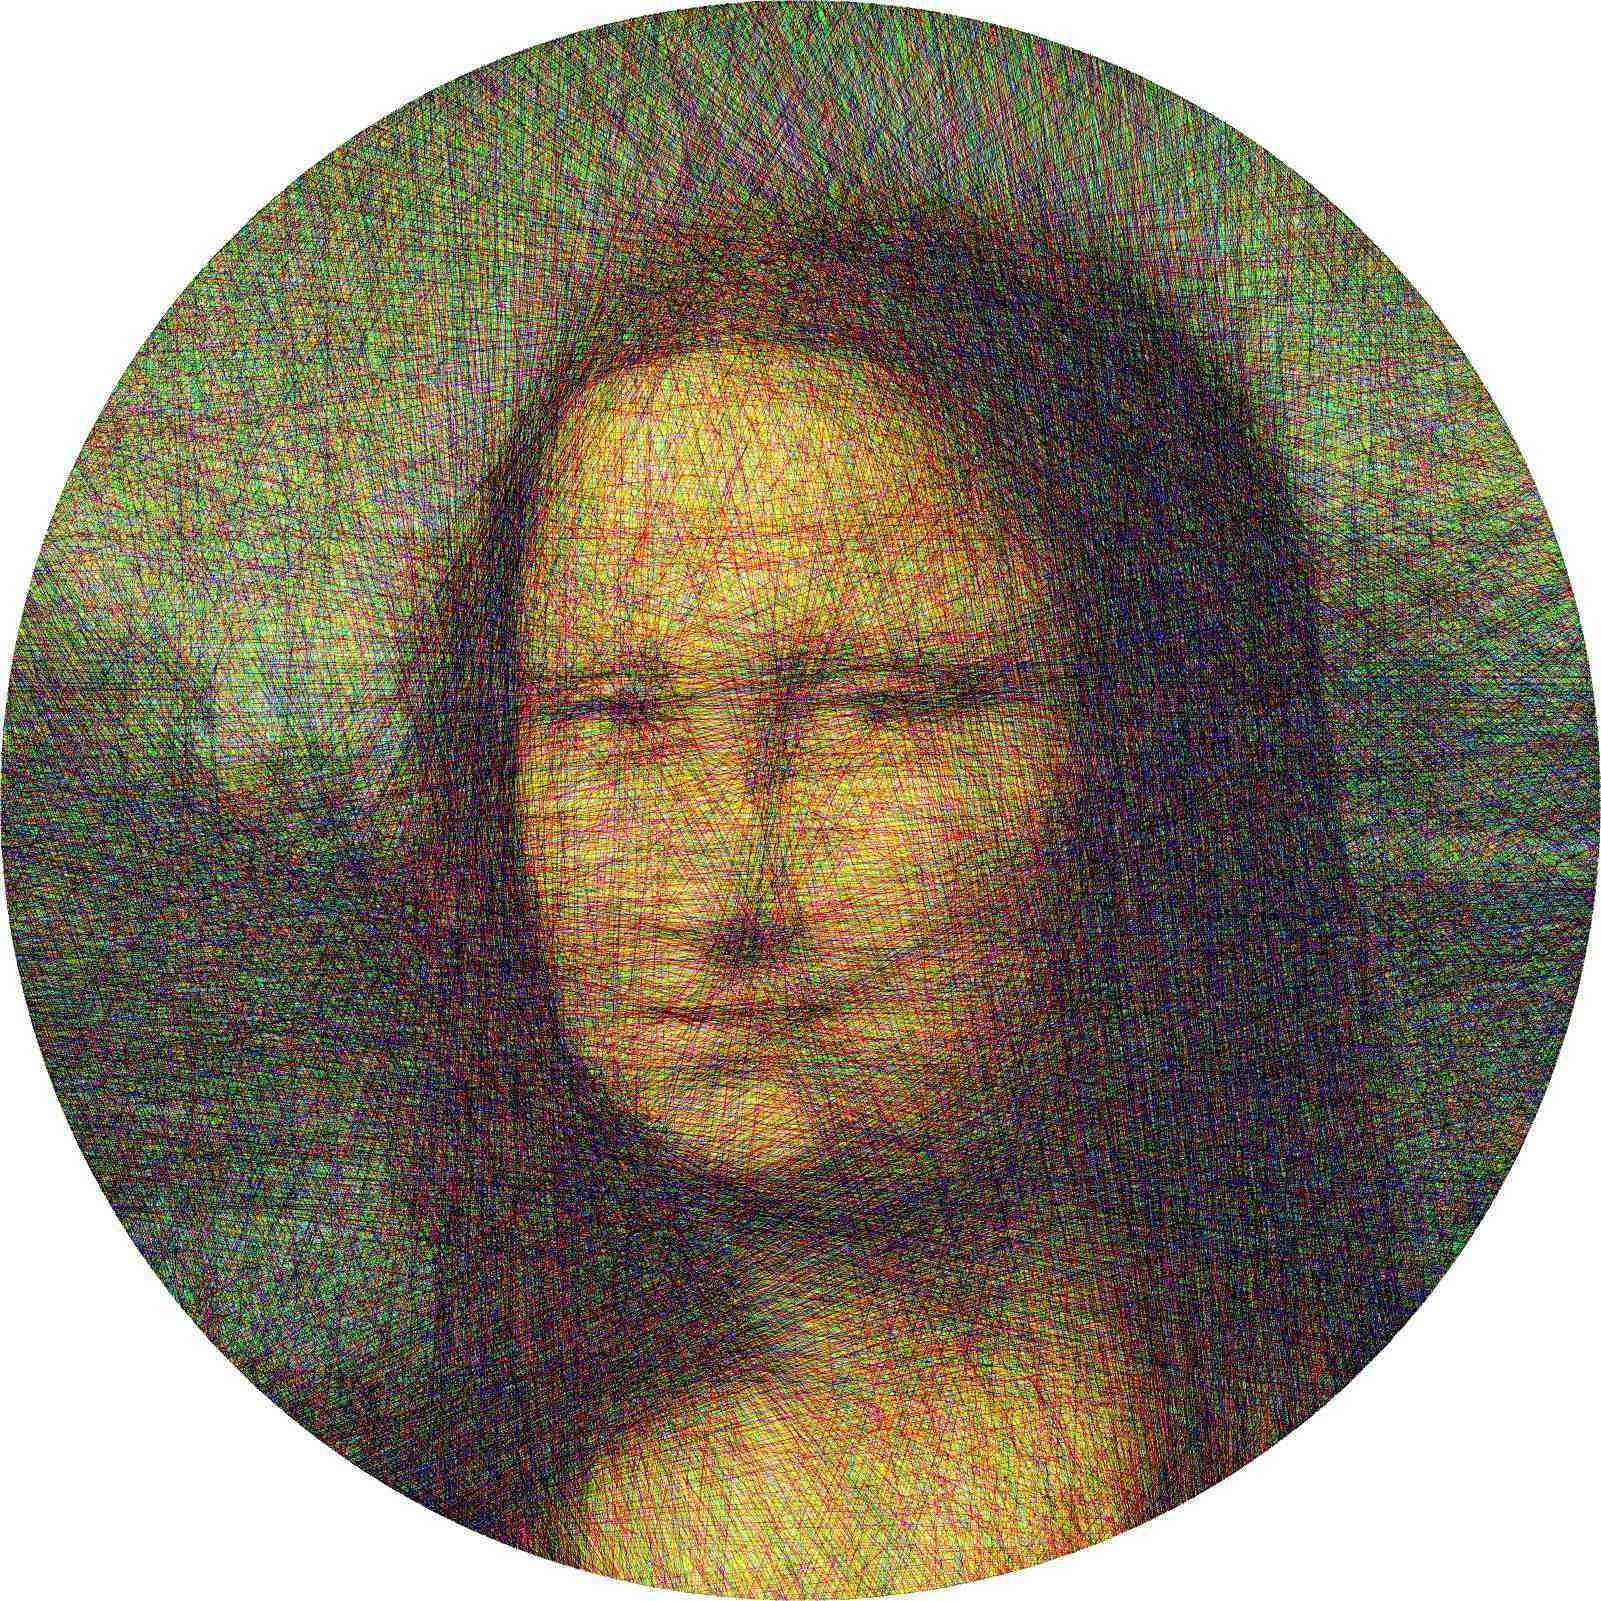
I realised that I'd been making a critical error in my algorithm - I had been assuming the threads were semi-transparent, so that they each only changed the brightness of an area by a limited amount (e.g. 100 on the scale from 0 to 255), and crucially that they could form new colours if laid on top of each other.
I didn't know how critical an assumption this would be, but a quick test showed quite how much it mattered. The image on the left shows two versions of the Mona Lisa - one with overlapping threads allowed, one without. Incredibly, these are exactly the same image (i.e. they have the same line colours and positions), but once I stop allowing lines to be transparent, the image degrades in quality substantially.
The method hadn't been completely worthless - I had managed to create an interesting form of digital art by allowing the threads to overlap. Unfortunately however, for the matter of creating physical full-colour thread art, this meant I was back to the drawing board.
Colour, at long last
March 2021
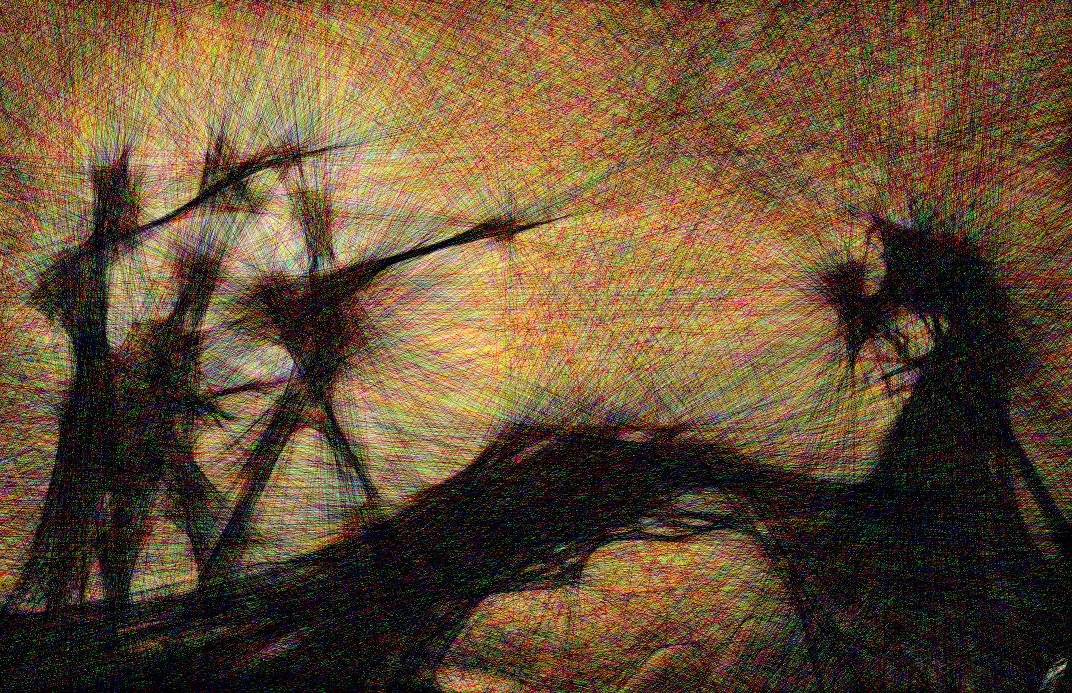
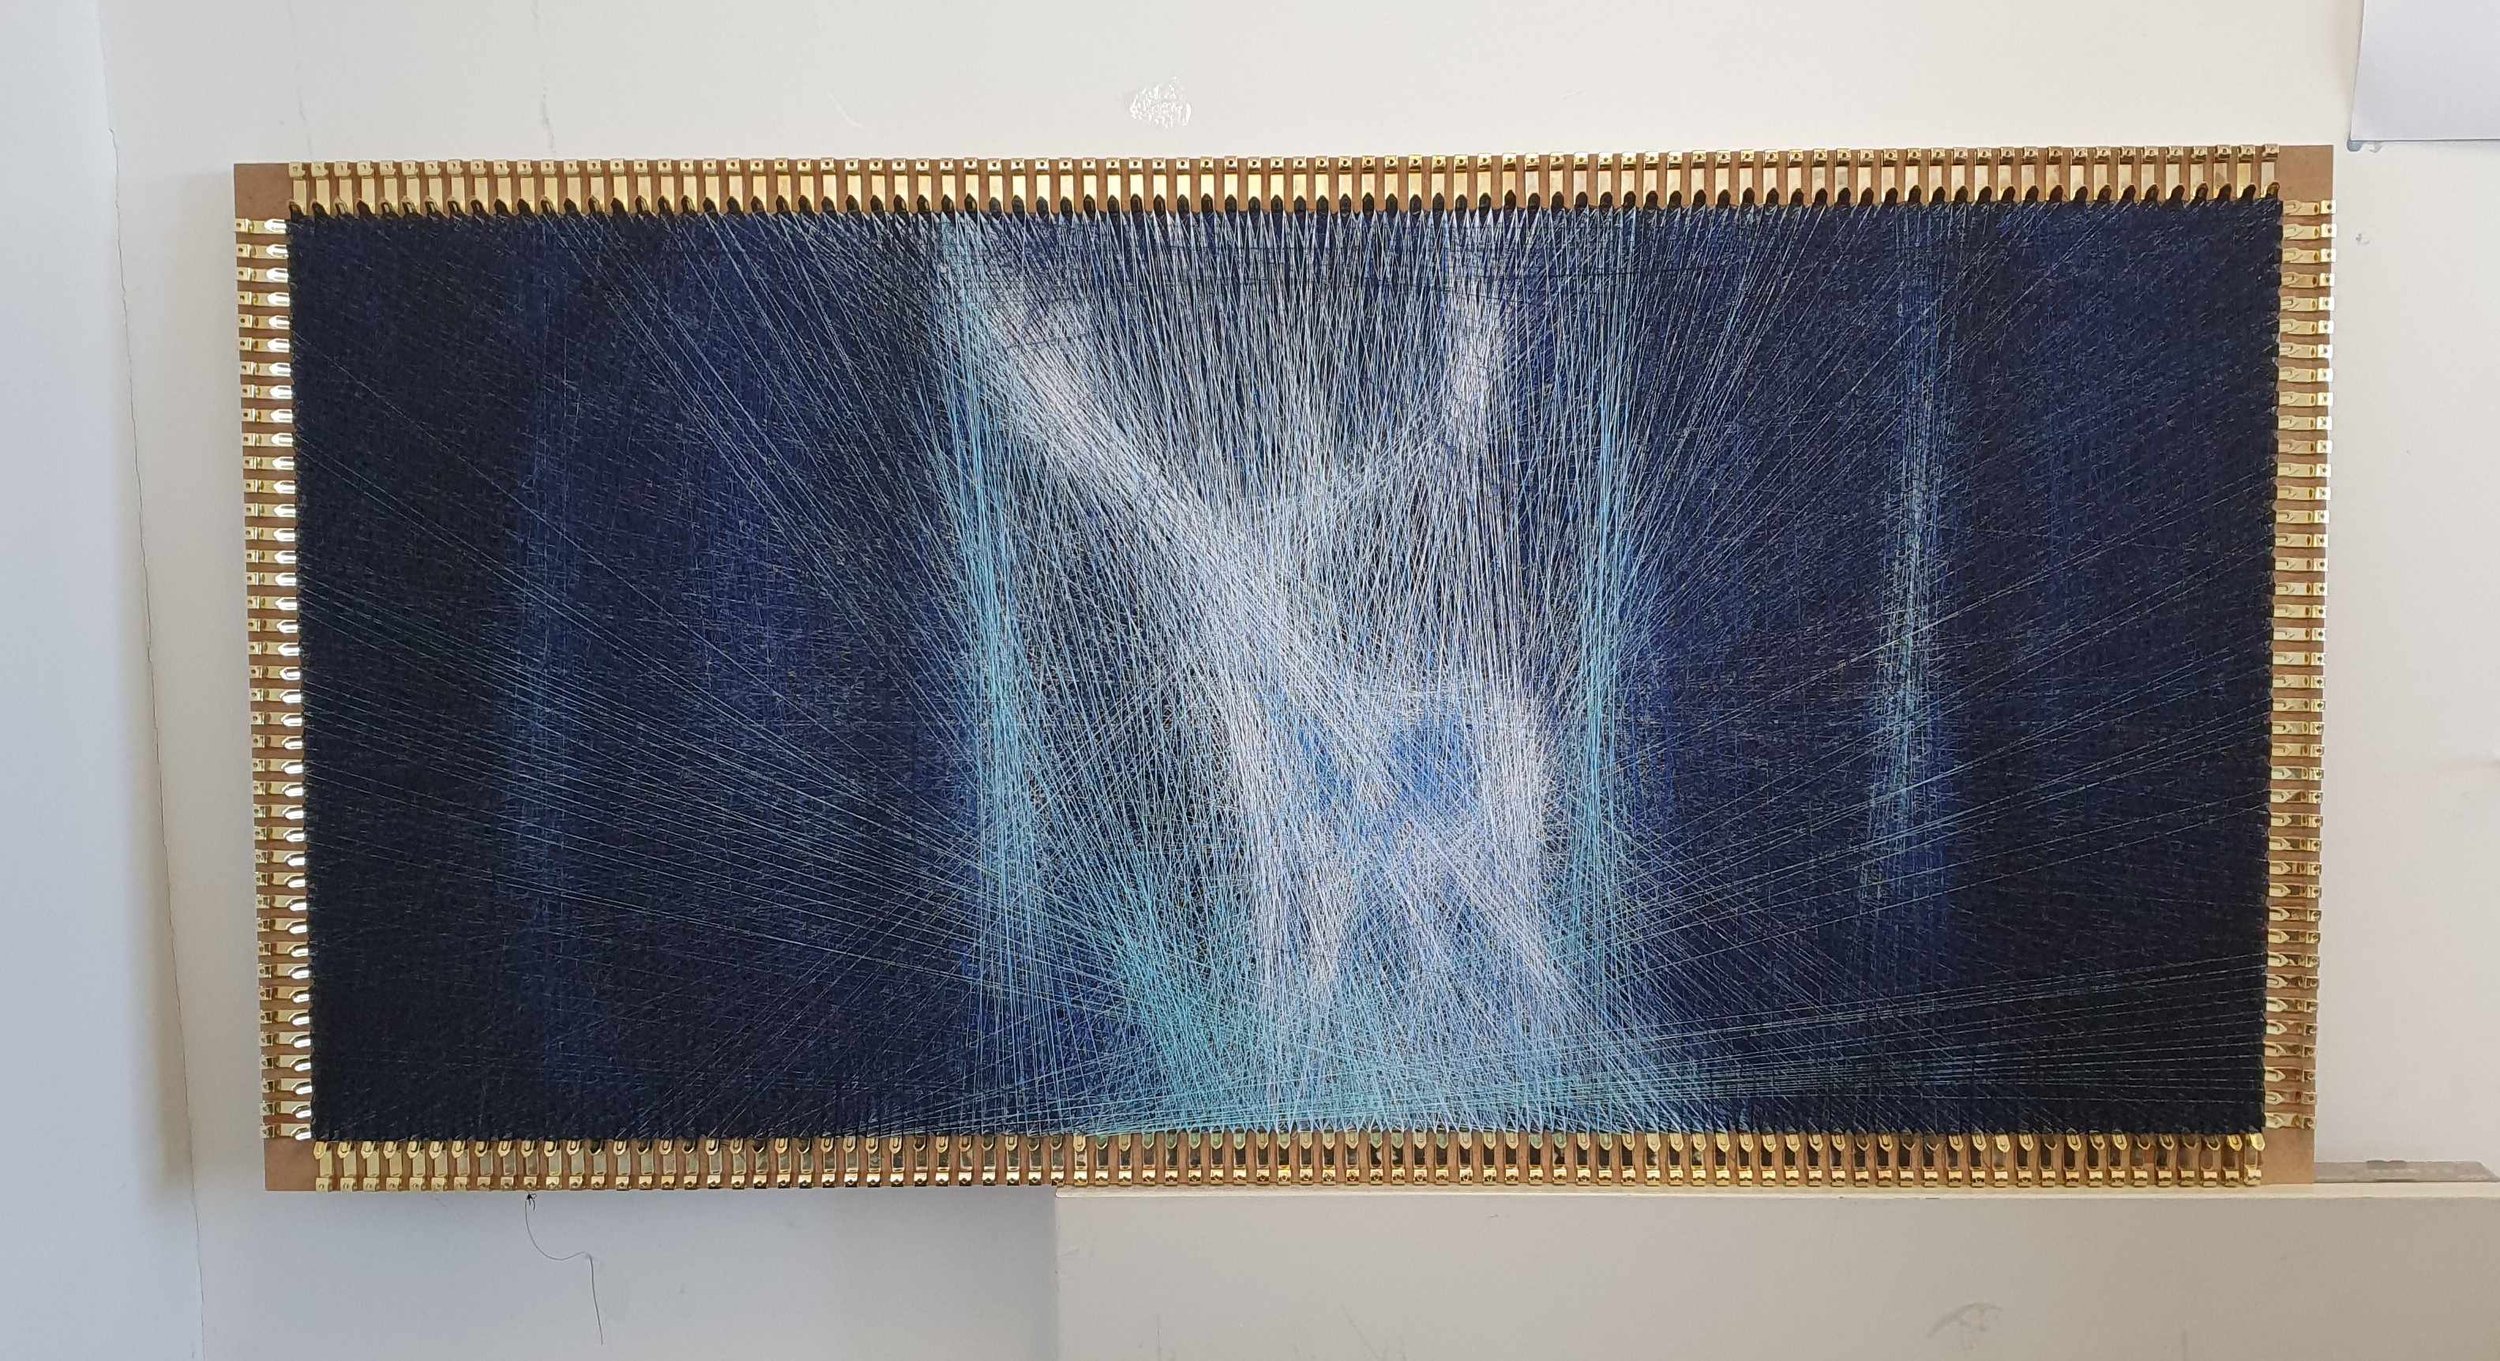
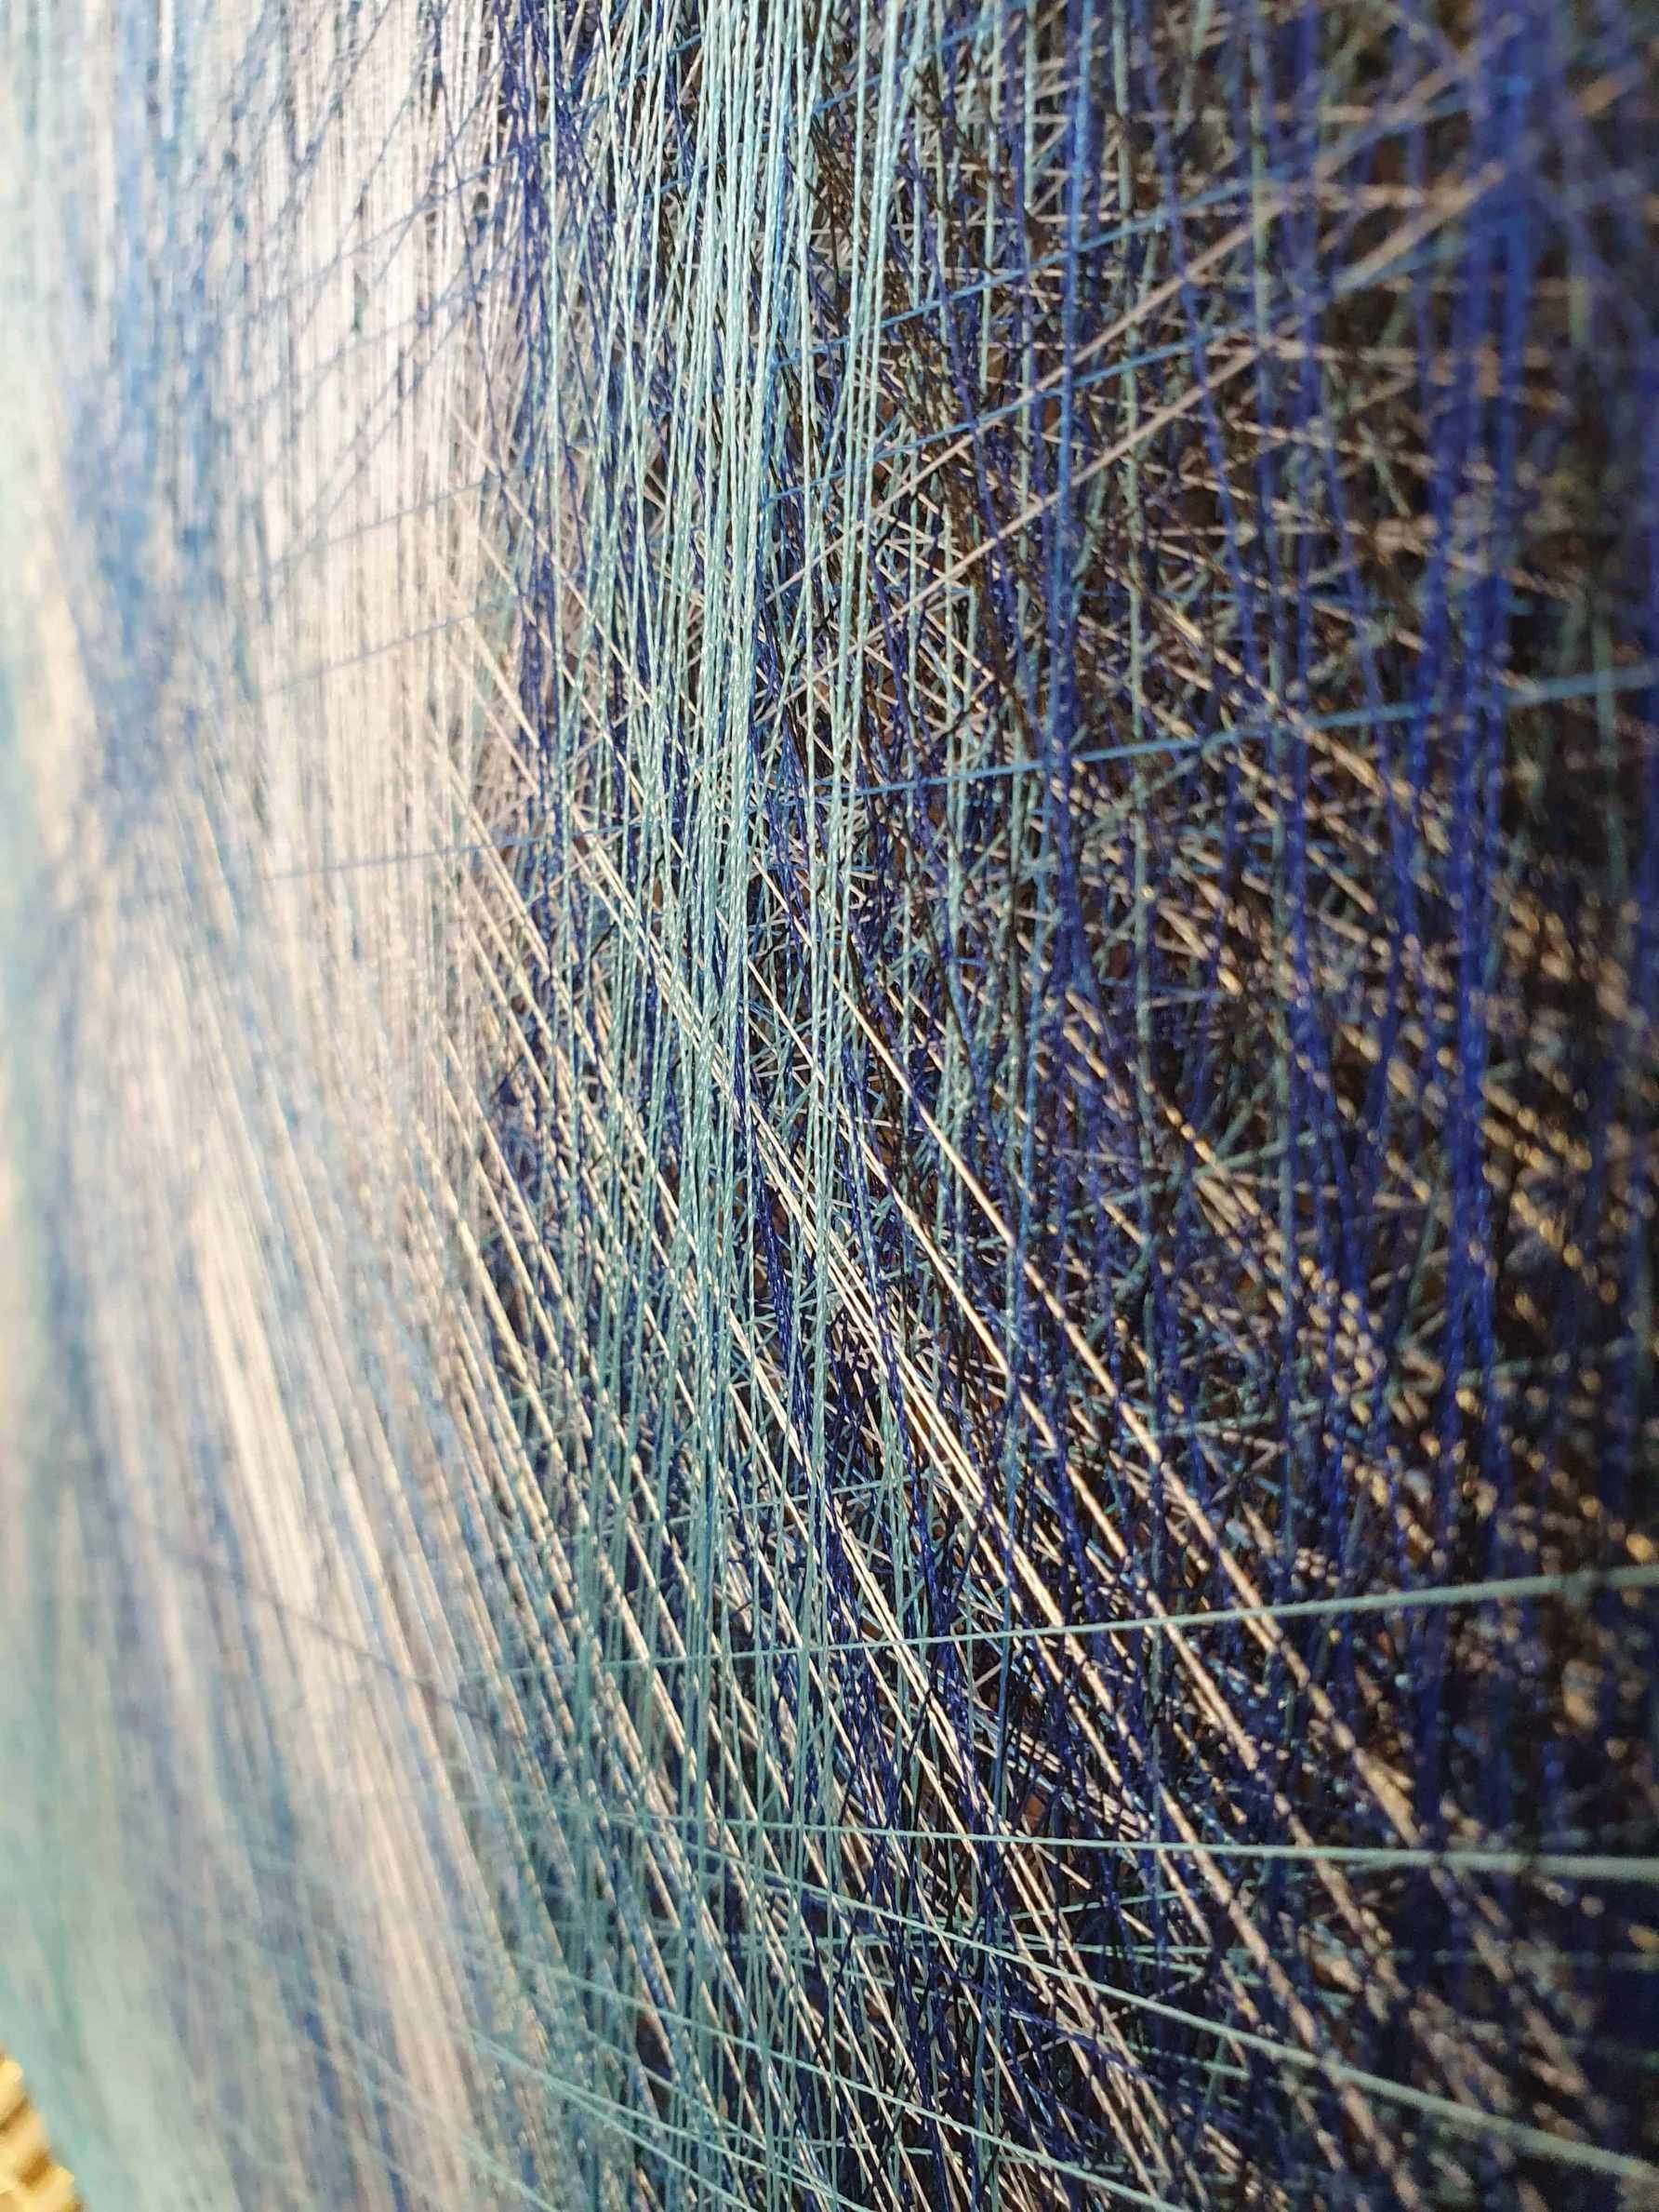
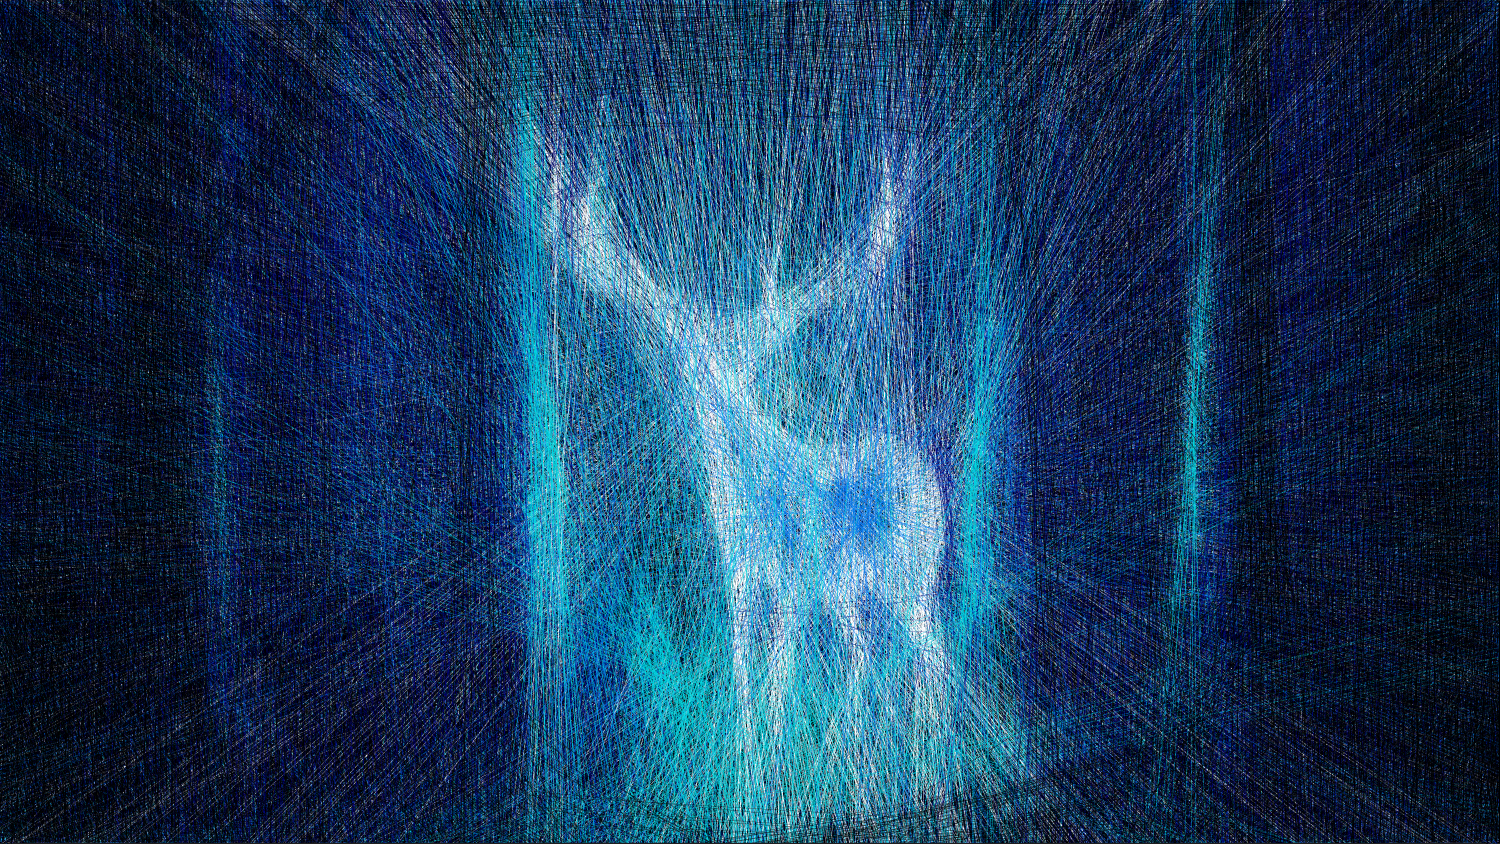
Finally, a few months after my previous false hope, when I had nearly given up, I cracked the mystery of how to make images in full colour — without making any unrealistic assumptions like transparency of thread.
To say that this was an exciting moment for me would be something of an understatement! It was the culmination of a nearly two-year struggle, which for a long time I thought would lead nowhere.
I went straight to work creating a physical piece from this new algorithm. The number of threads I needed had jumped upwards - because now I had to fill in the background, not just the areas of detail. The stag took just over 10,000 lines of thread - by far my largest number ever.
…and the future?
Since being able to produce full-color images, I've been continally improving the algorithm, looking for new images to create and new directions to take the art.
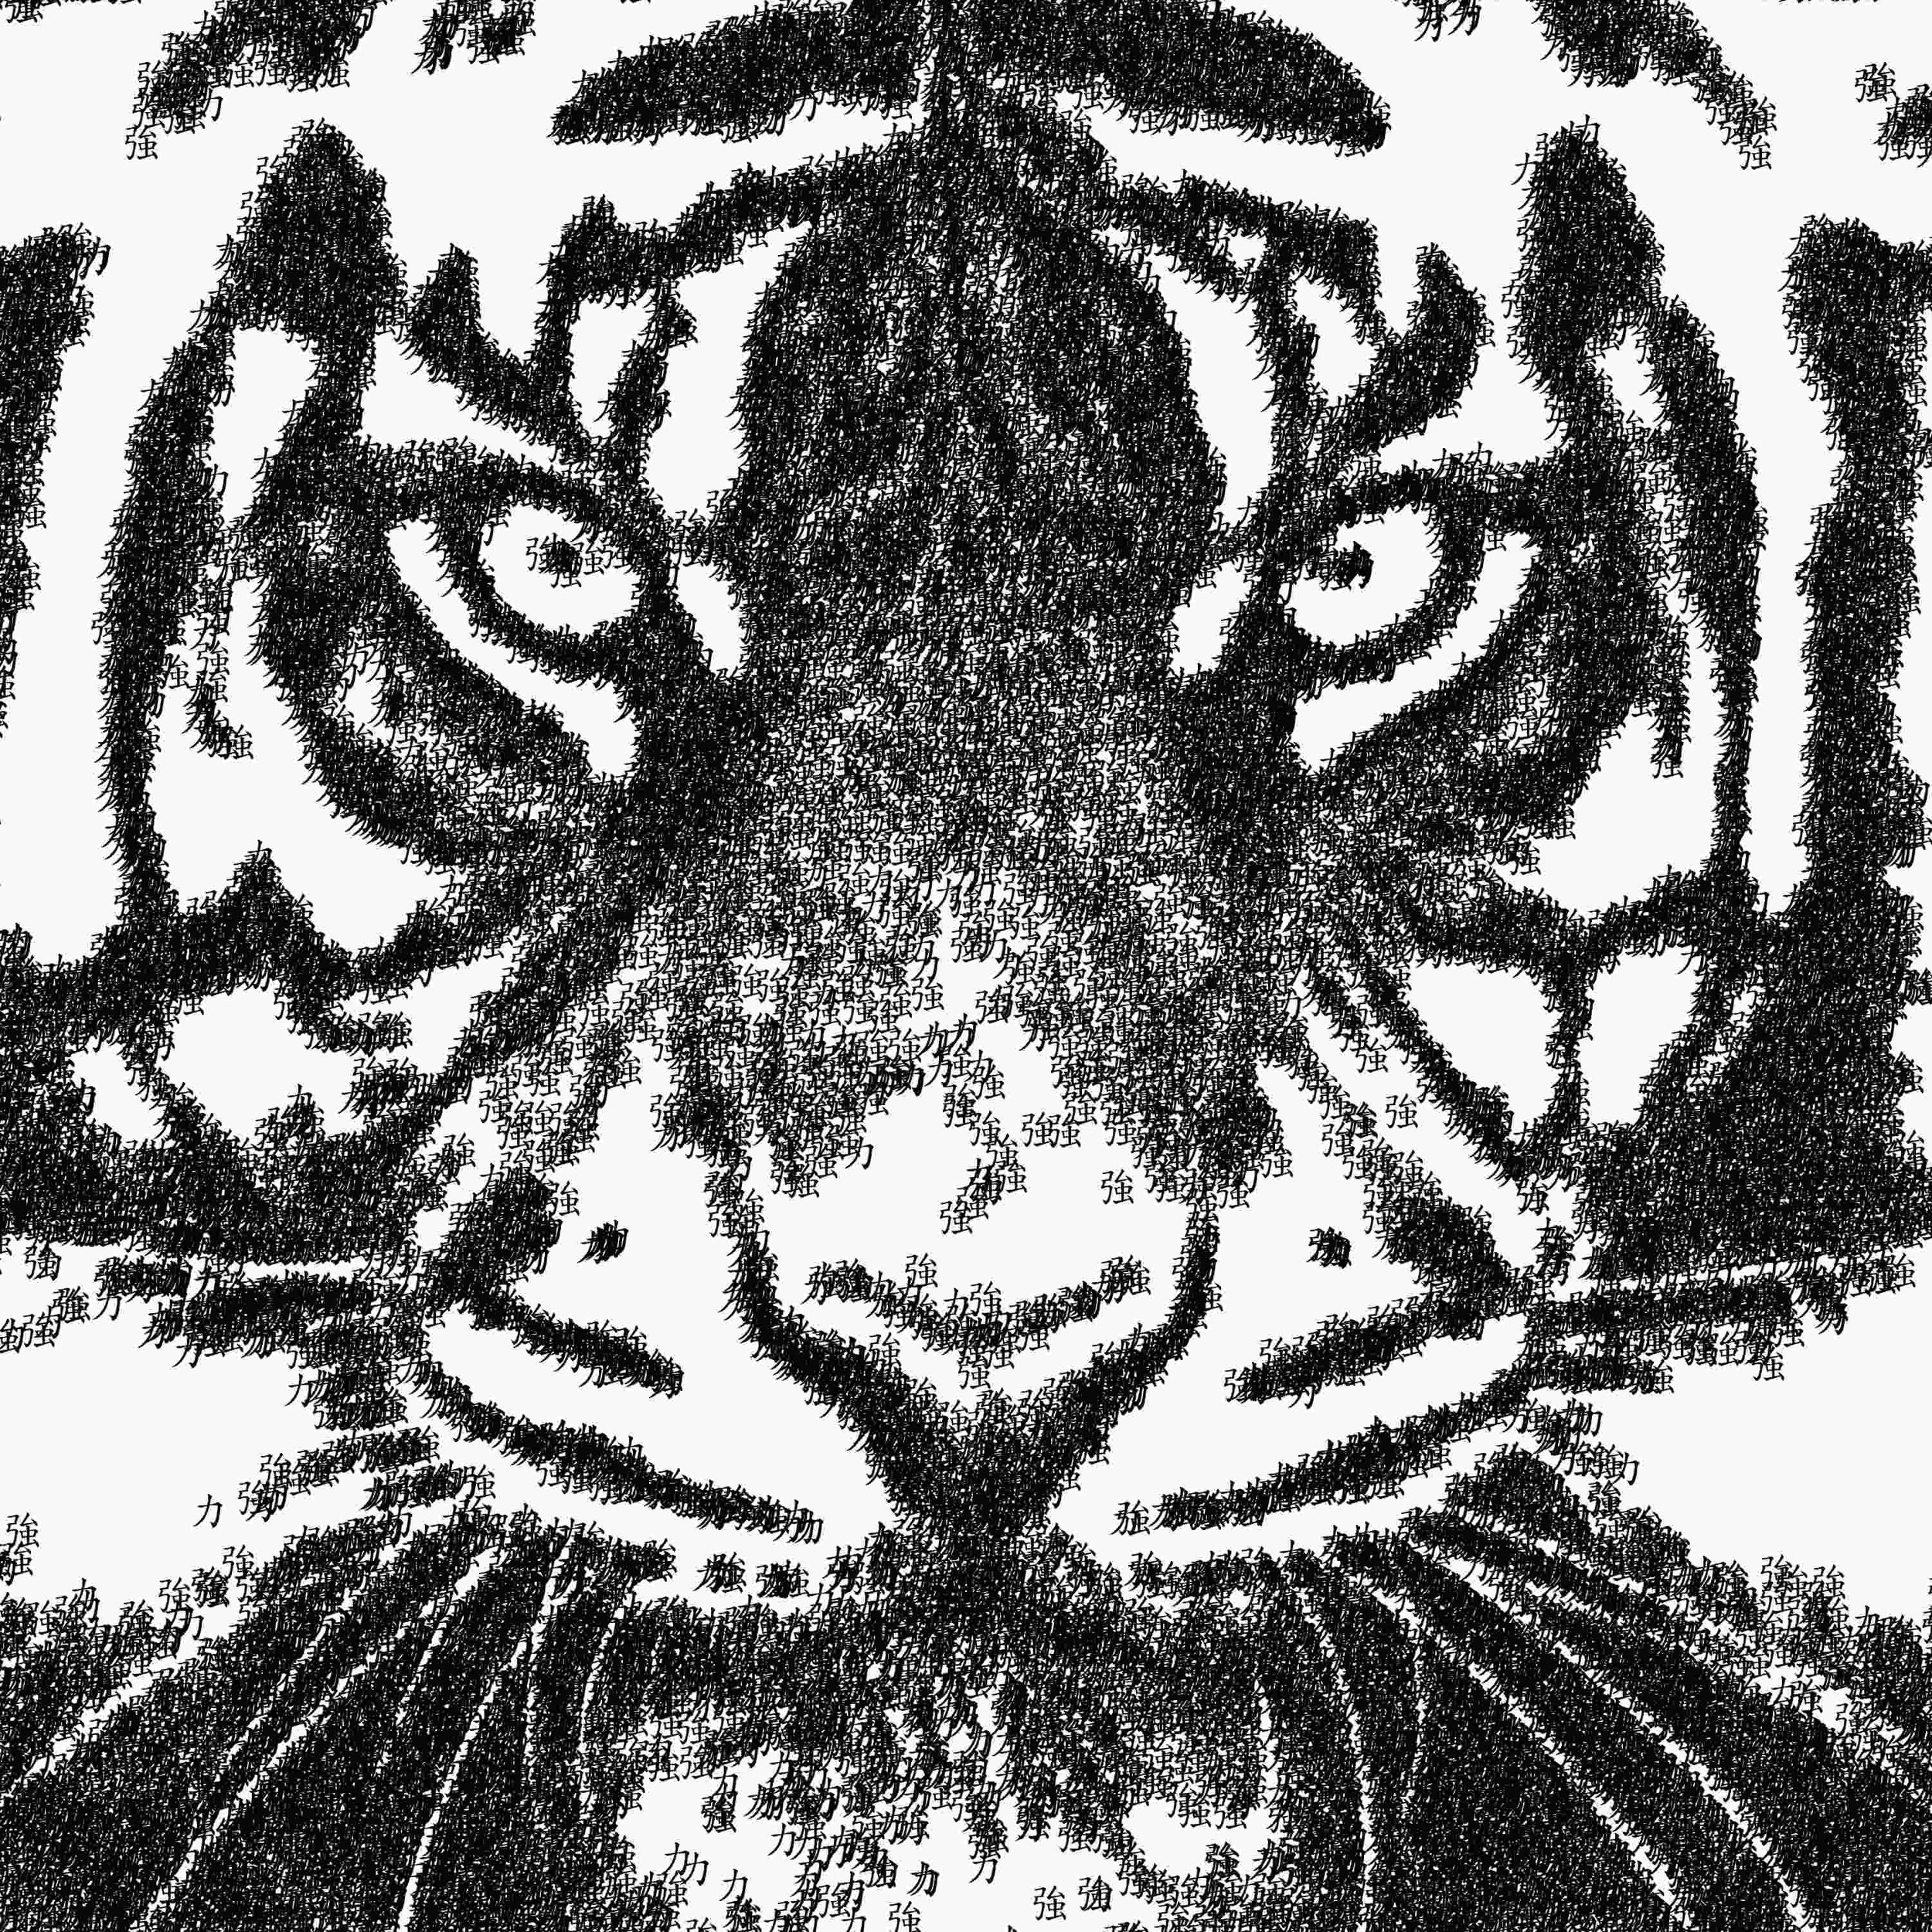
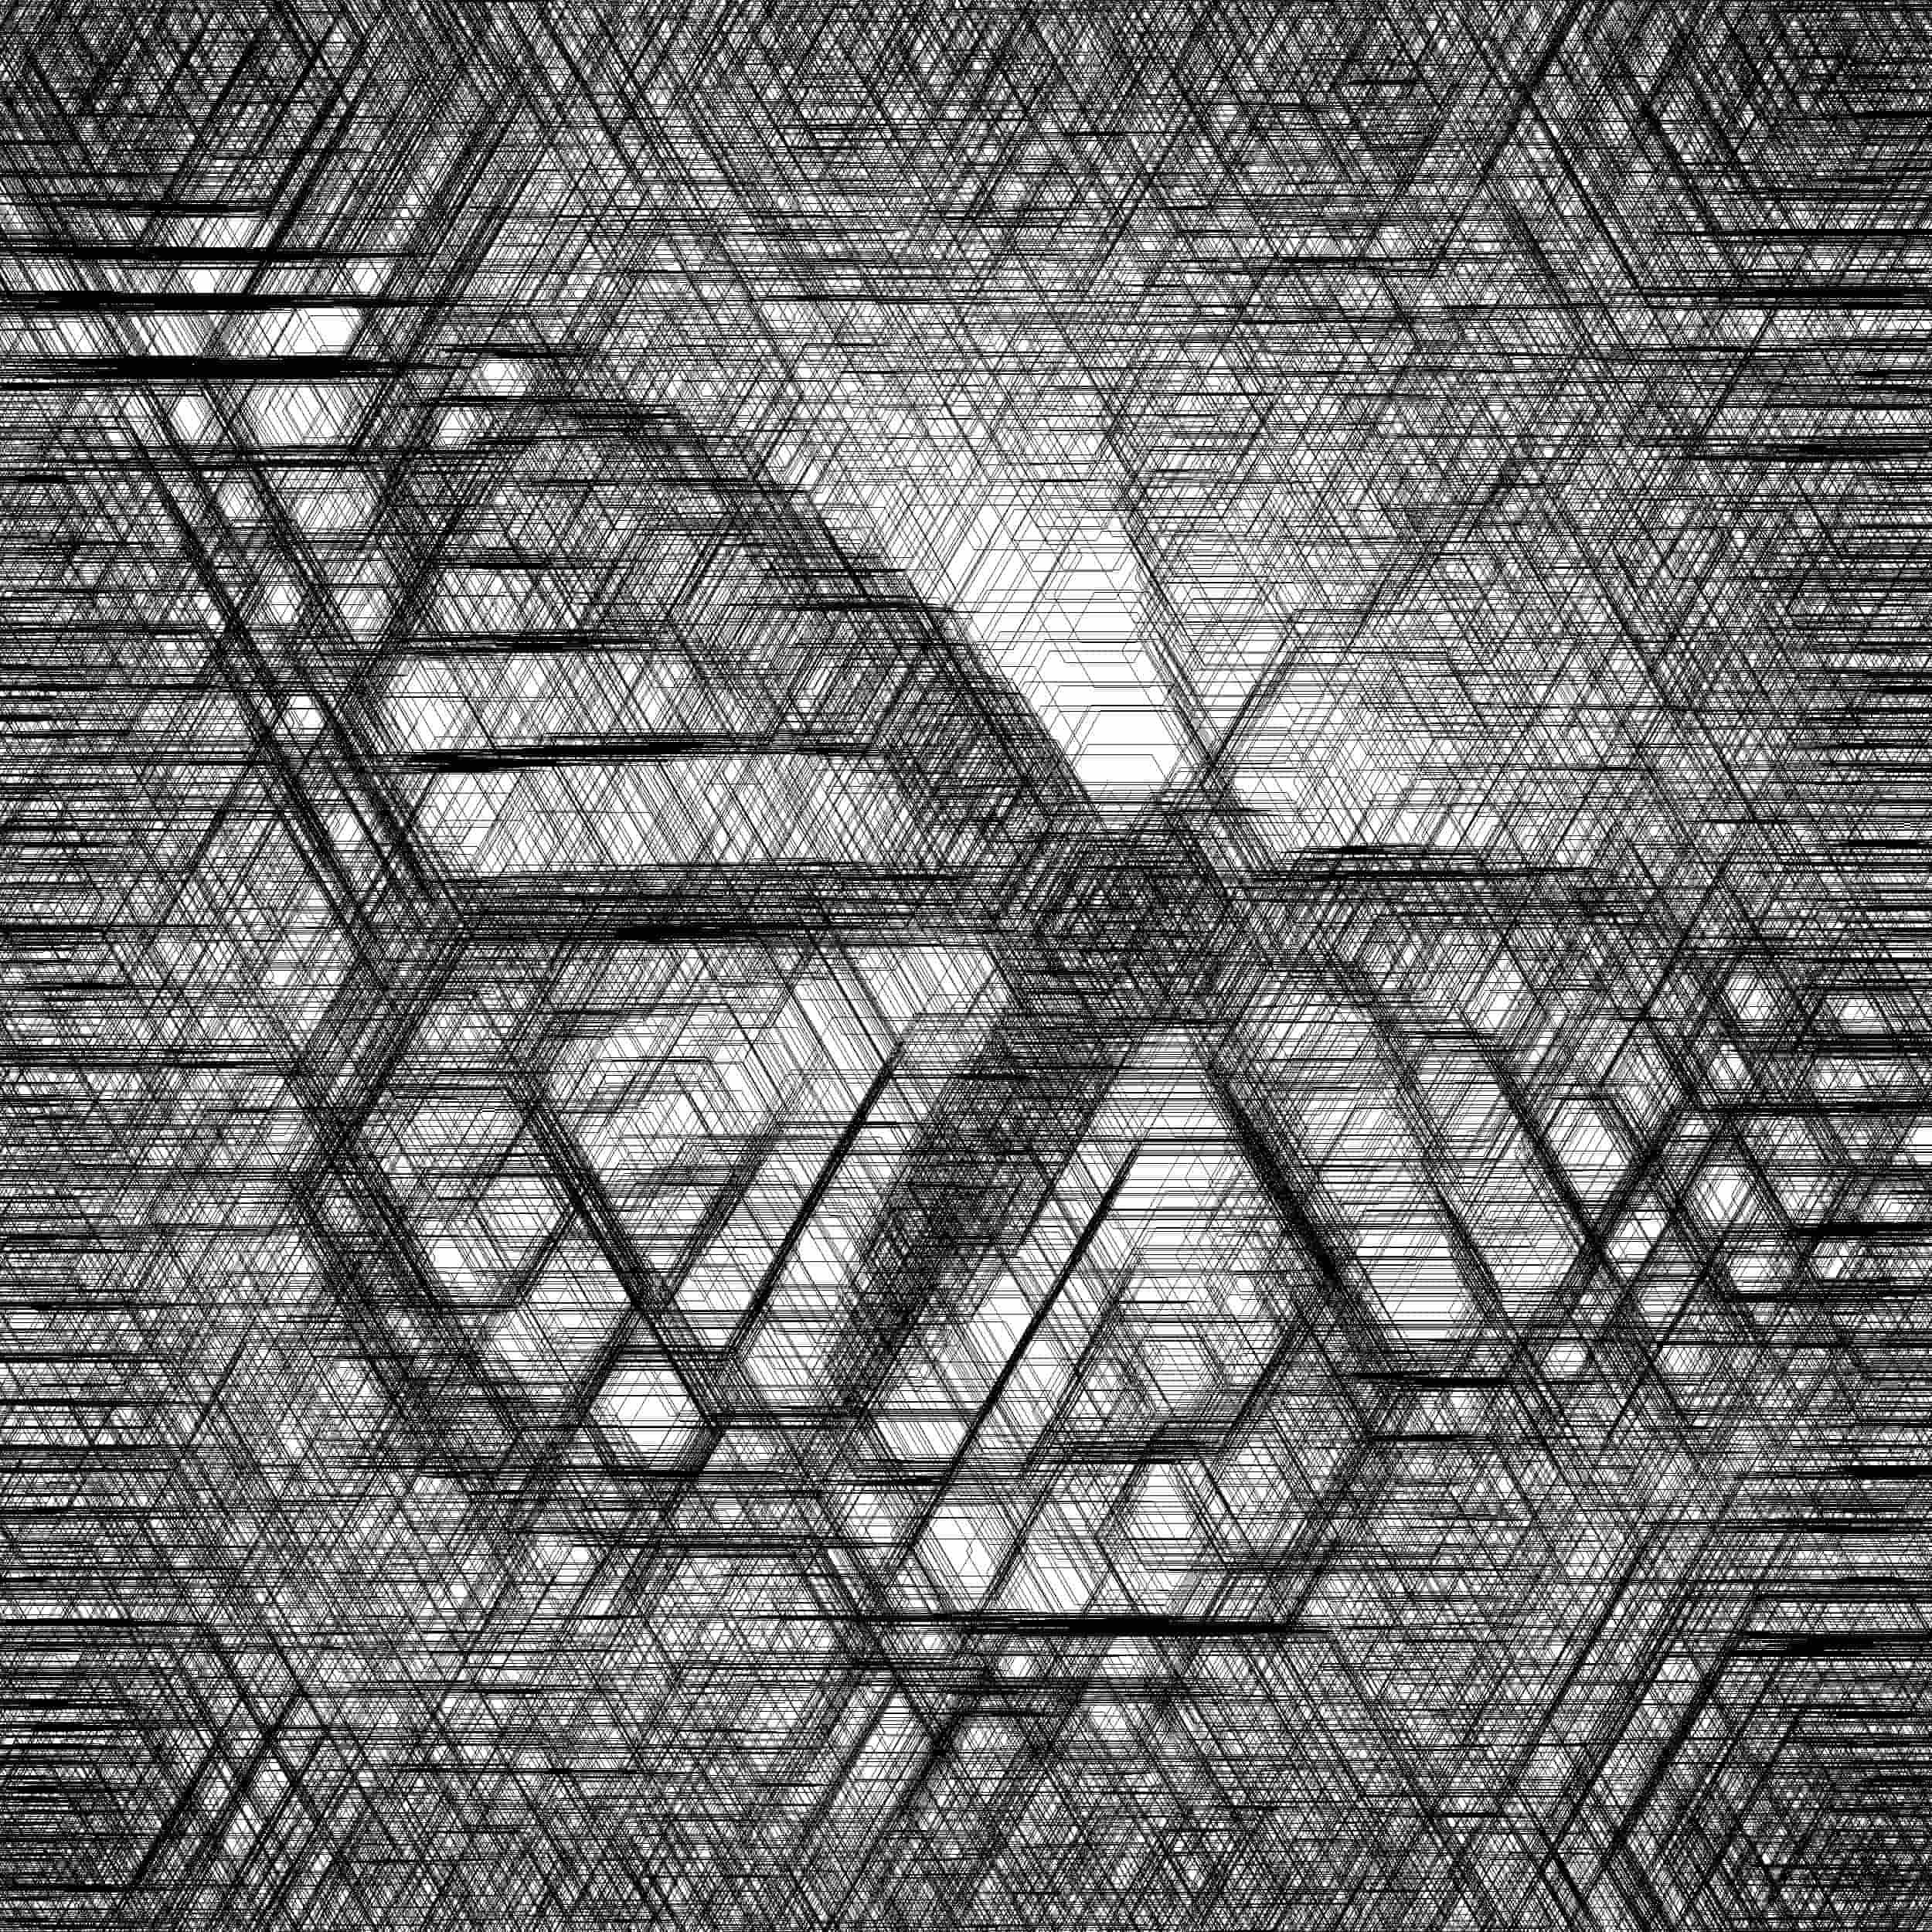
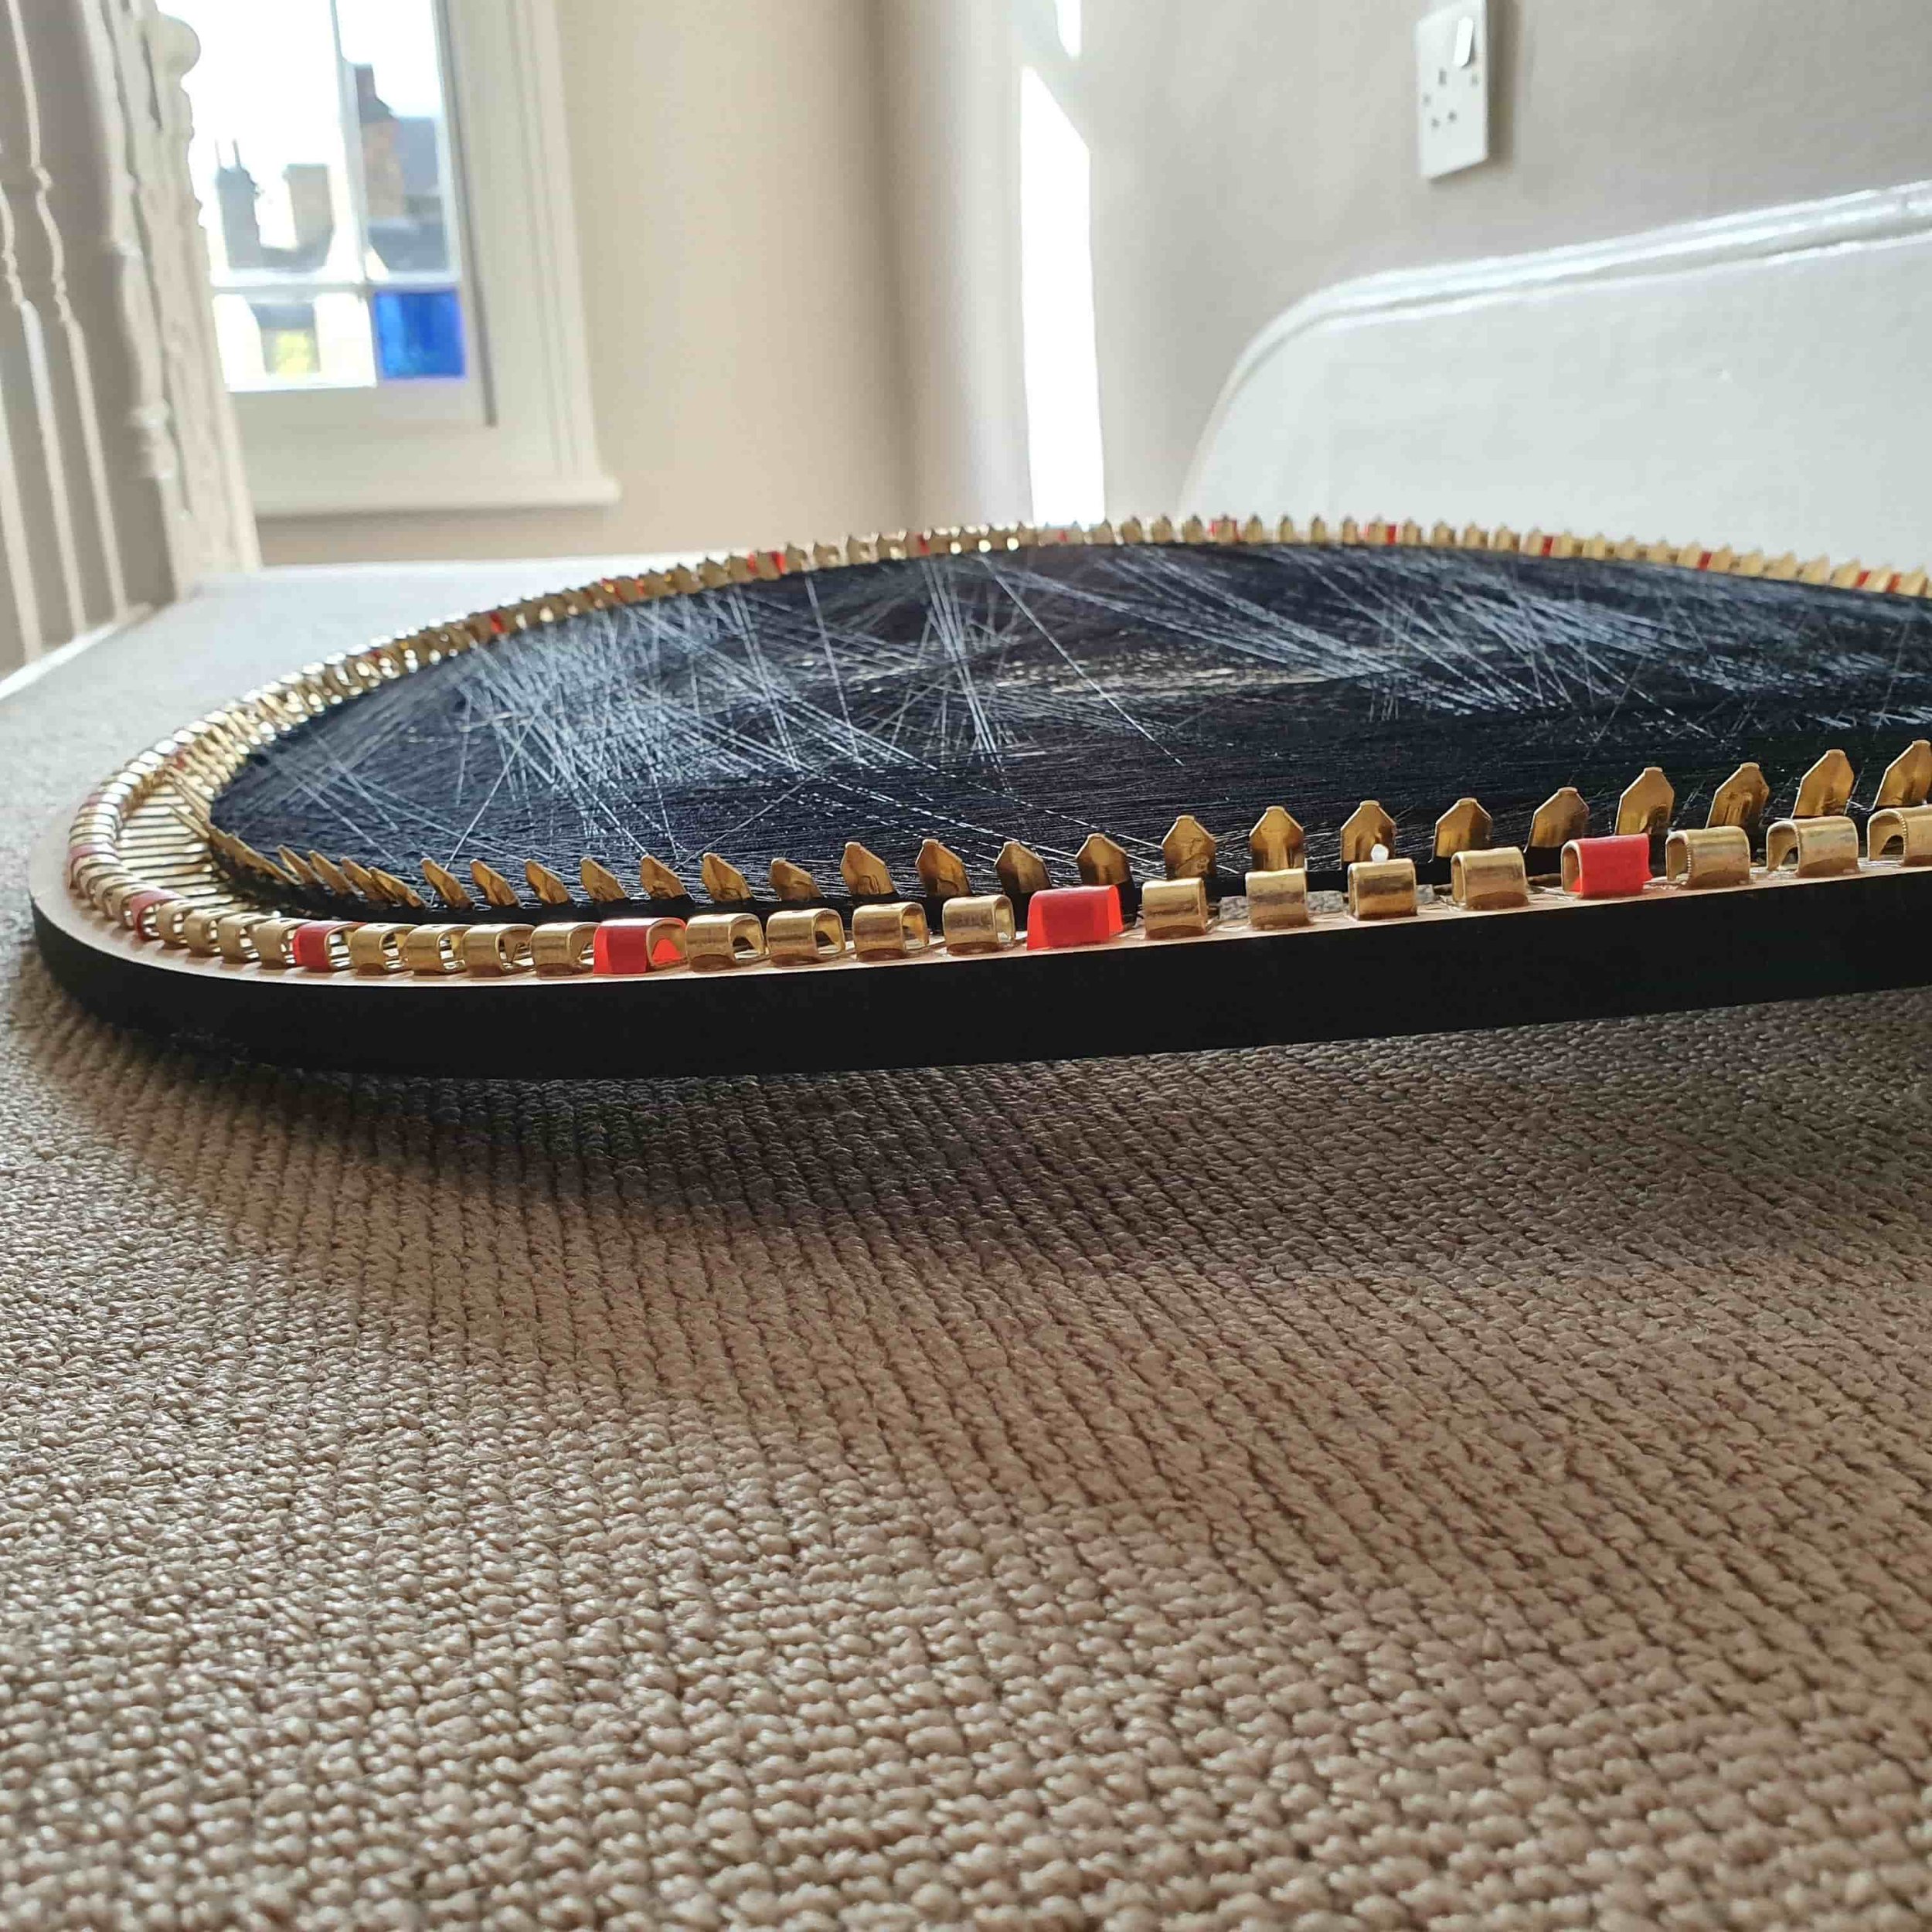
I've found images that work in thread art just as well as the stag (above), and I've found new methods of art based on similar principles, including art with hexagons, Chinese characters, and translucent rectangles (below).
I also have hopes of making the algorithm work more reliably, so that I will be able to produce images of anything I want at any time, rather than having to search for suitable images.
In summary, I have no idea what the future will bring for thread art, but I'm excited to find out!